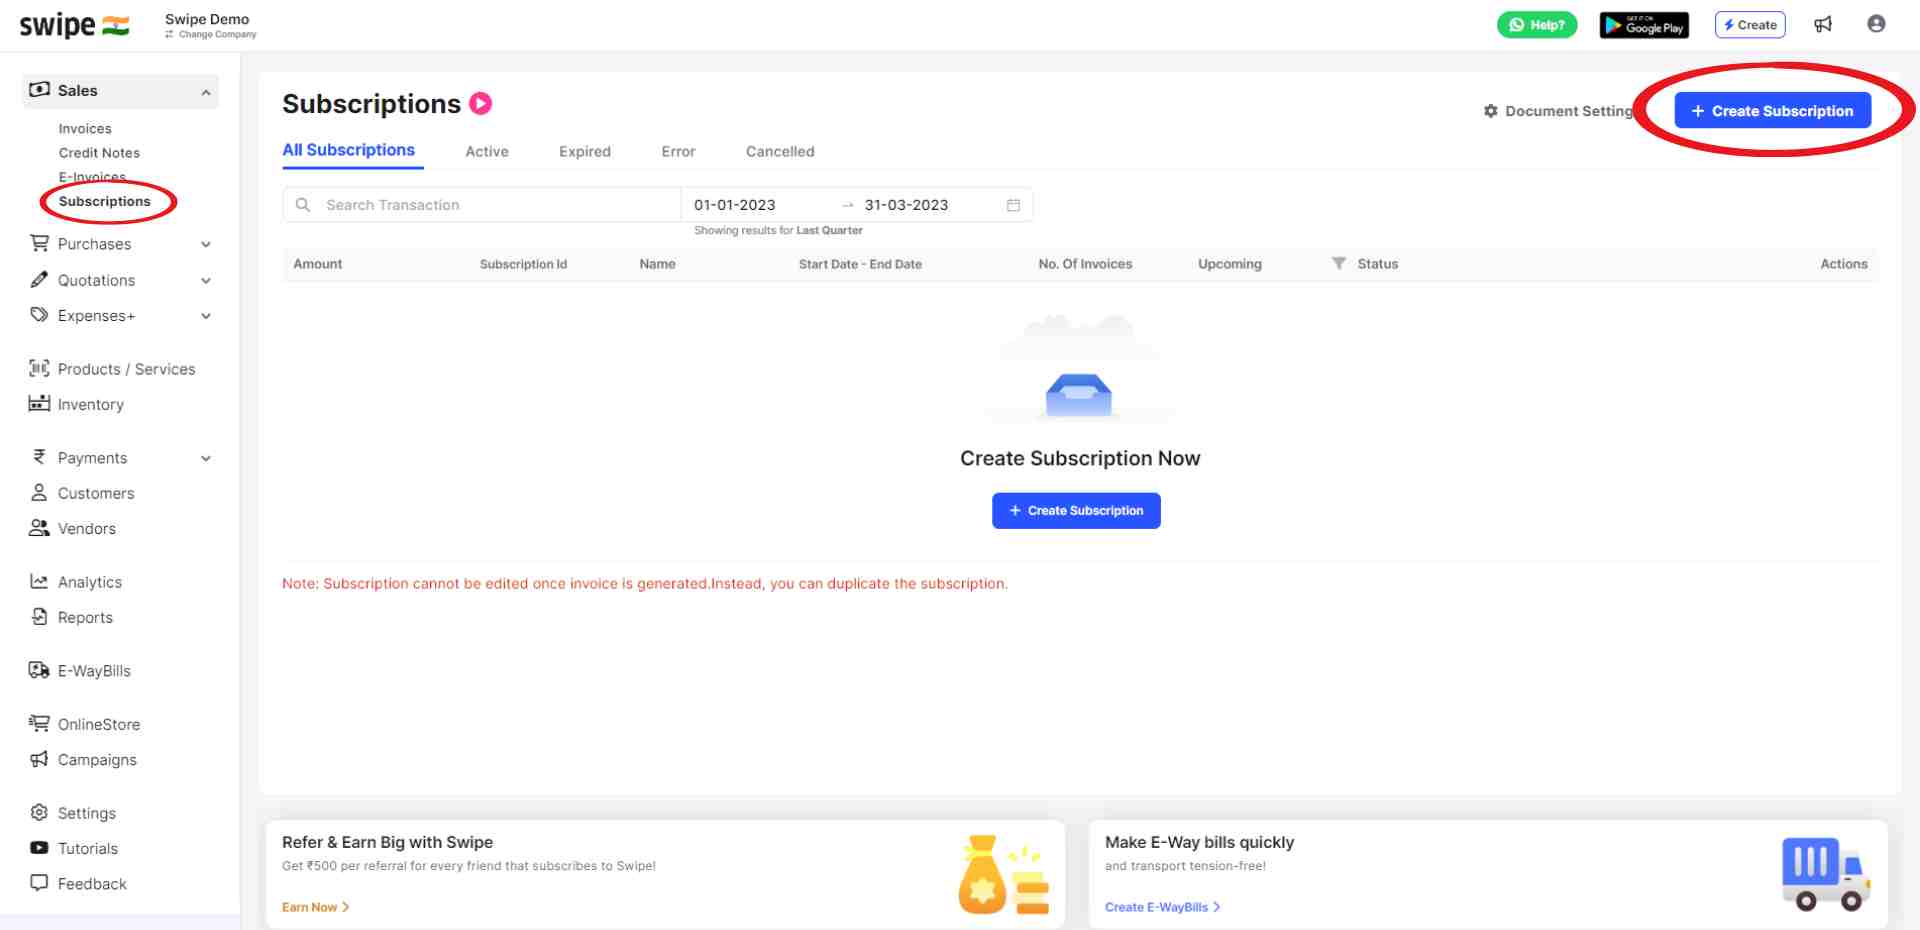
Now, click on the "+ Create Subscription” button at the top right-hand corner of the screen.
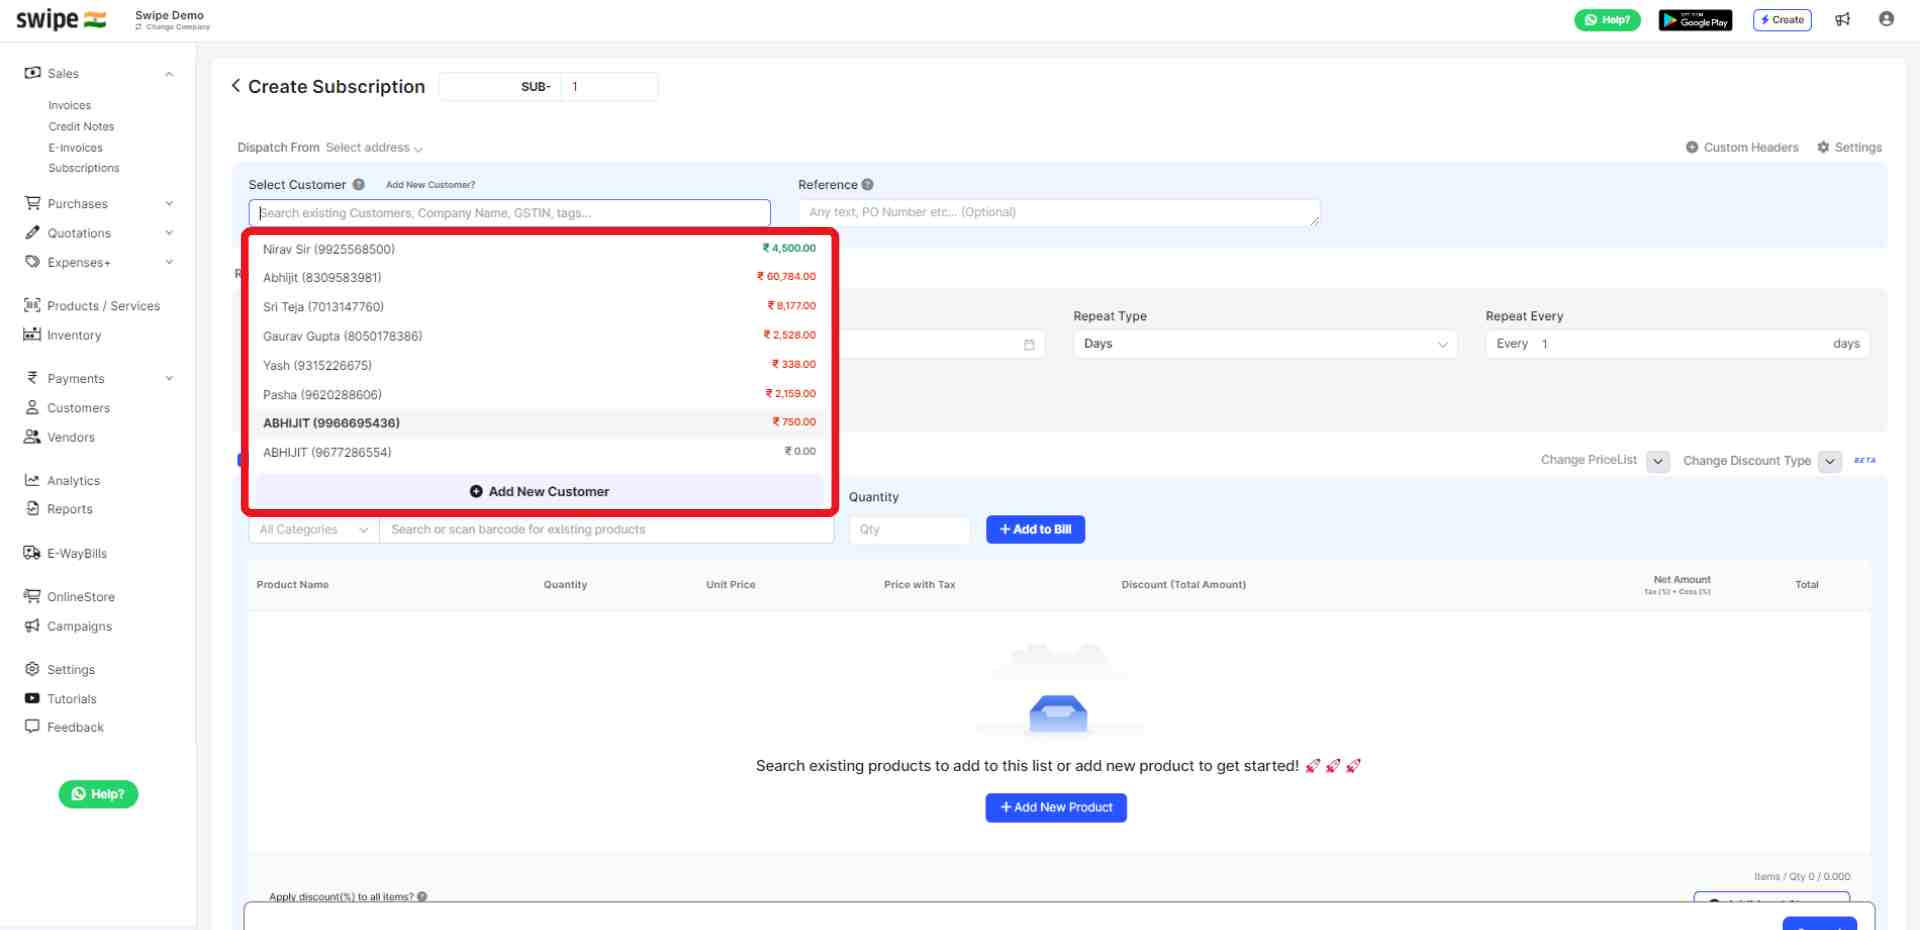
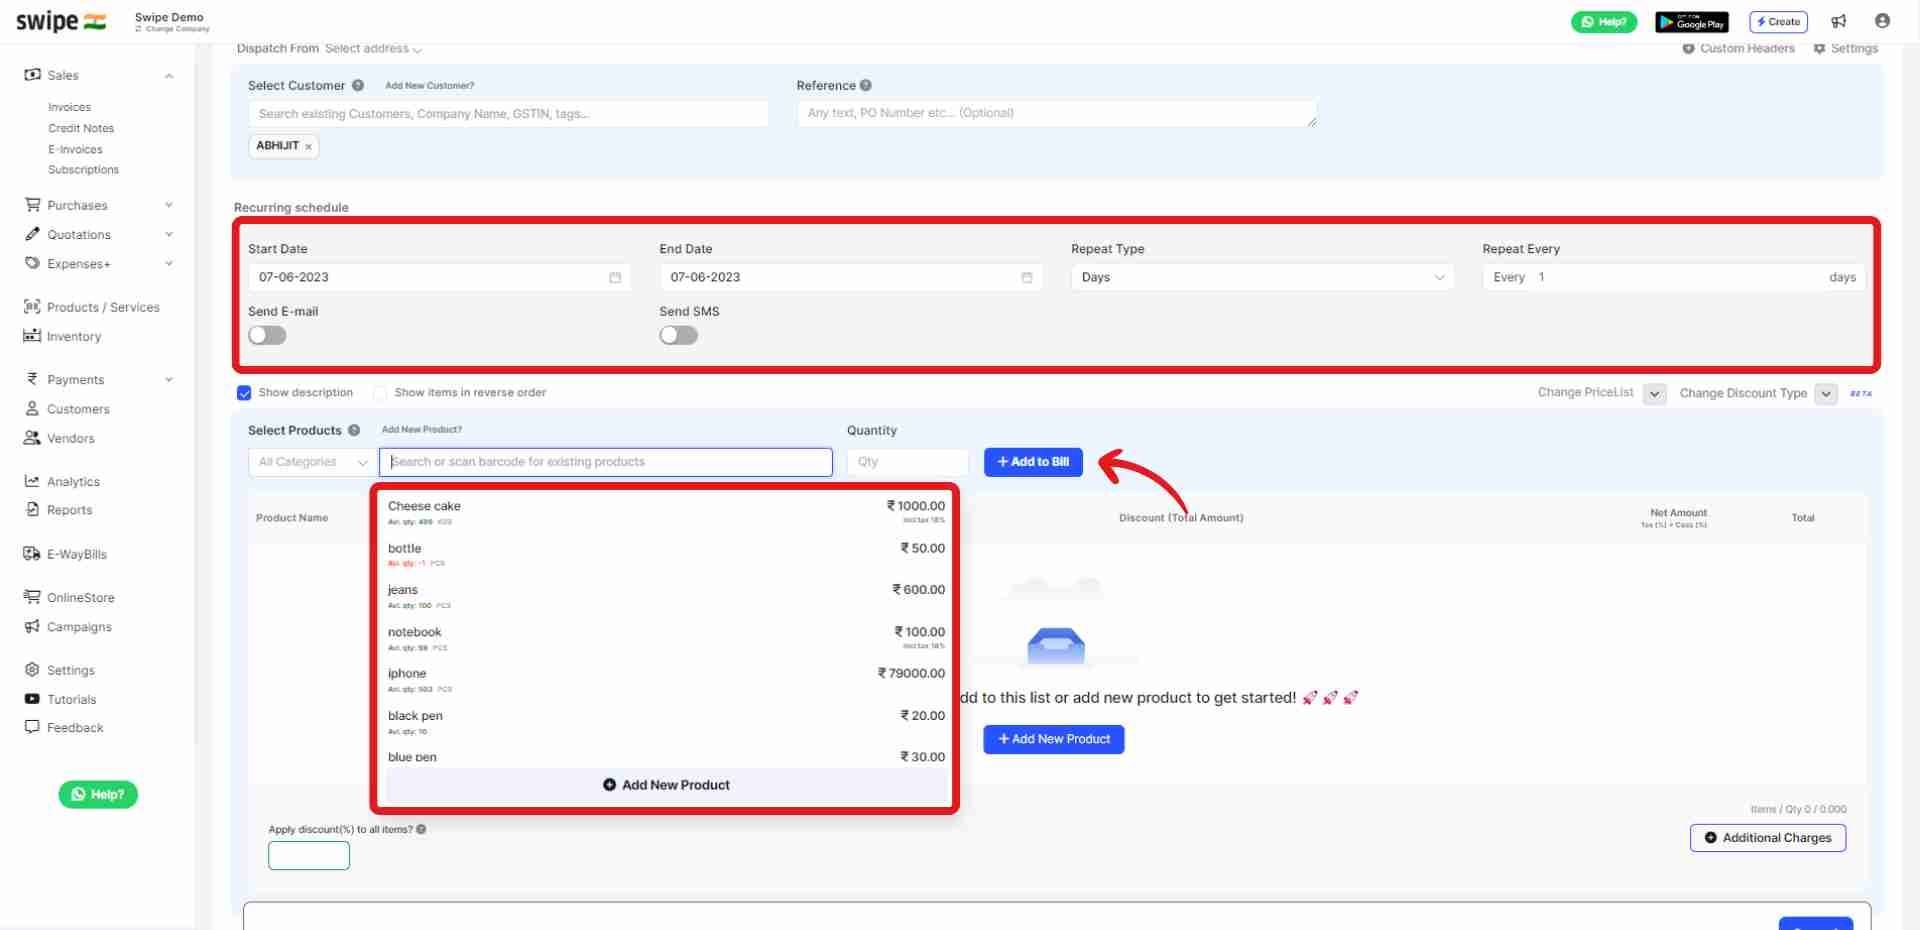
You can select existing customers from the drop down list or add new customers by typing in their details manually.
You can select existing products from the drop down list or add new products by typing in their details manually.
To add more products, click on “+ Add New Product”, which will add new item rows.
Also, click on “+ Add to bill” and add the rest of the product details like quantity, category, discount, etc.
(And fill in the necessary details like start date, end date,Time Interval, etc)
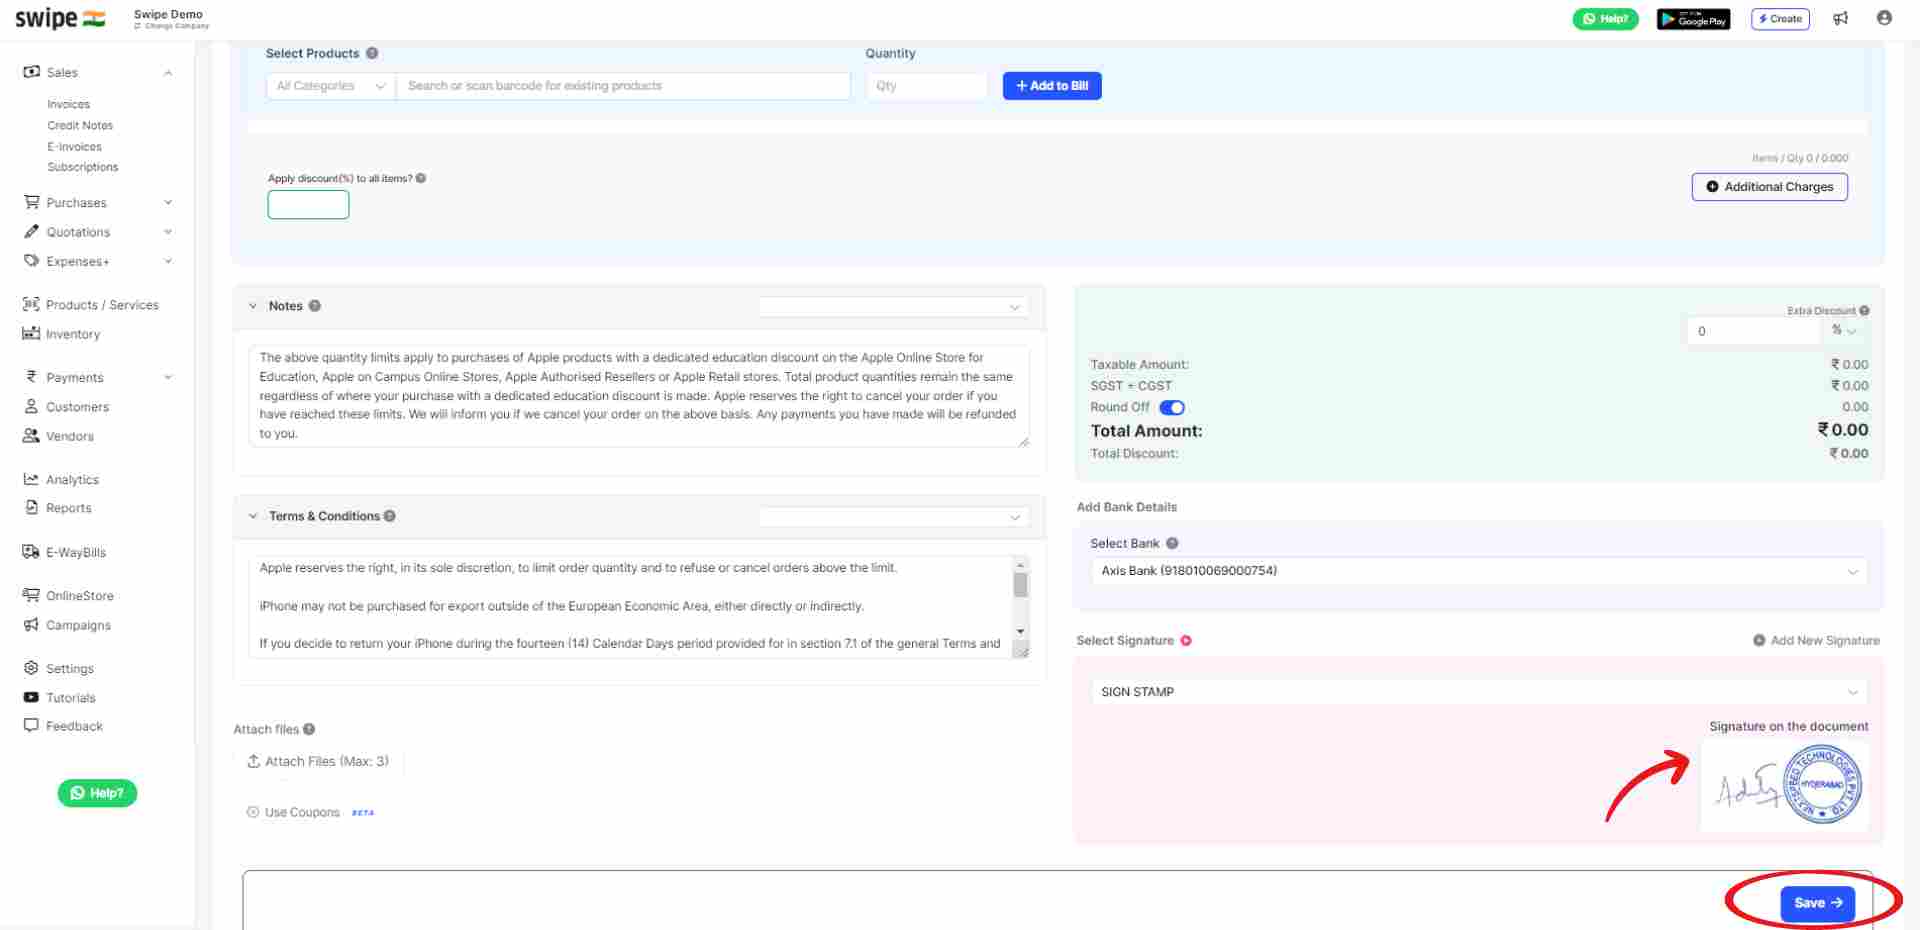
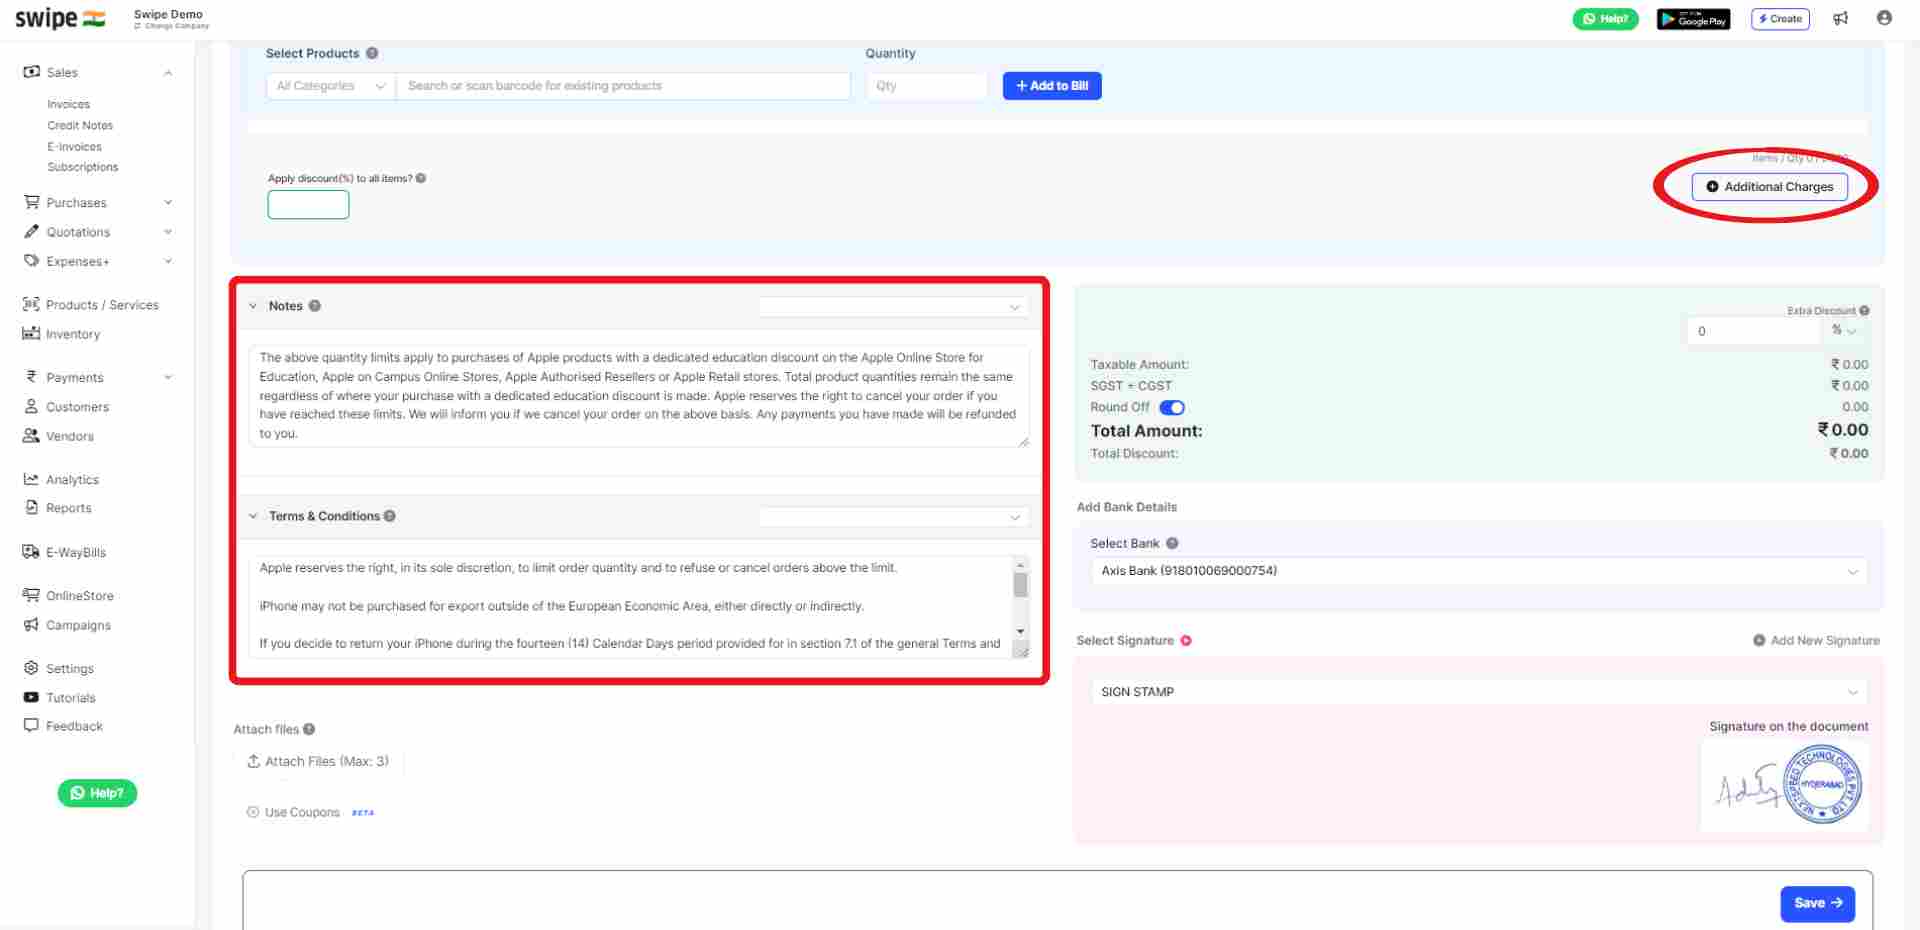
Add additional charges (if applicable any) and create or edit notes as well as terms and conditions.
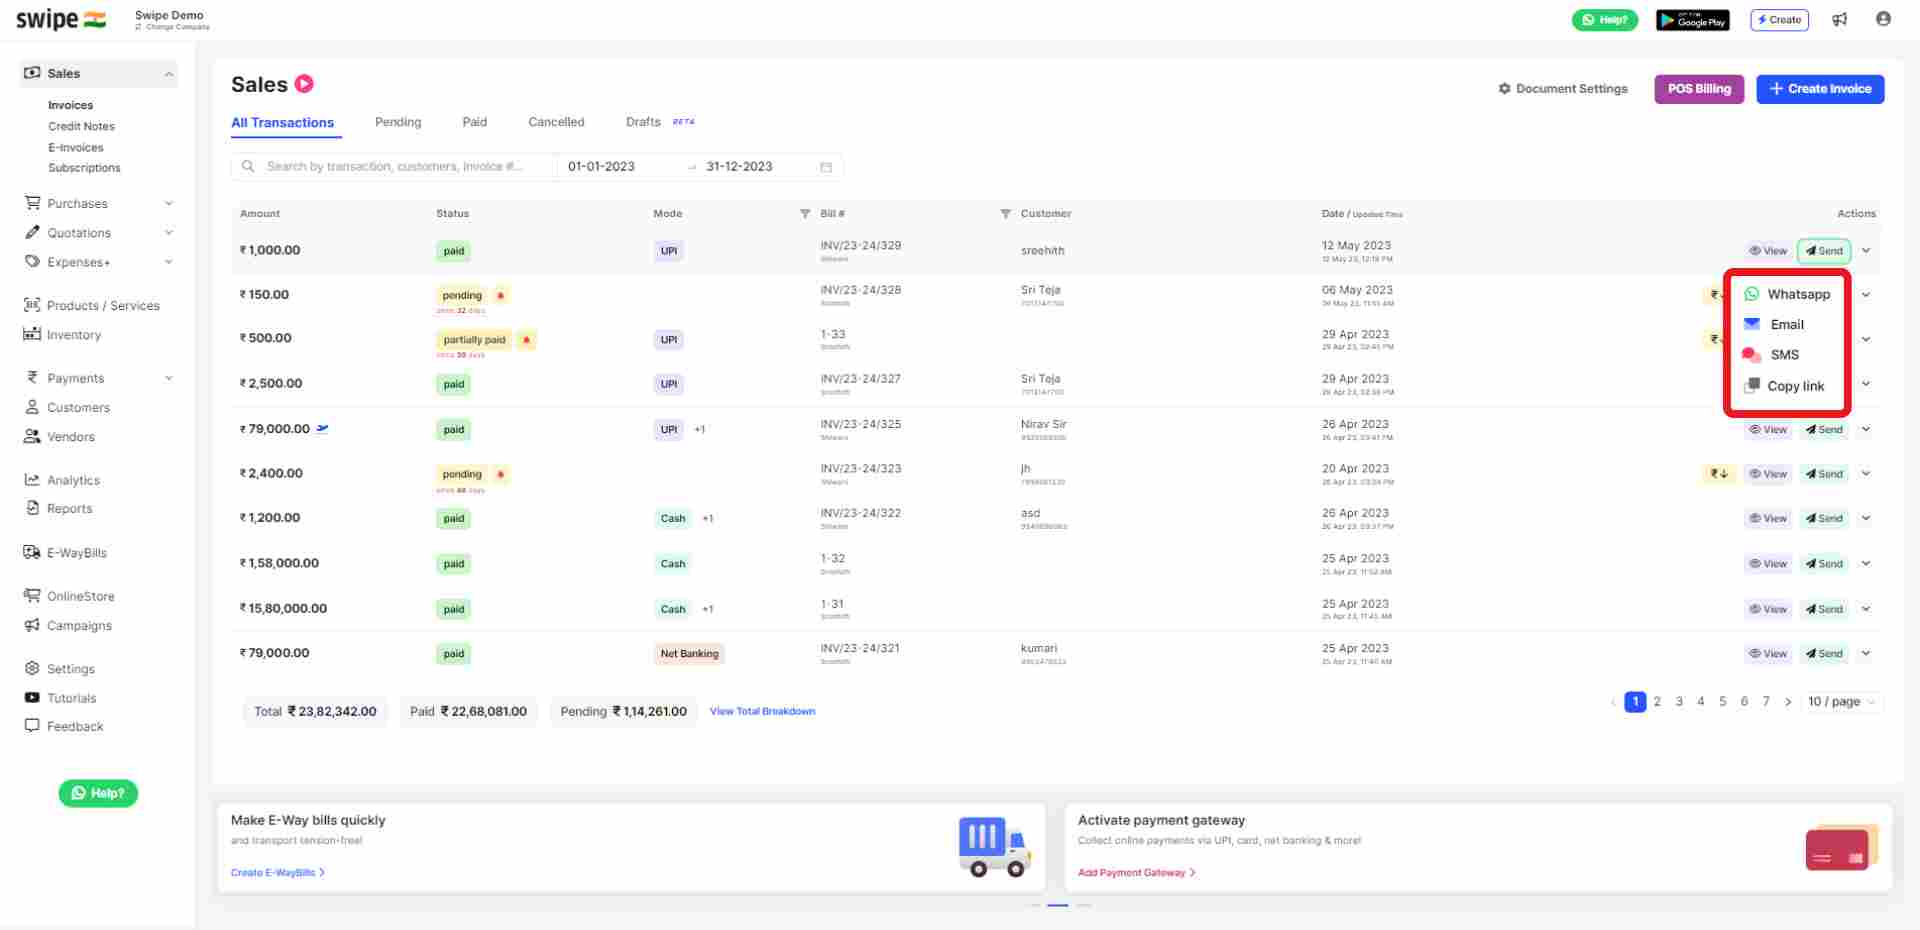
Your Subscription/recurring invoice will be ready and you can share it via WhatsApp, SMS or Email it to your customer from the sales invoice dashboard.
