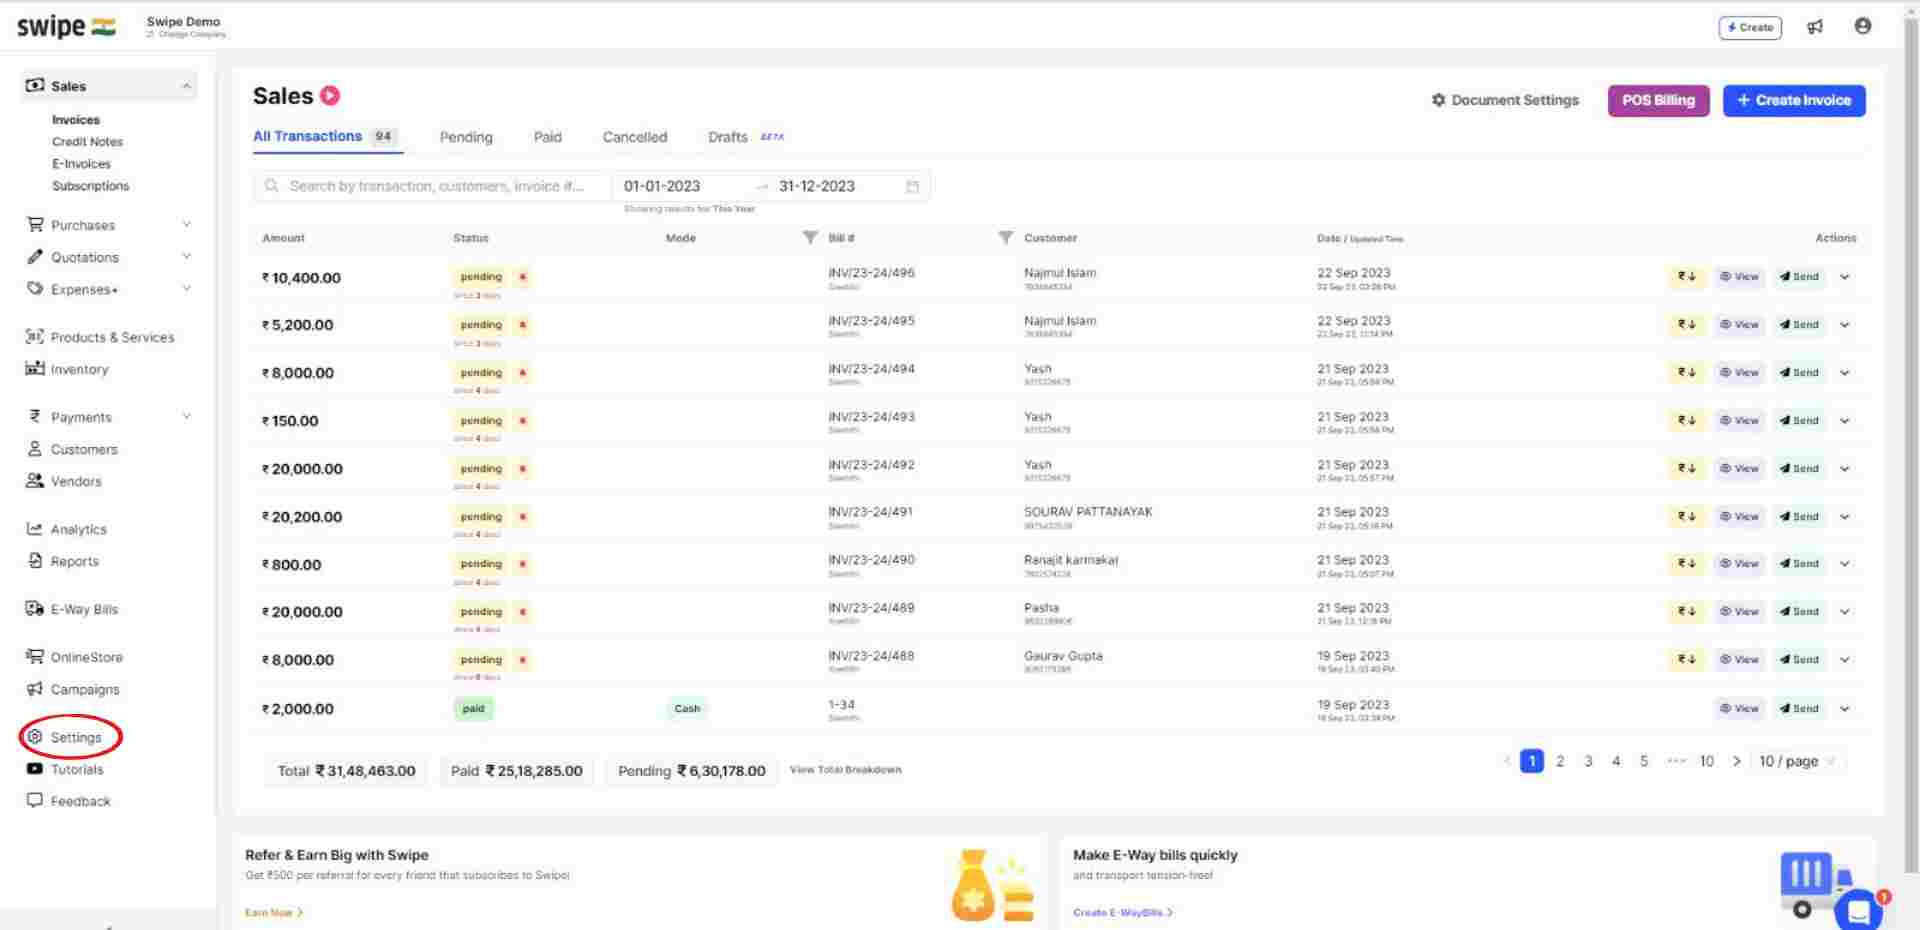
Click on the “Settings” icon on the left dashboard, and select the “All Users/ Roles” option from the menu.
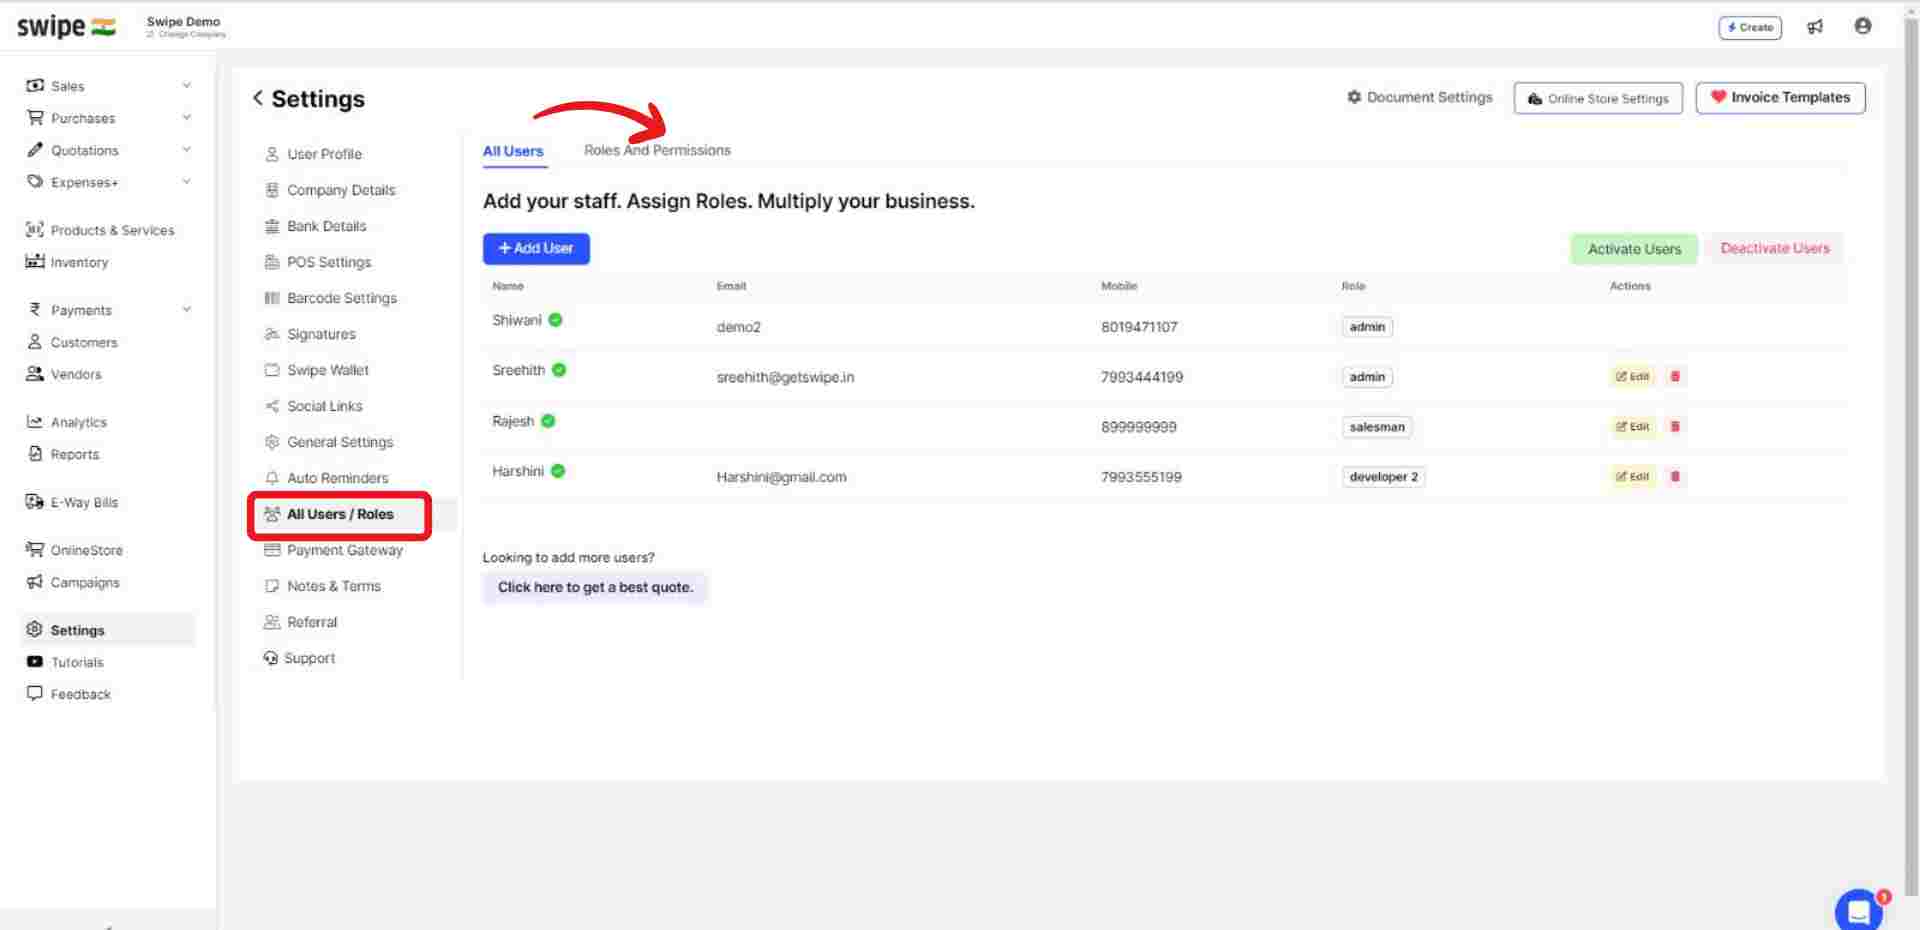
Now, select “Roles and permissions” from the navigation bar on the top.
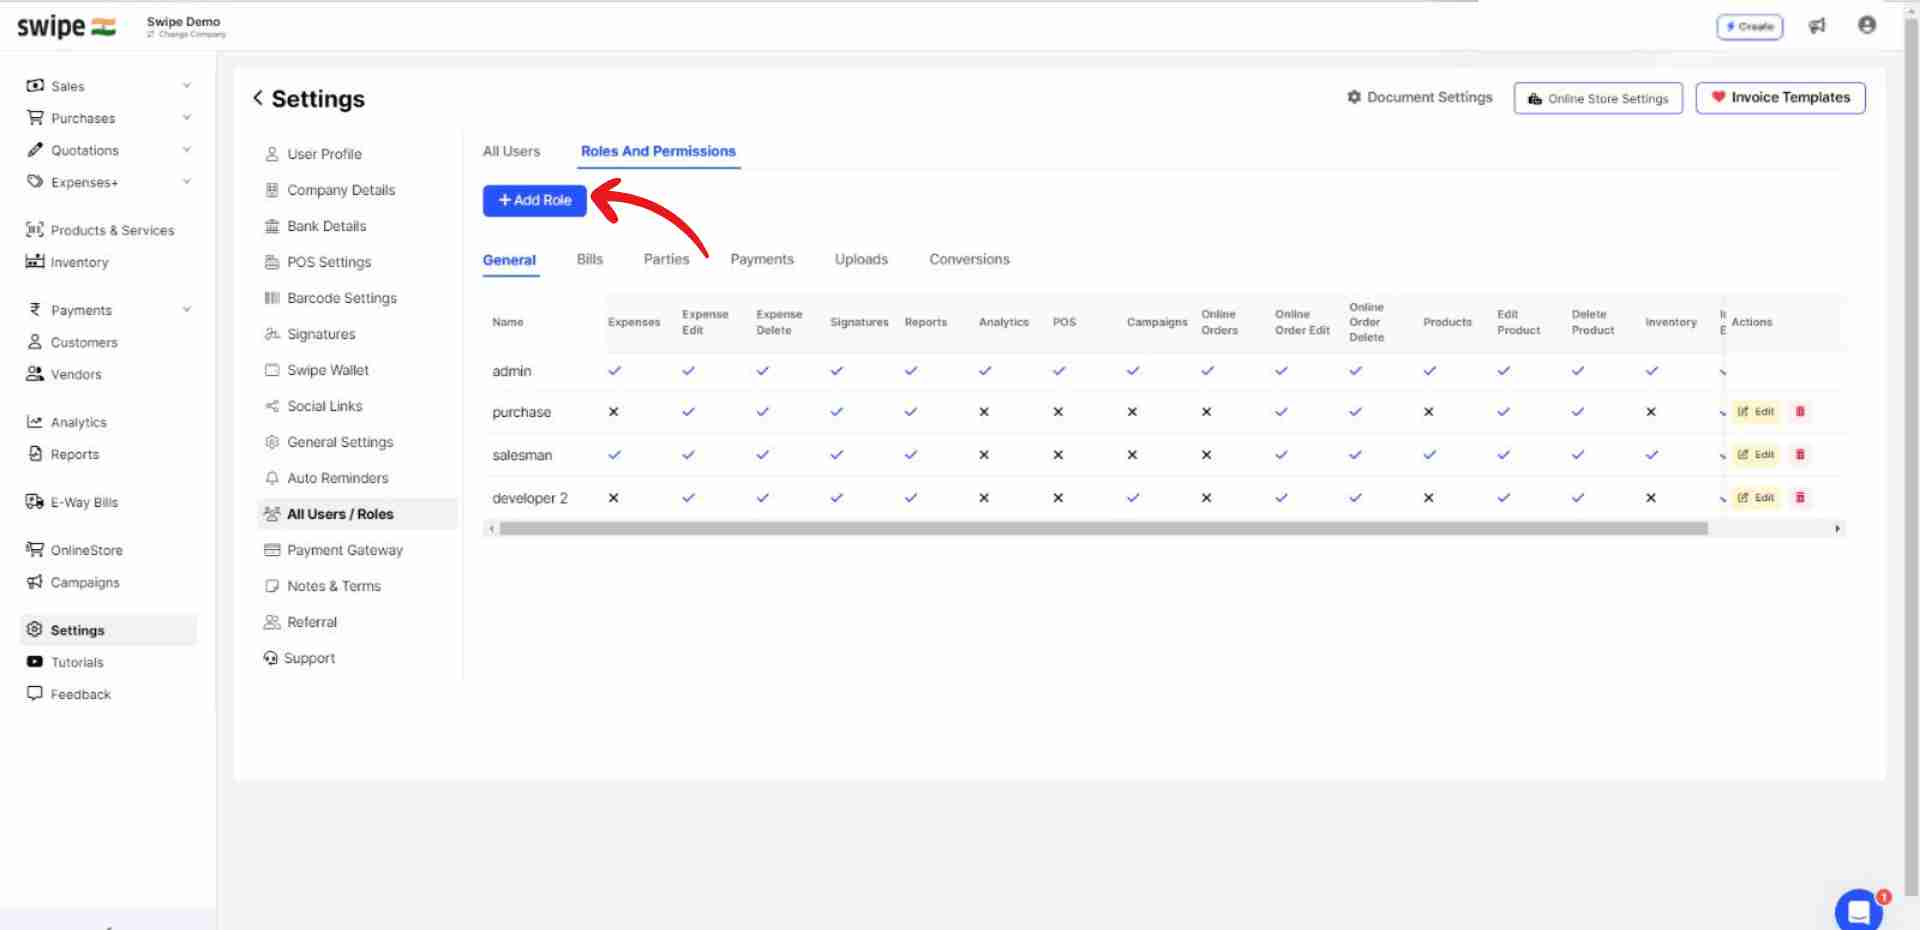
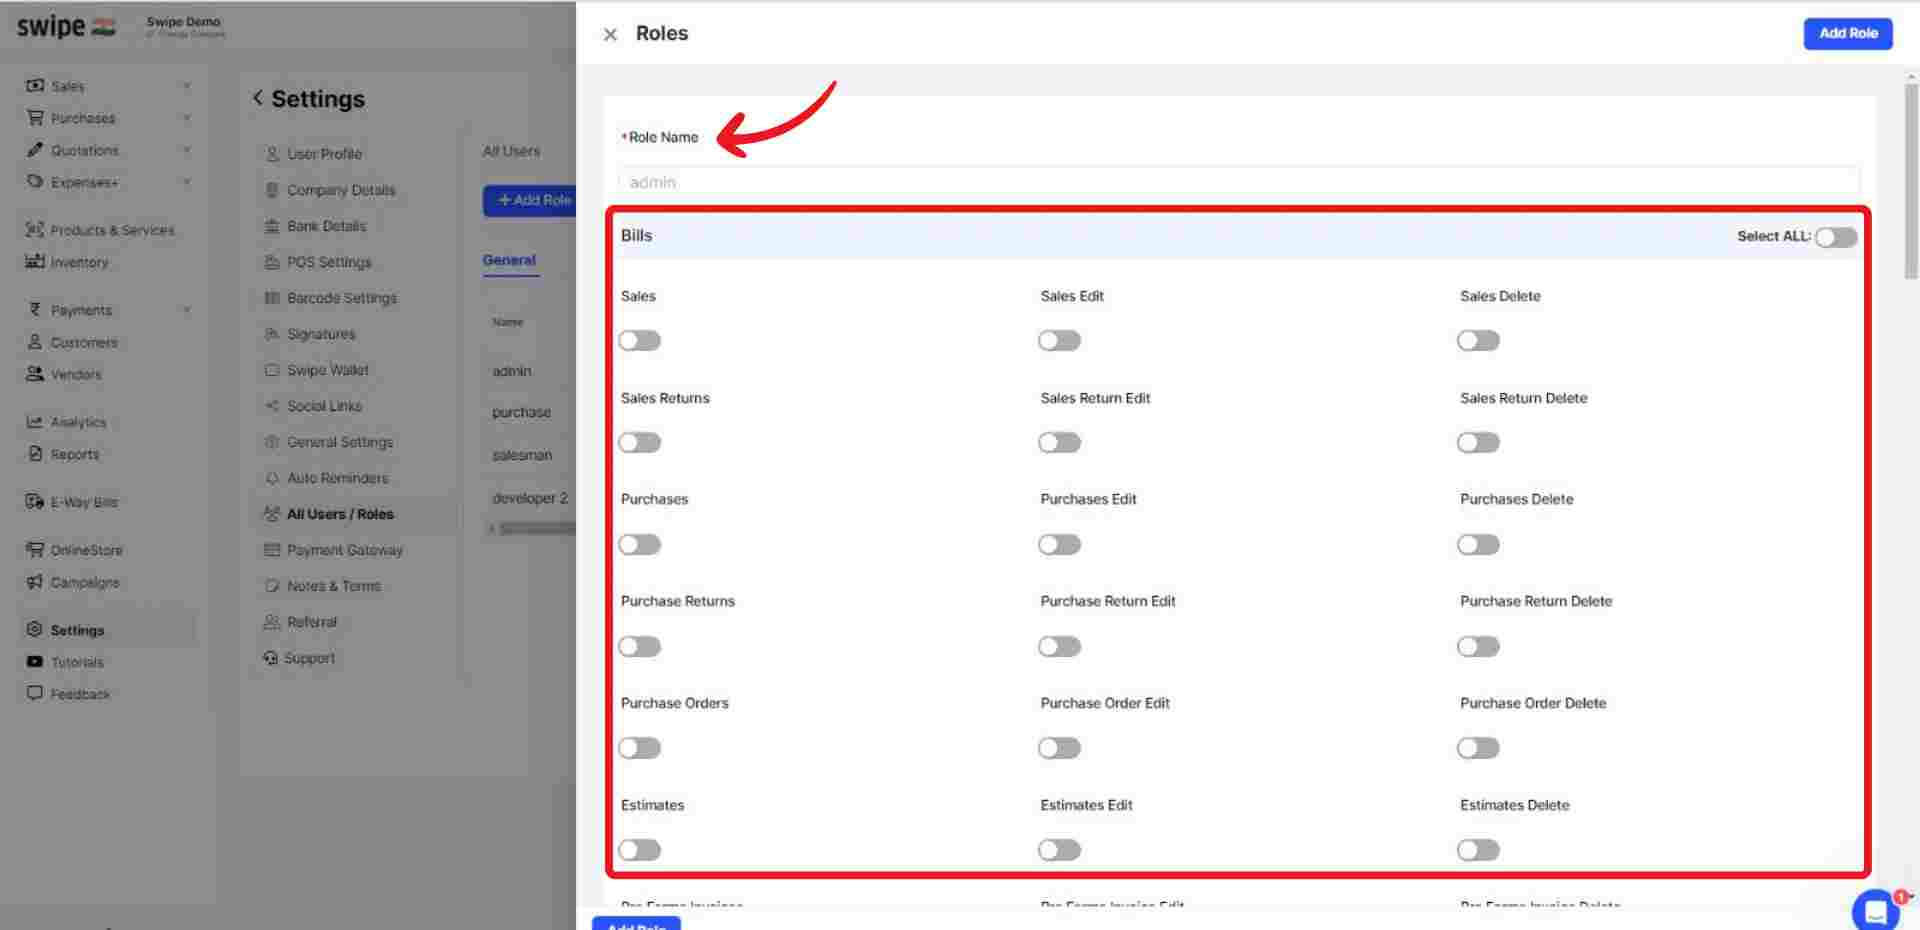
A new form appears. Now, enter the role name and switch on the toggle bar beside the permissions you would like to give access to for the specific role.
Note: You can always add or edit the permissions later.
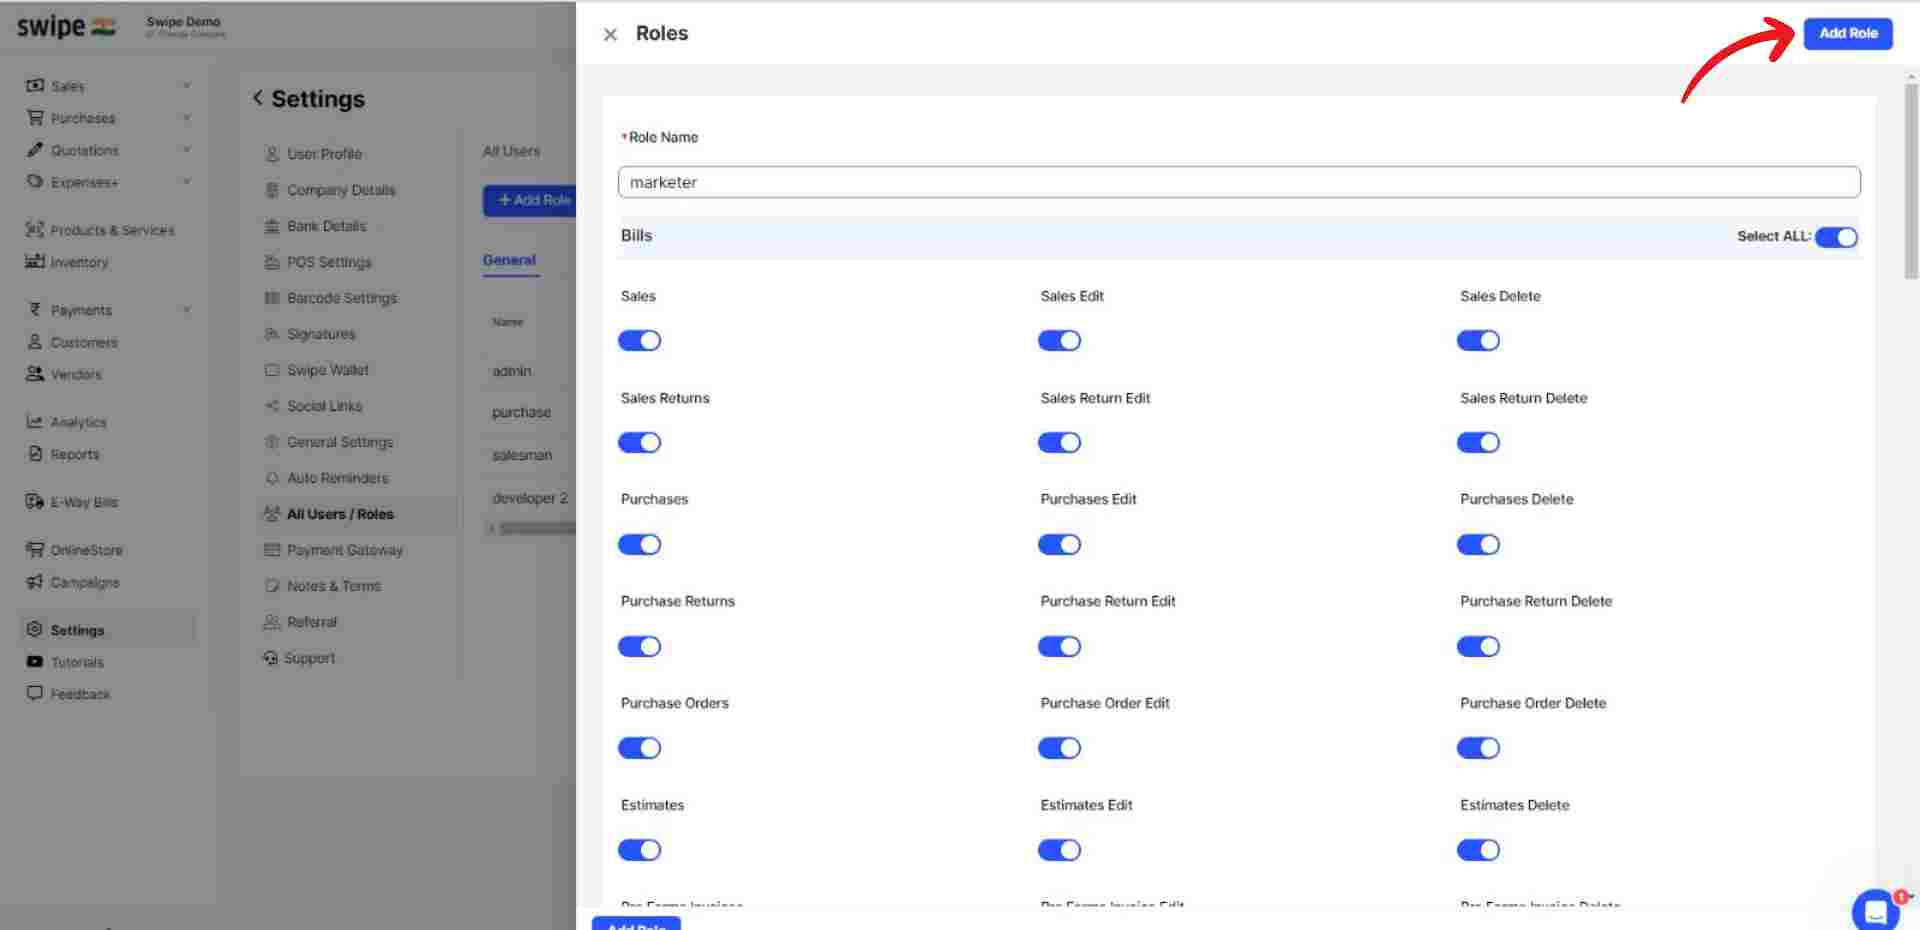
Now, click on the “Add Role” button present at the top right corner of the screen.
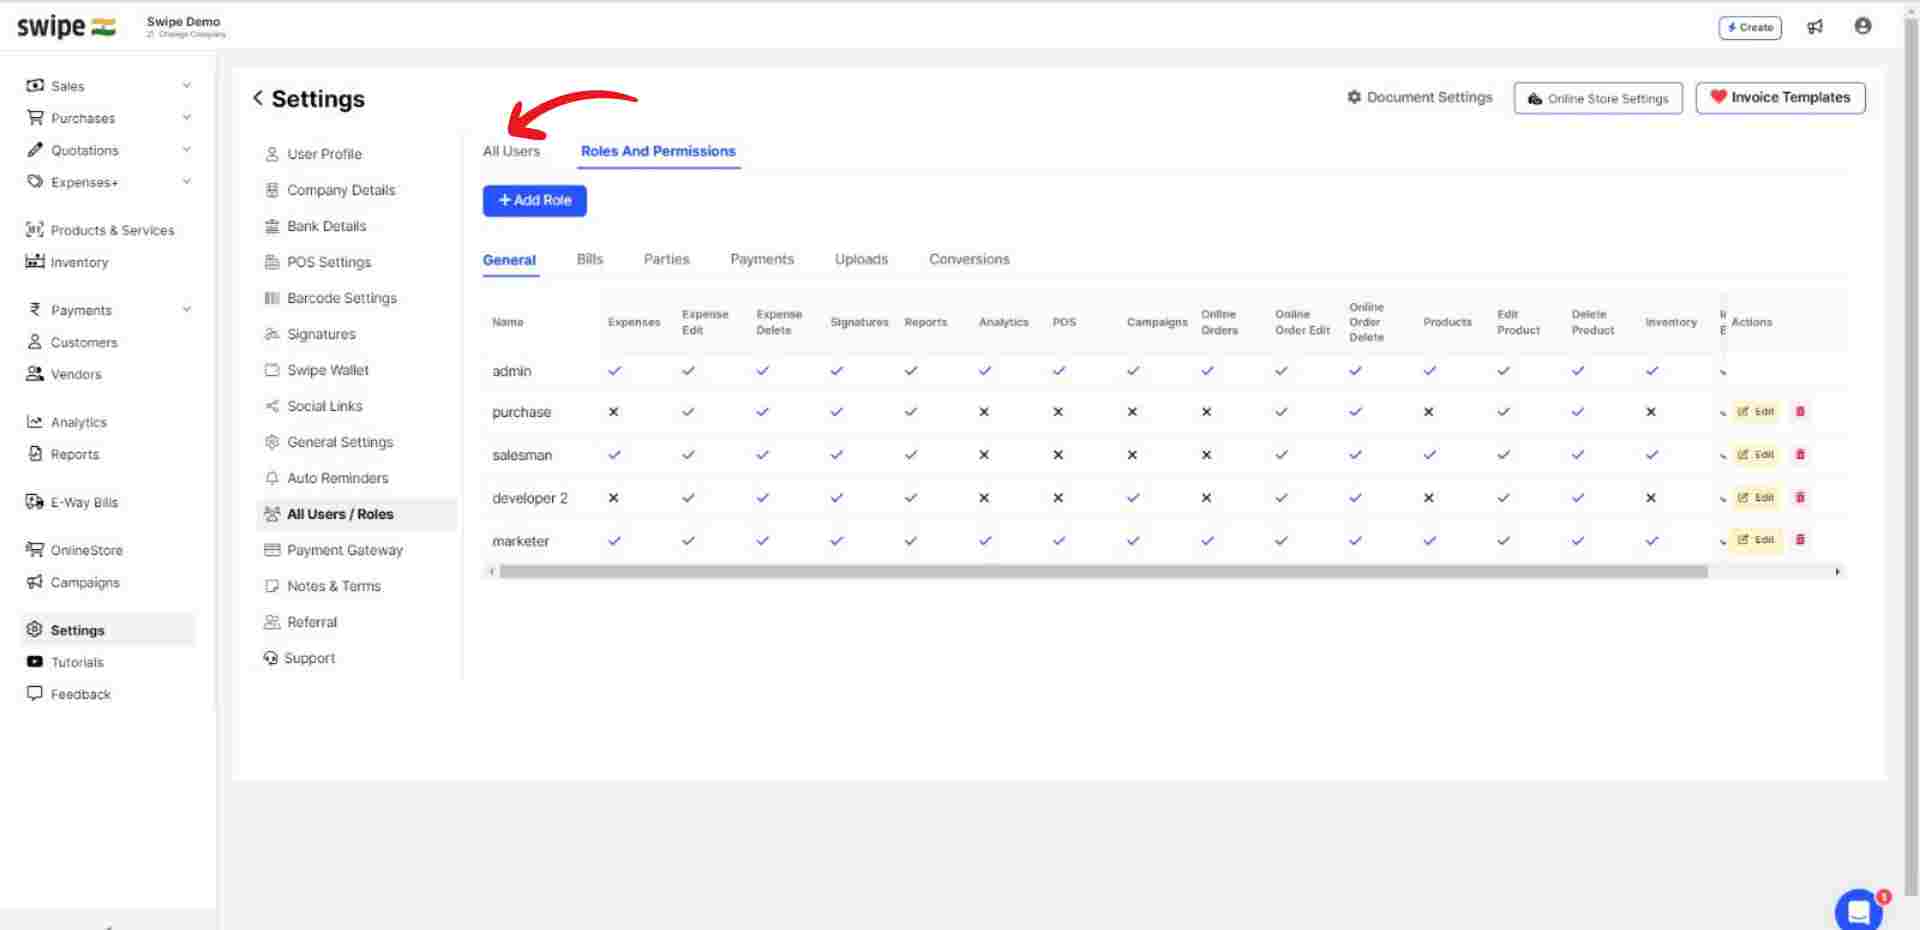
Now, select “All users” from the navigation bar and click on “+Add New User”.

A new form appears. Here, fill in the necessary details, like name, email, and mobile.
Note: You can always add or edit the details later.
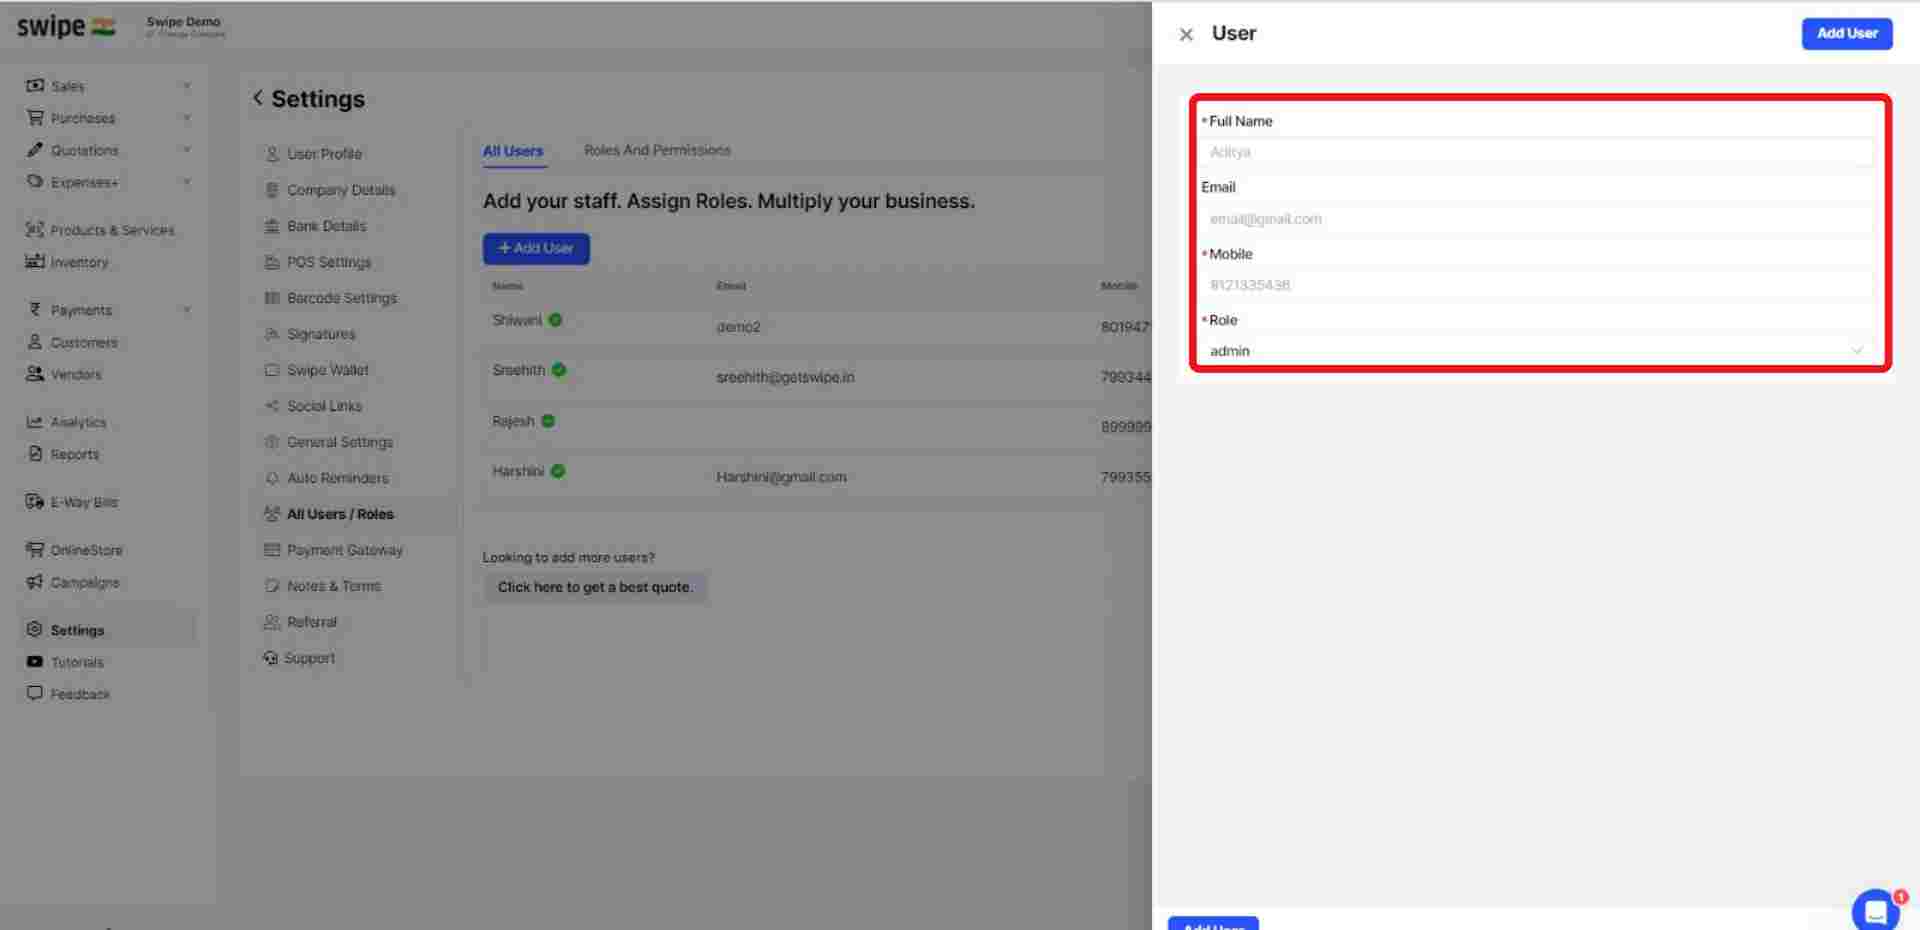
Now, click on the box below the role and add the role you added earlier.
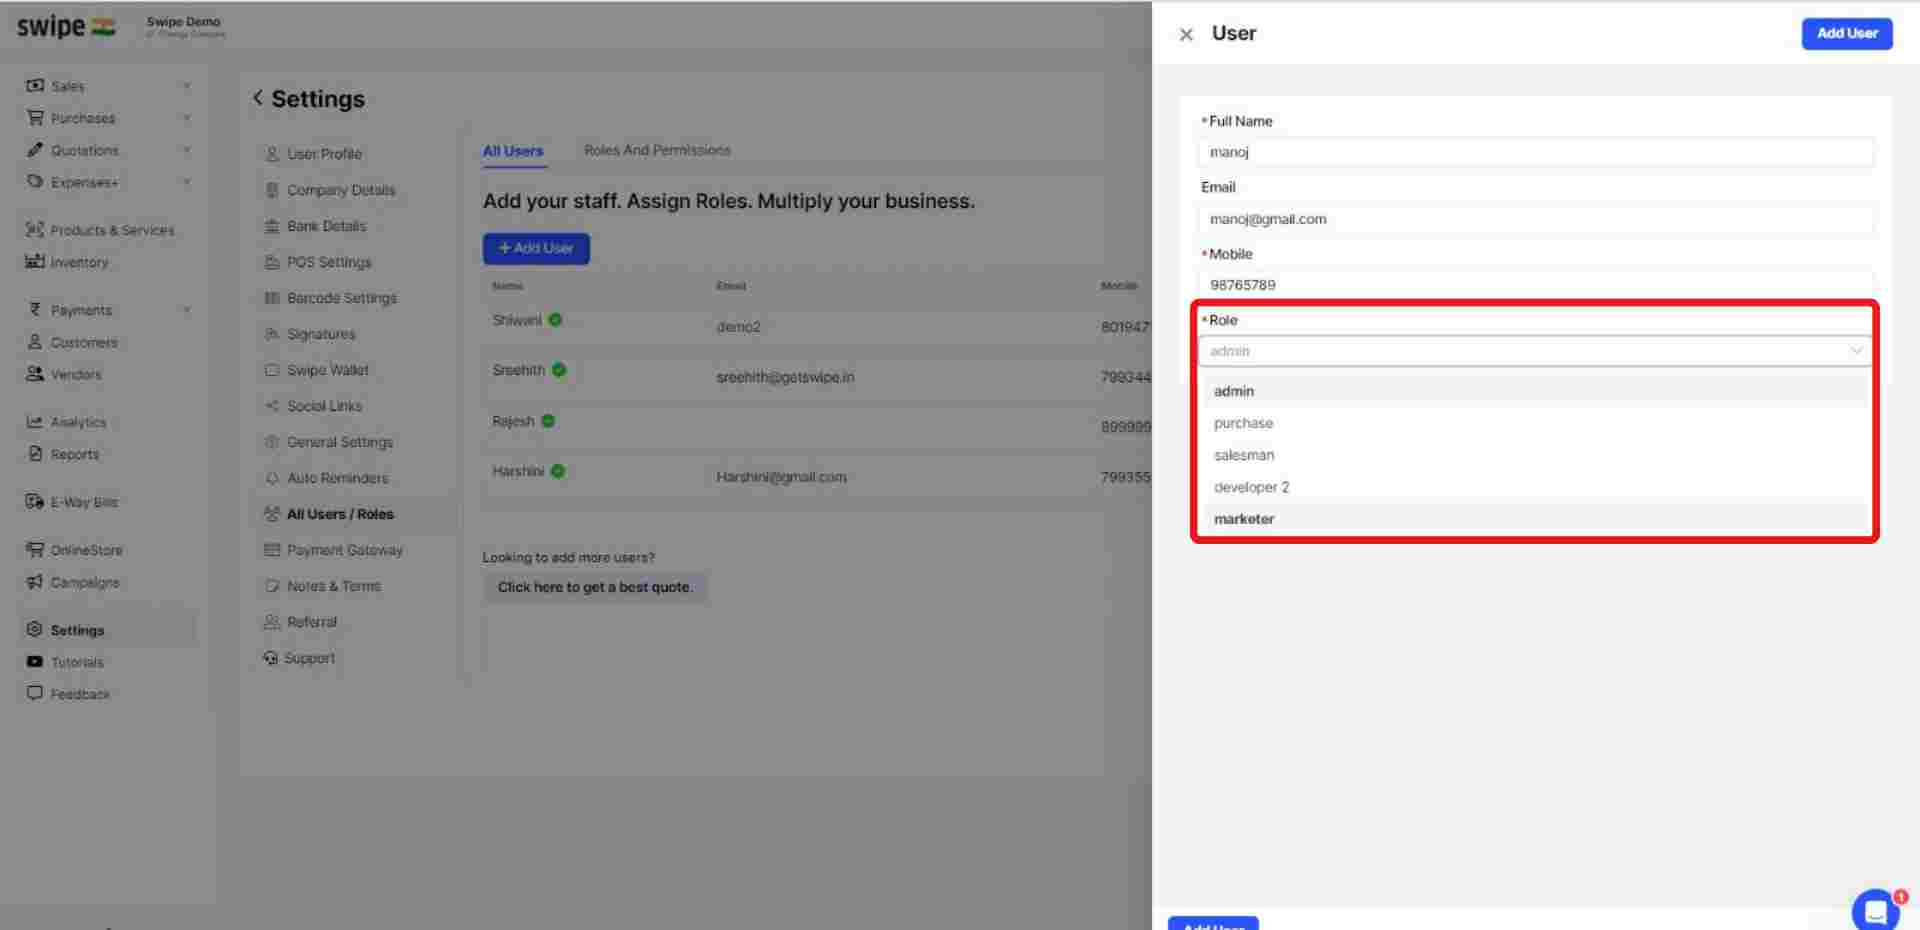
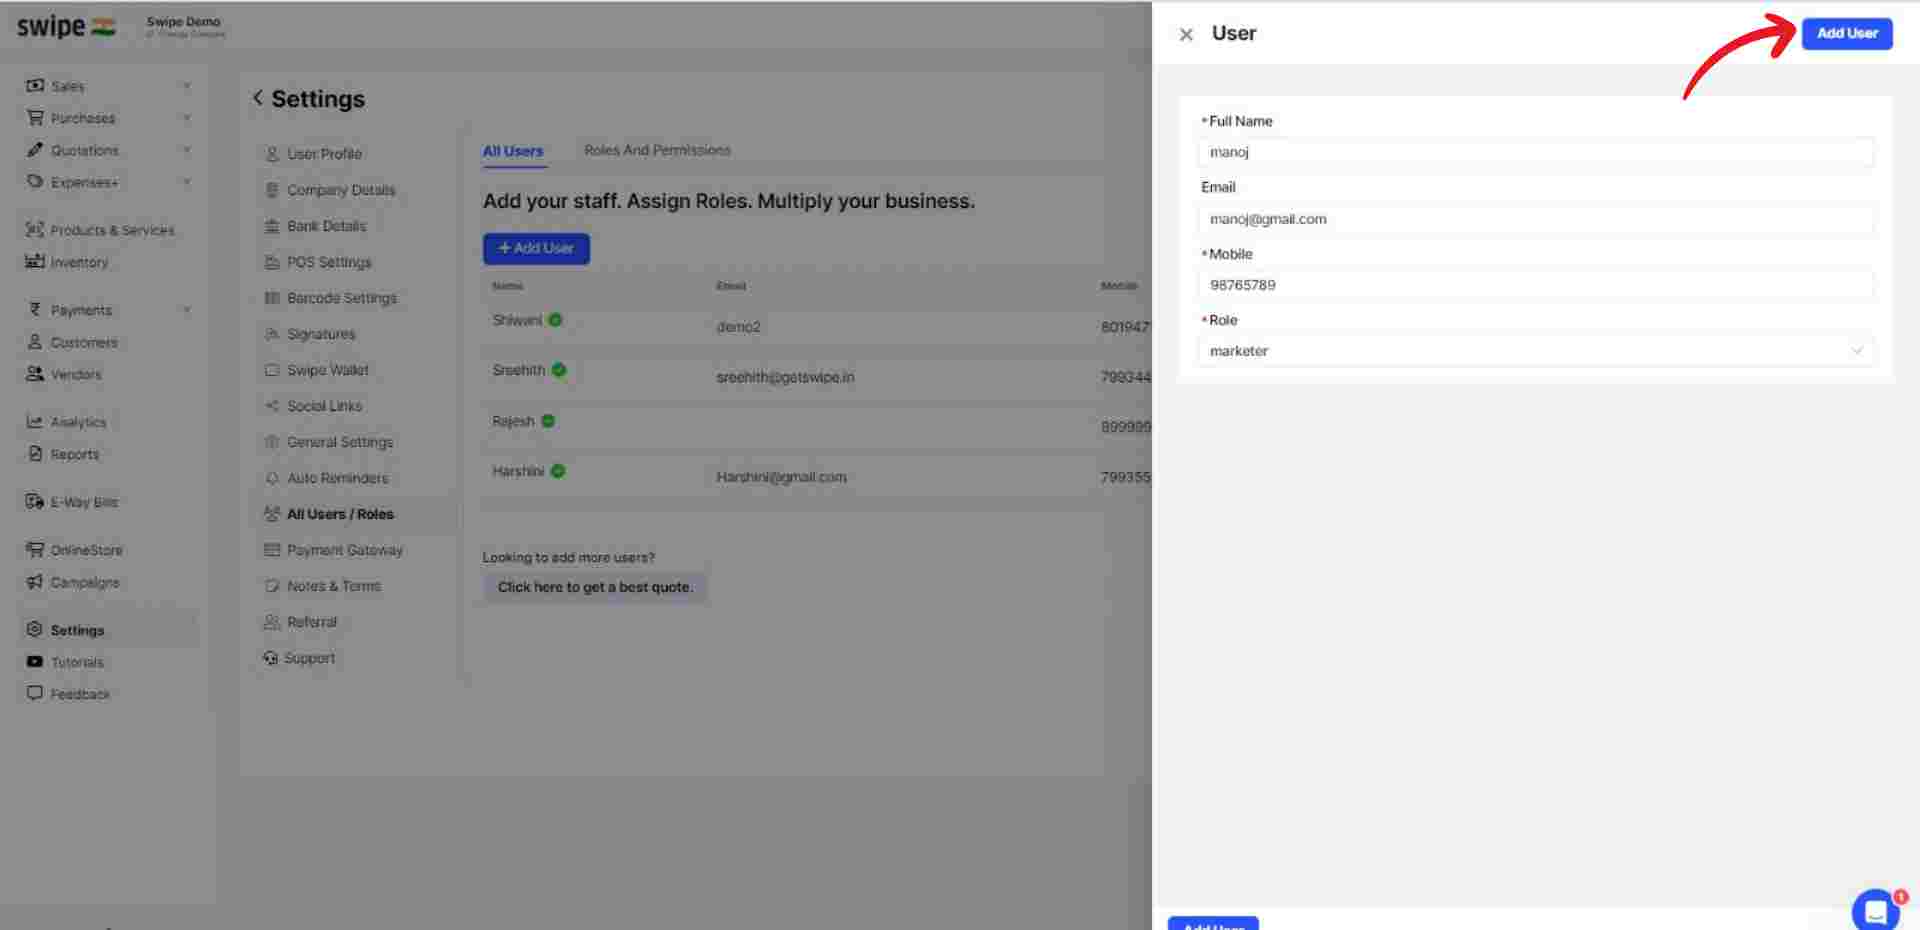
Now, click on the “Add user” button at the top right corner of the screen to add the user.
Note: You have successfully added a new user. You can follow the same procedure to add multiple users and assign new roles.
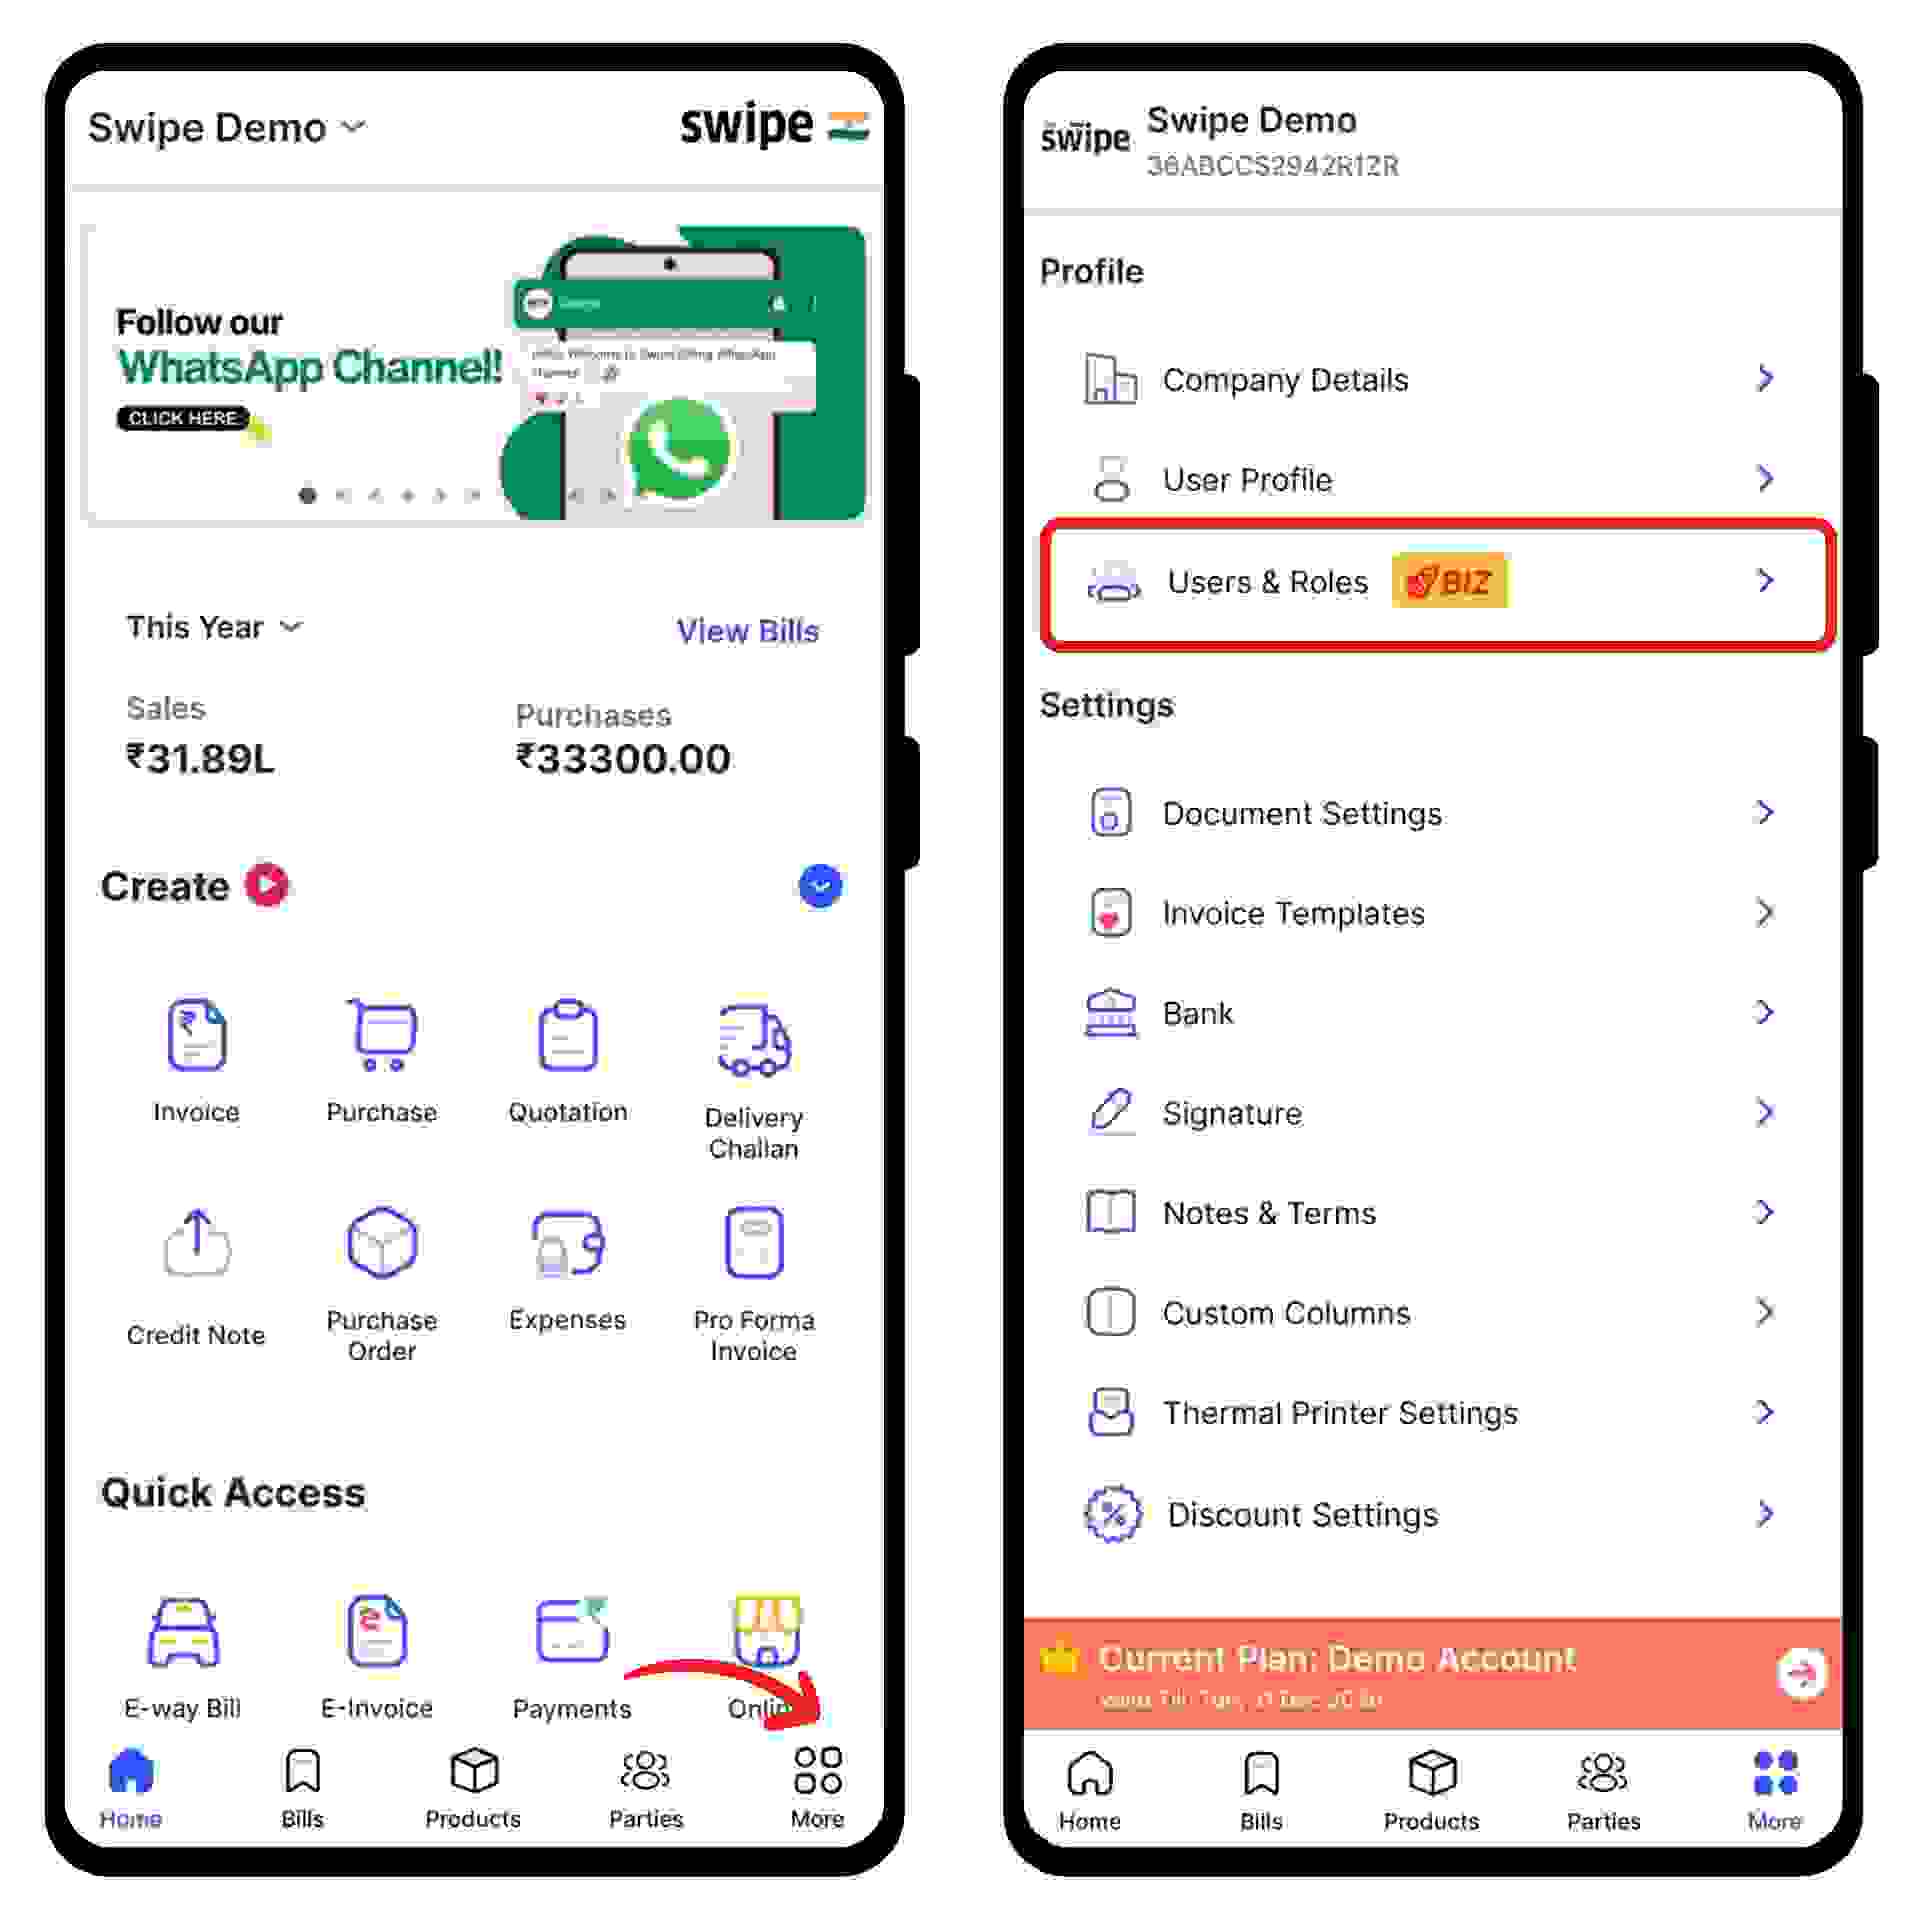
Choose the “Users & Roles” option from the menu under the profile section.
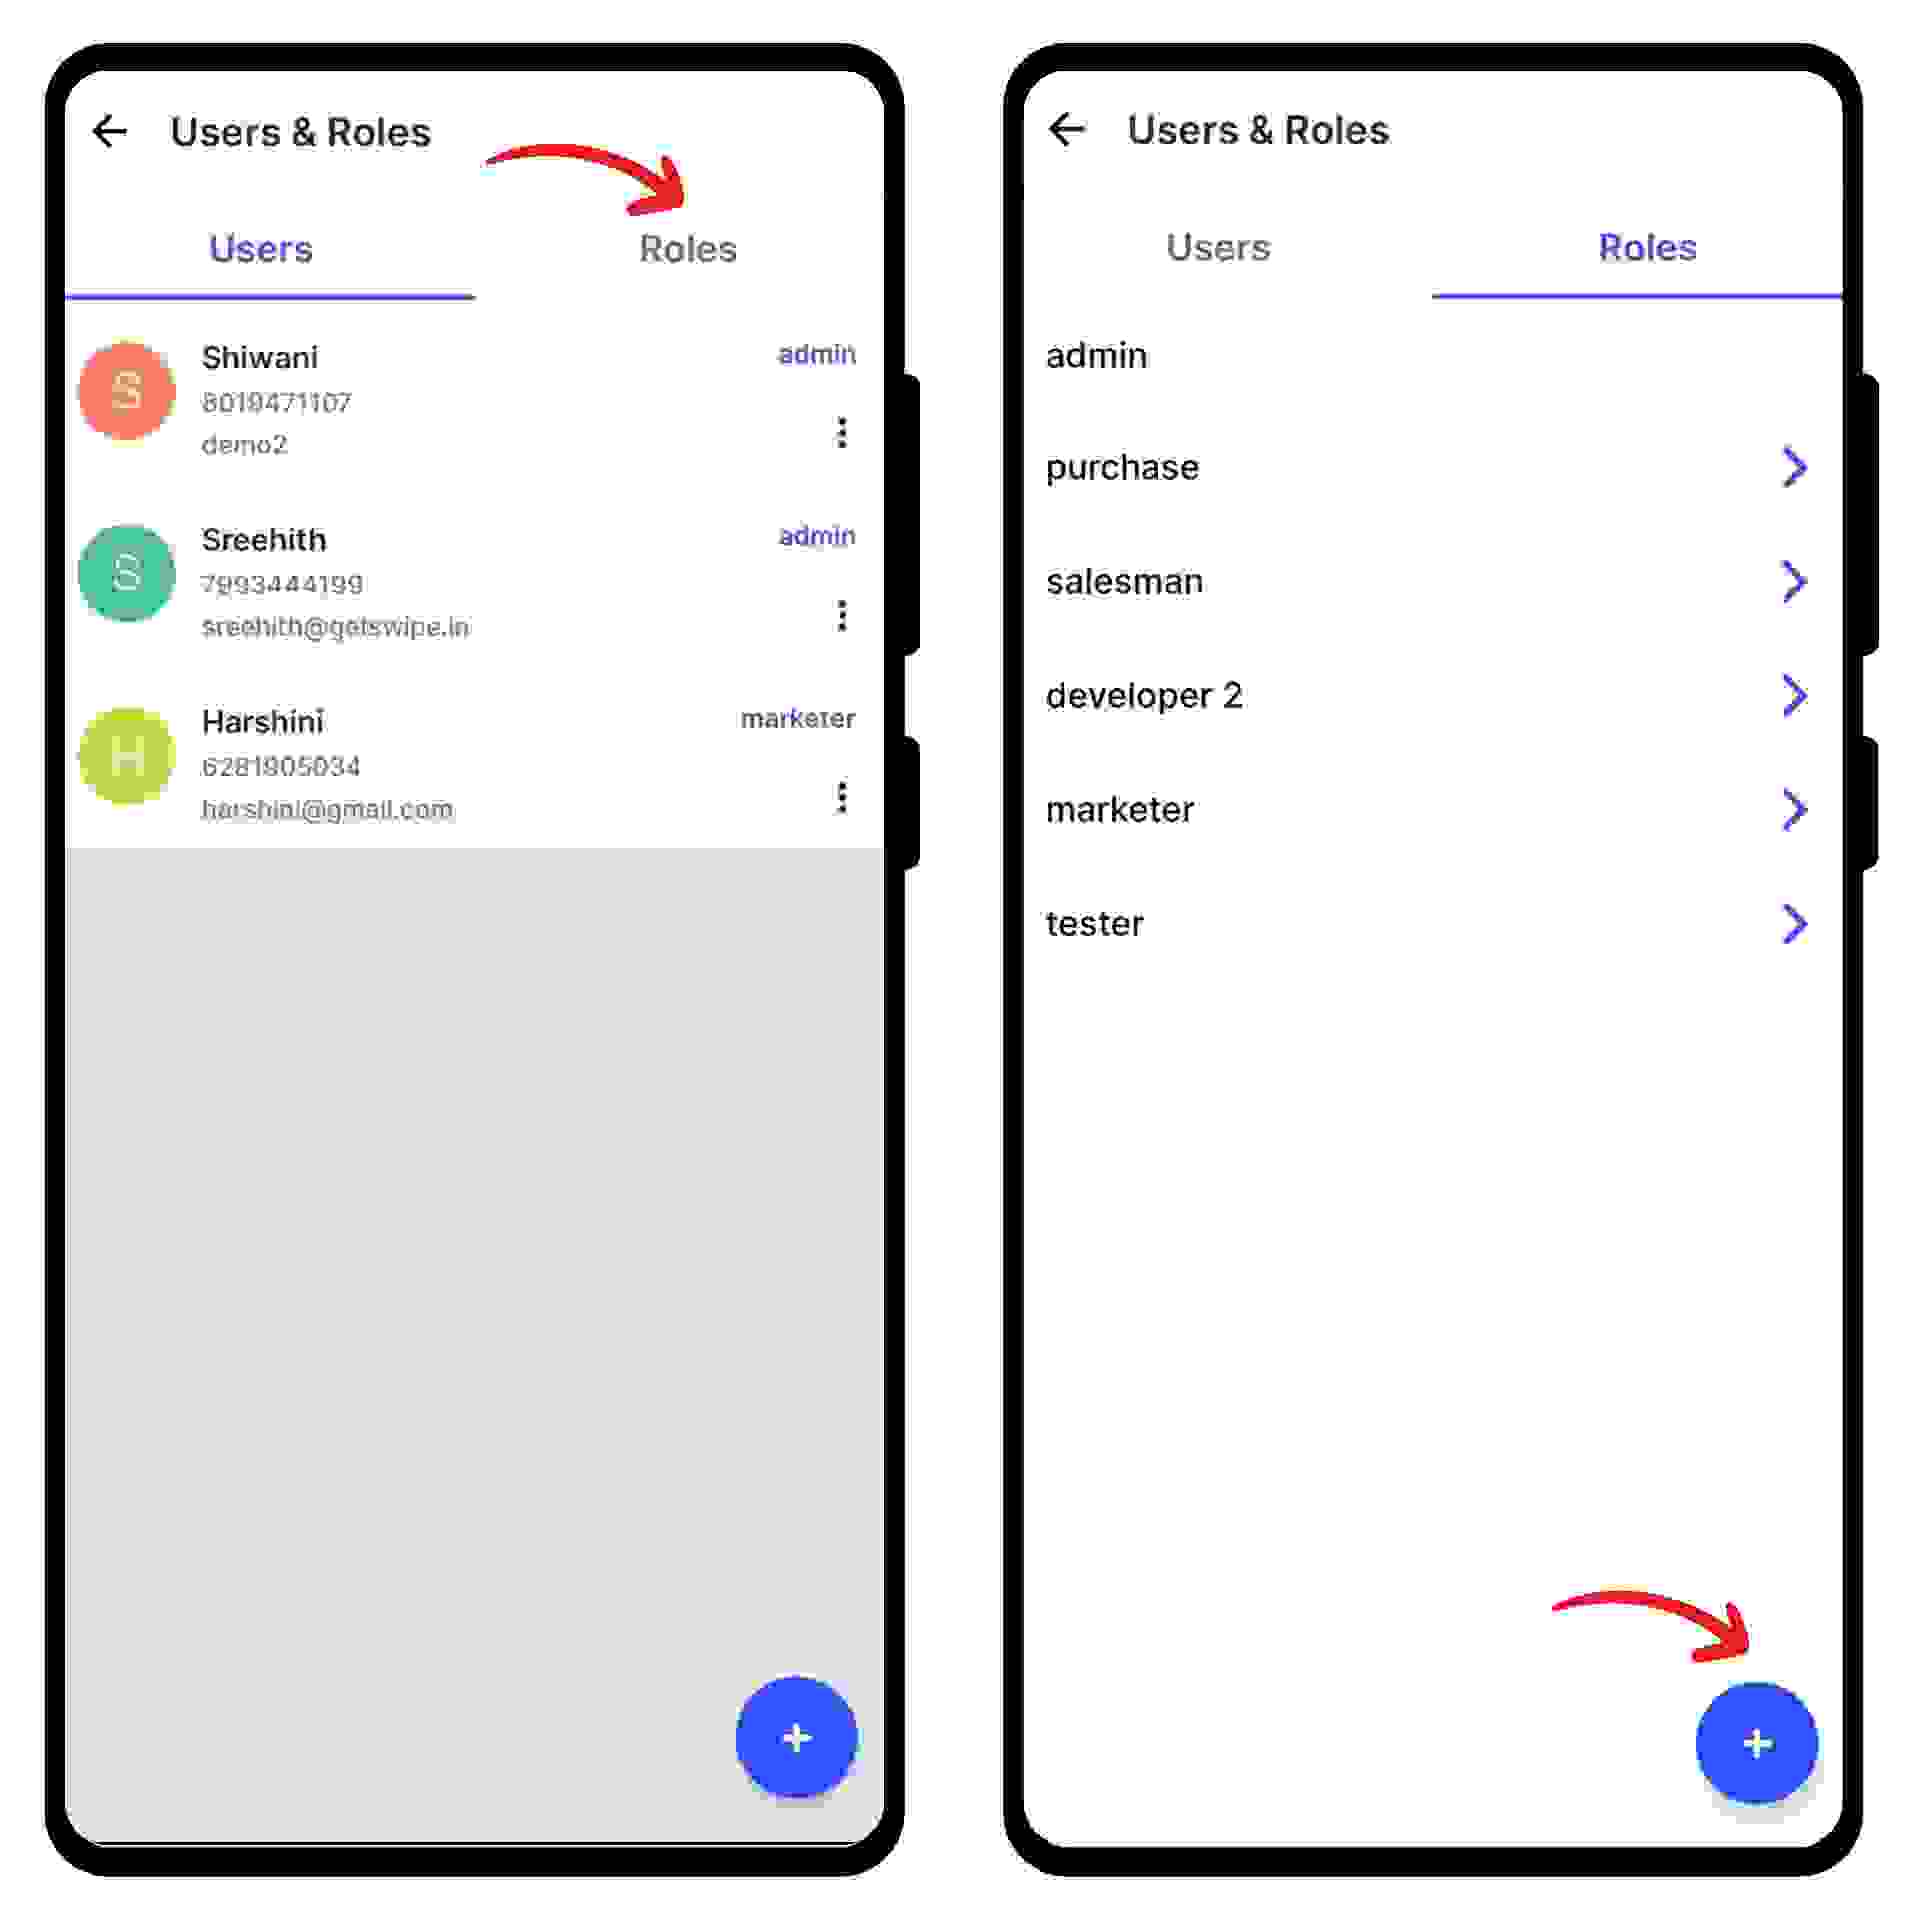
Select “Roles” from the navigation bar above and click on the “+” symbol at the bottom of the screen.
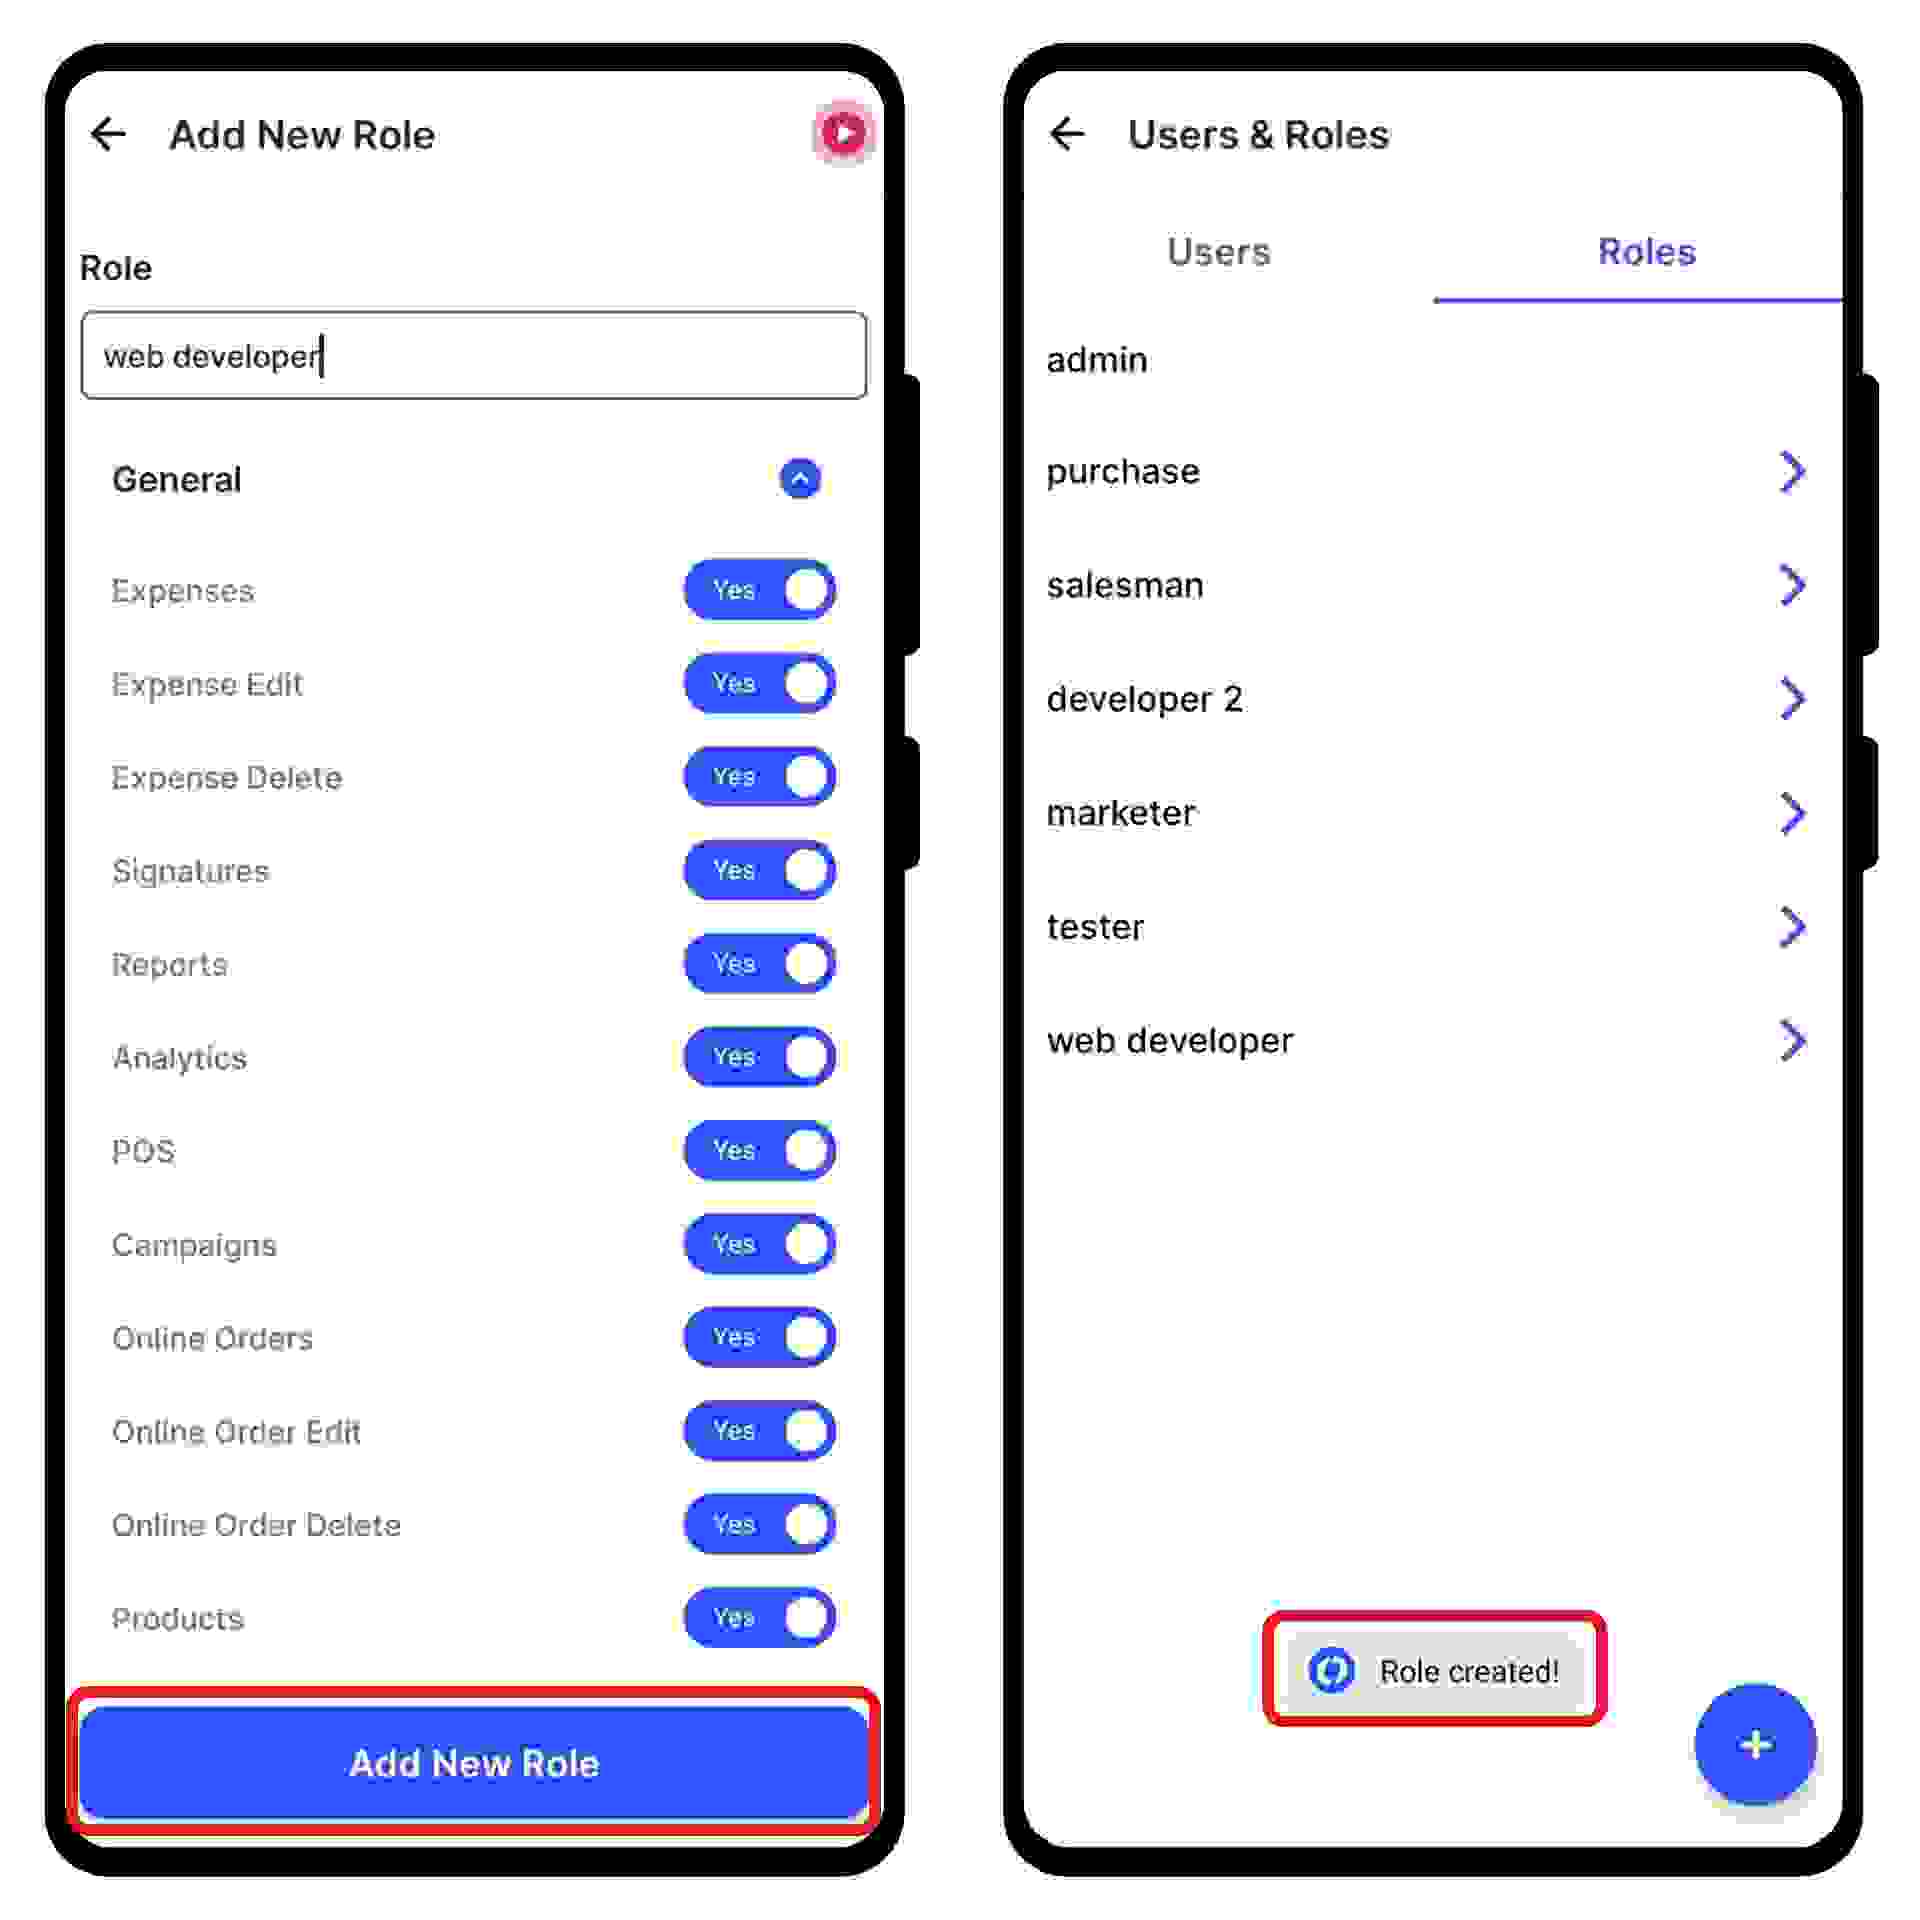
A new form appears. Now, enter the role name and switch on the toggle bar beside the permissions you would like to give access to for the specific role.
Note: You can always add or edit the permissions later.
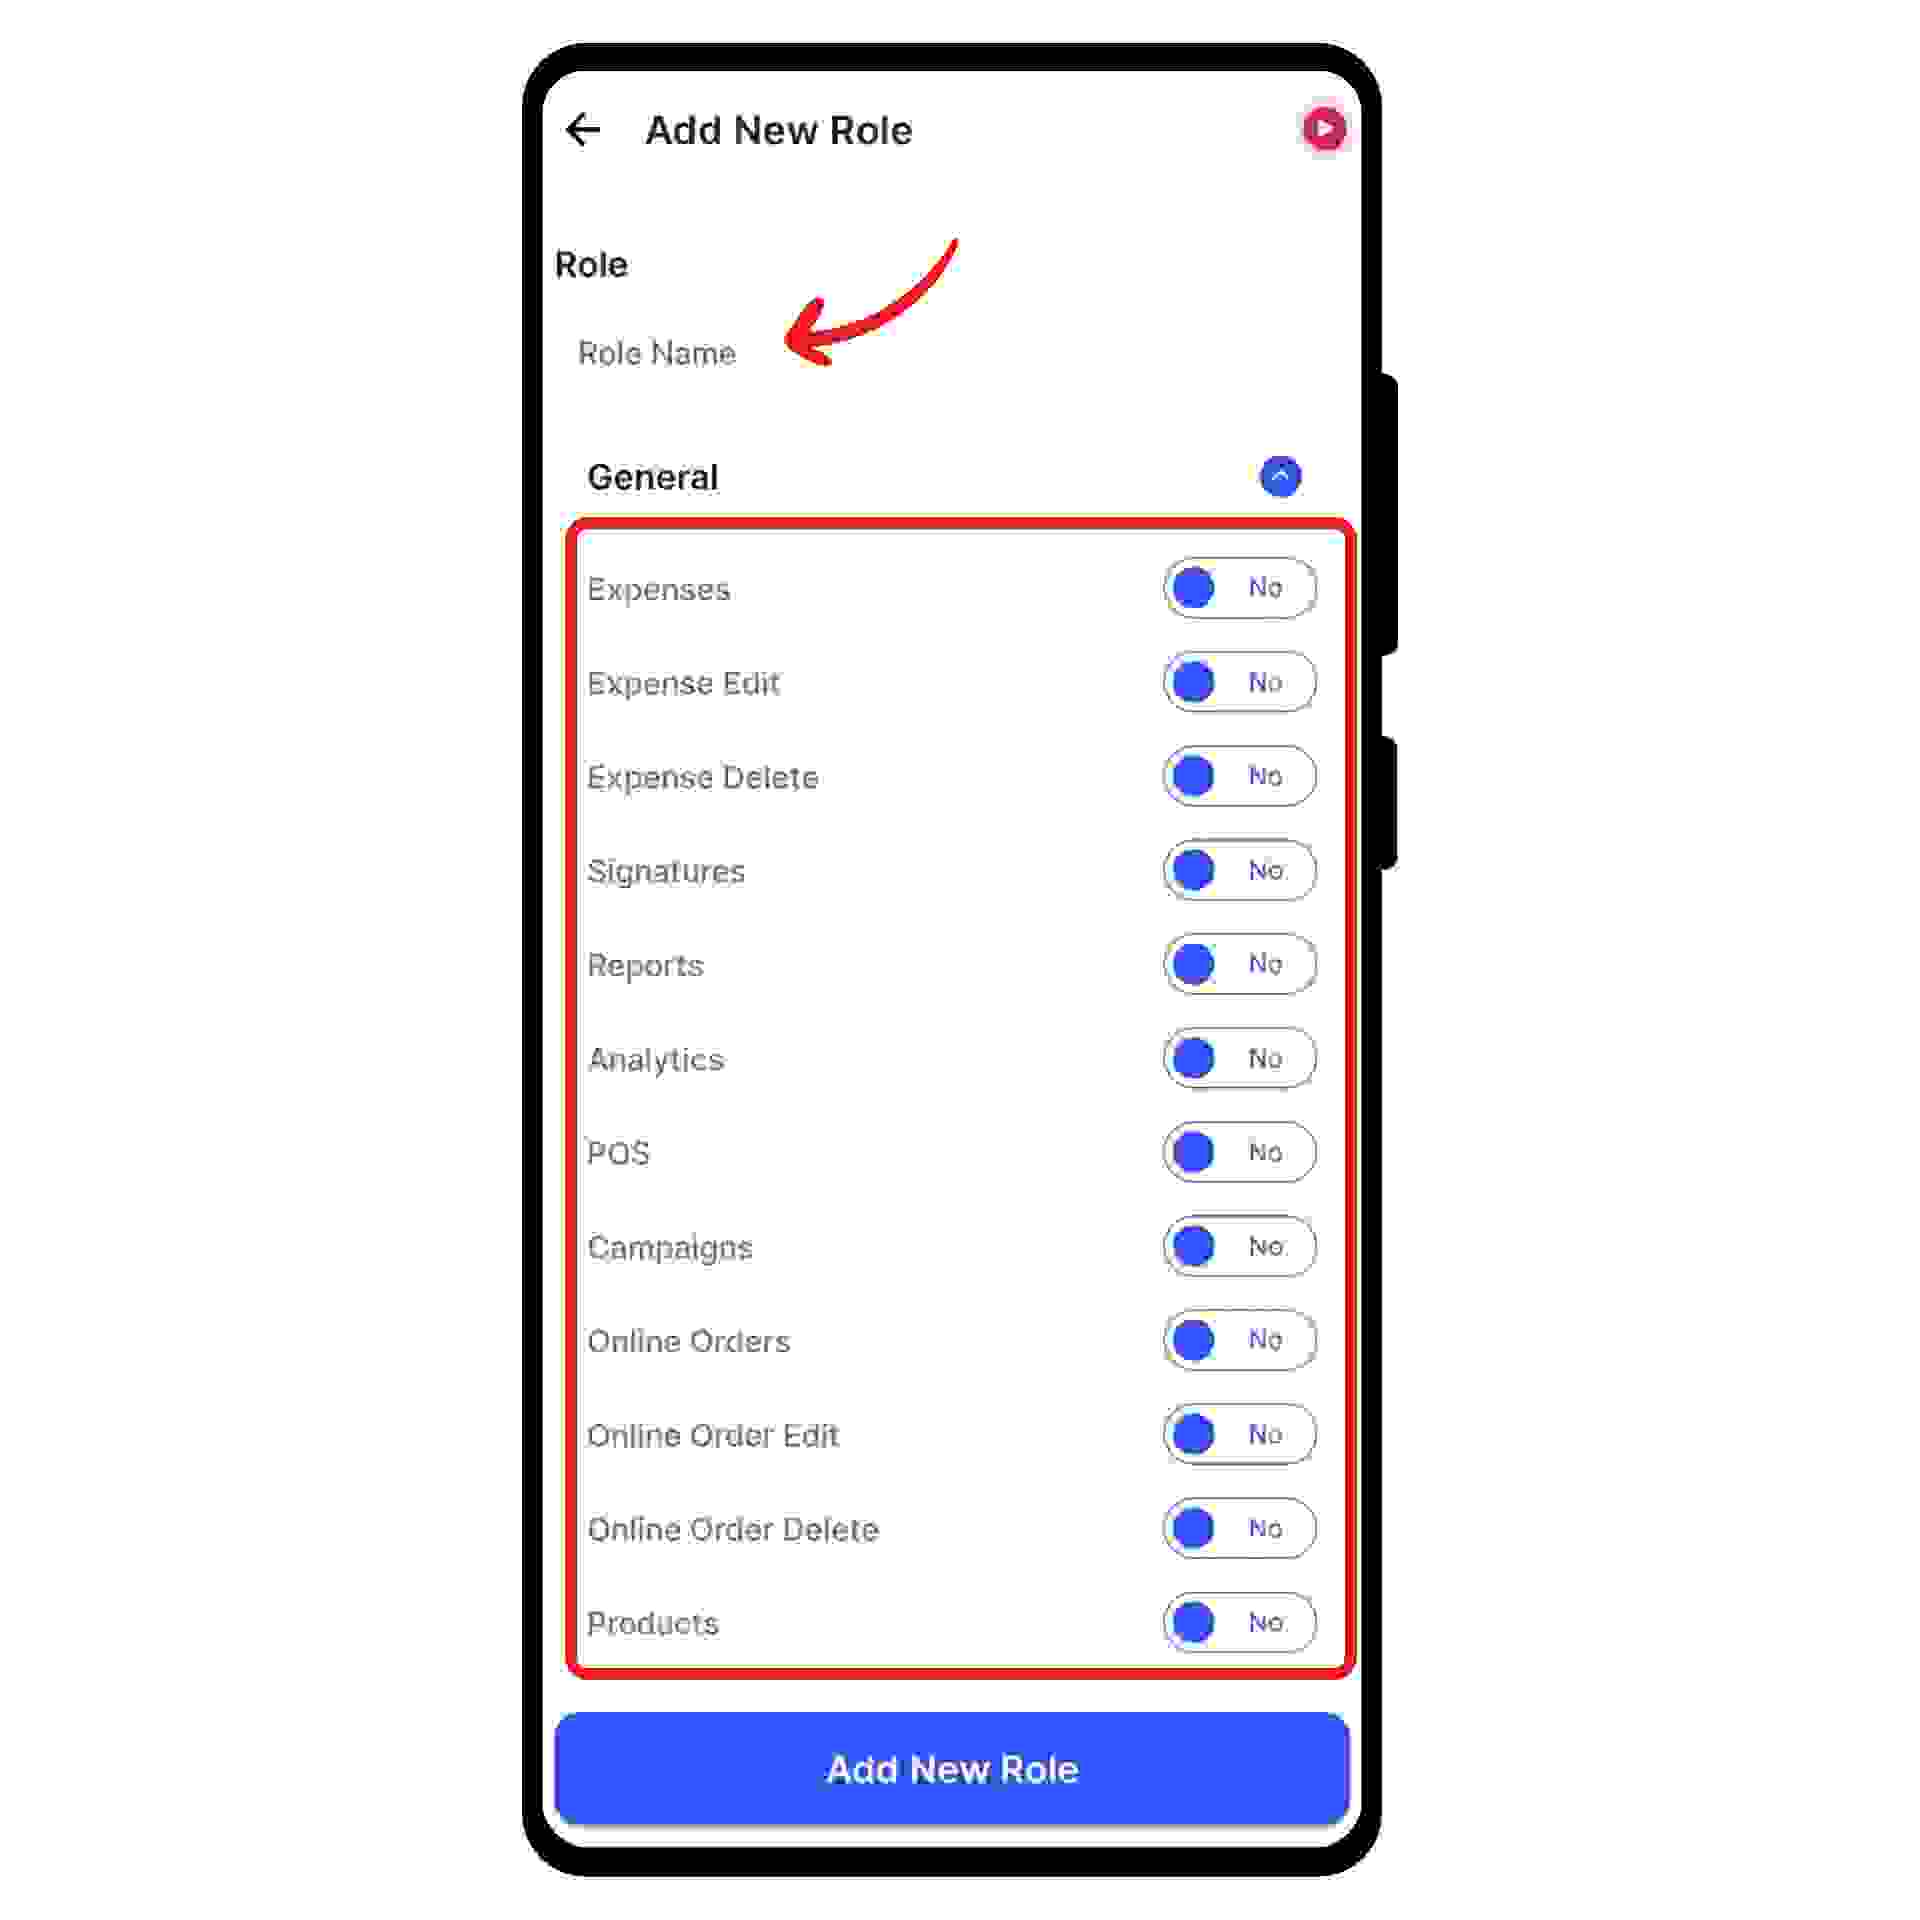
Now, click on the “Add Role” button present at the bottom of the screen.
Congratulations! You have successfully added a new role and a pop-up appears at the bottom of the screen informing the same.
