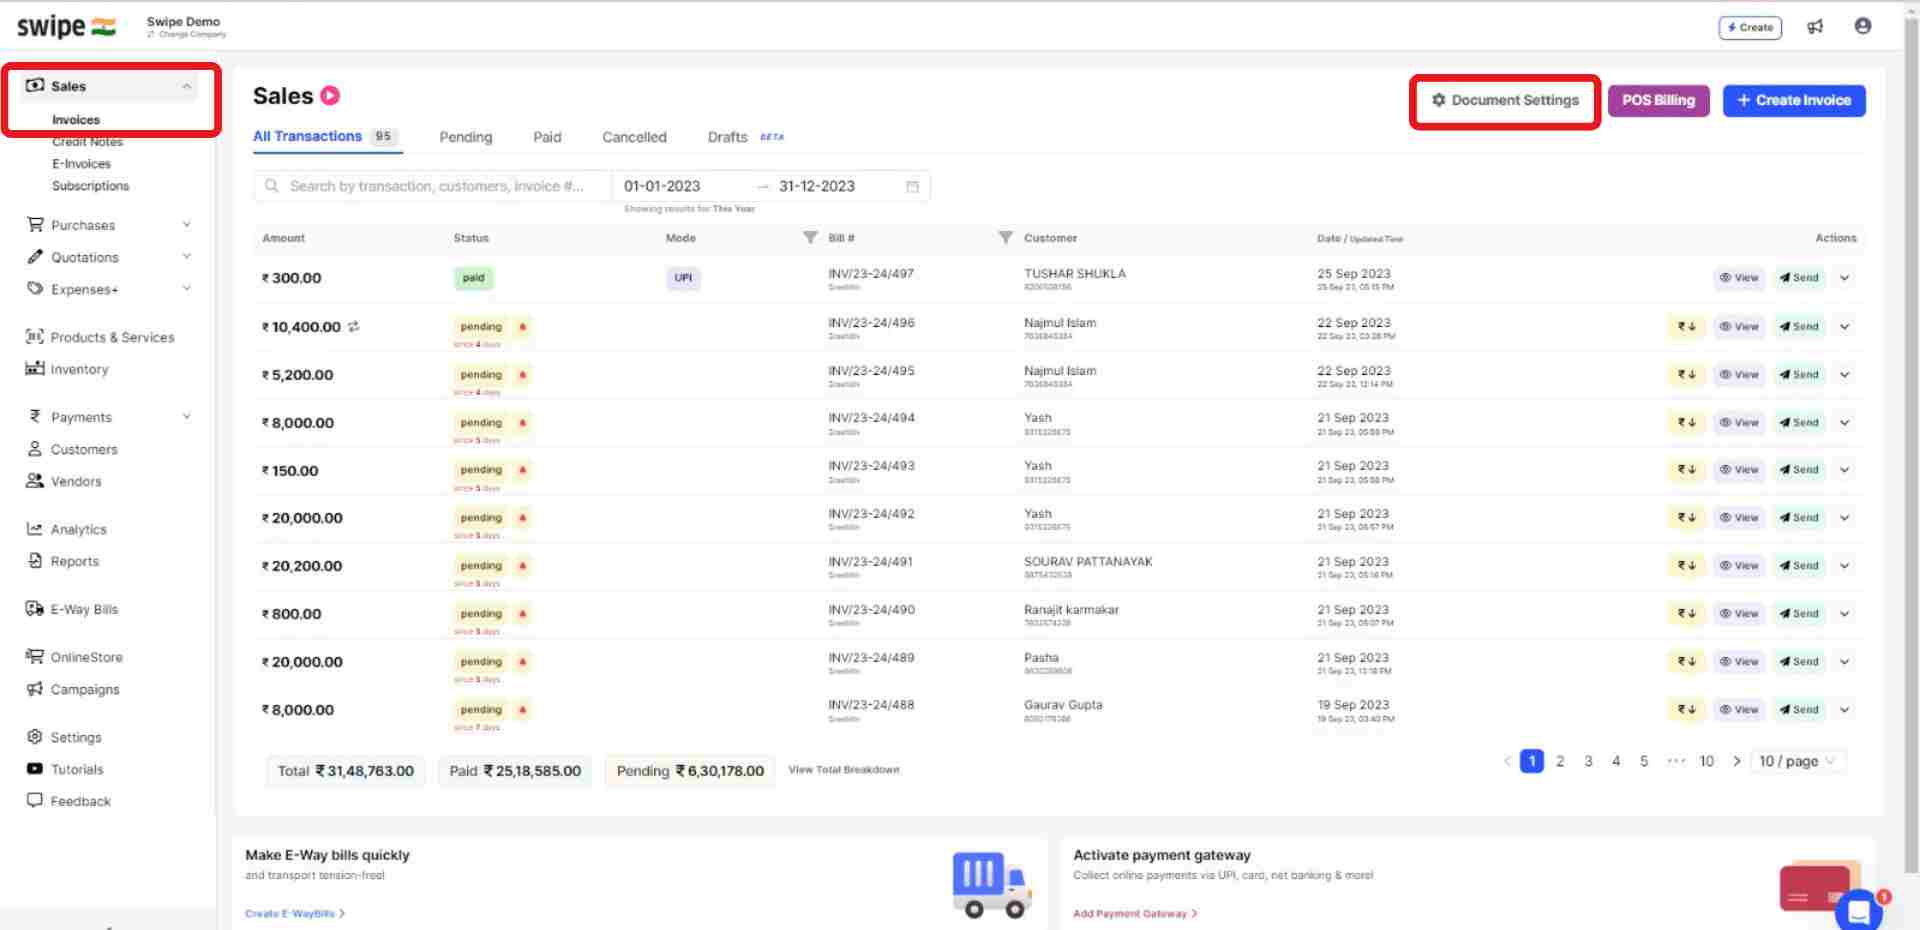
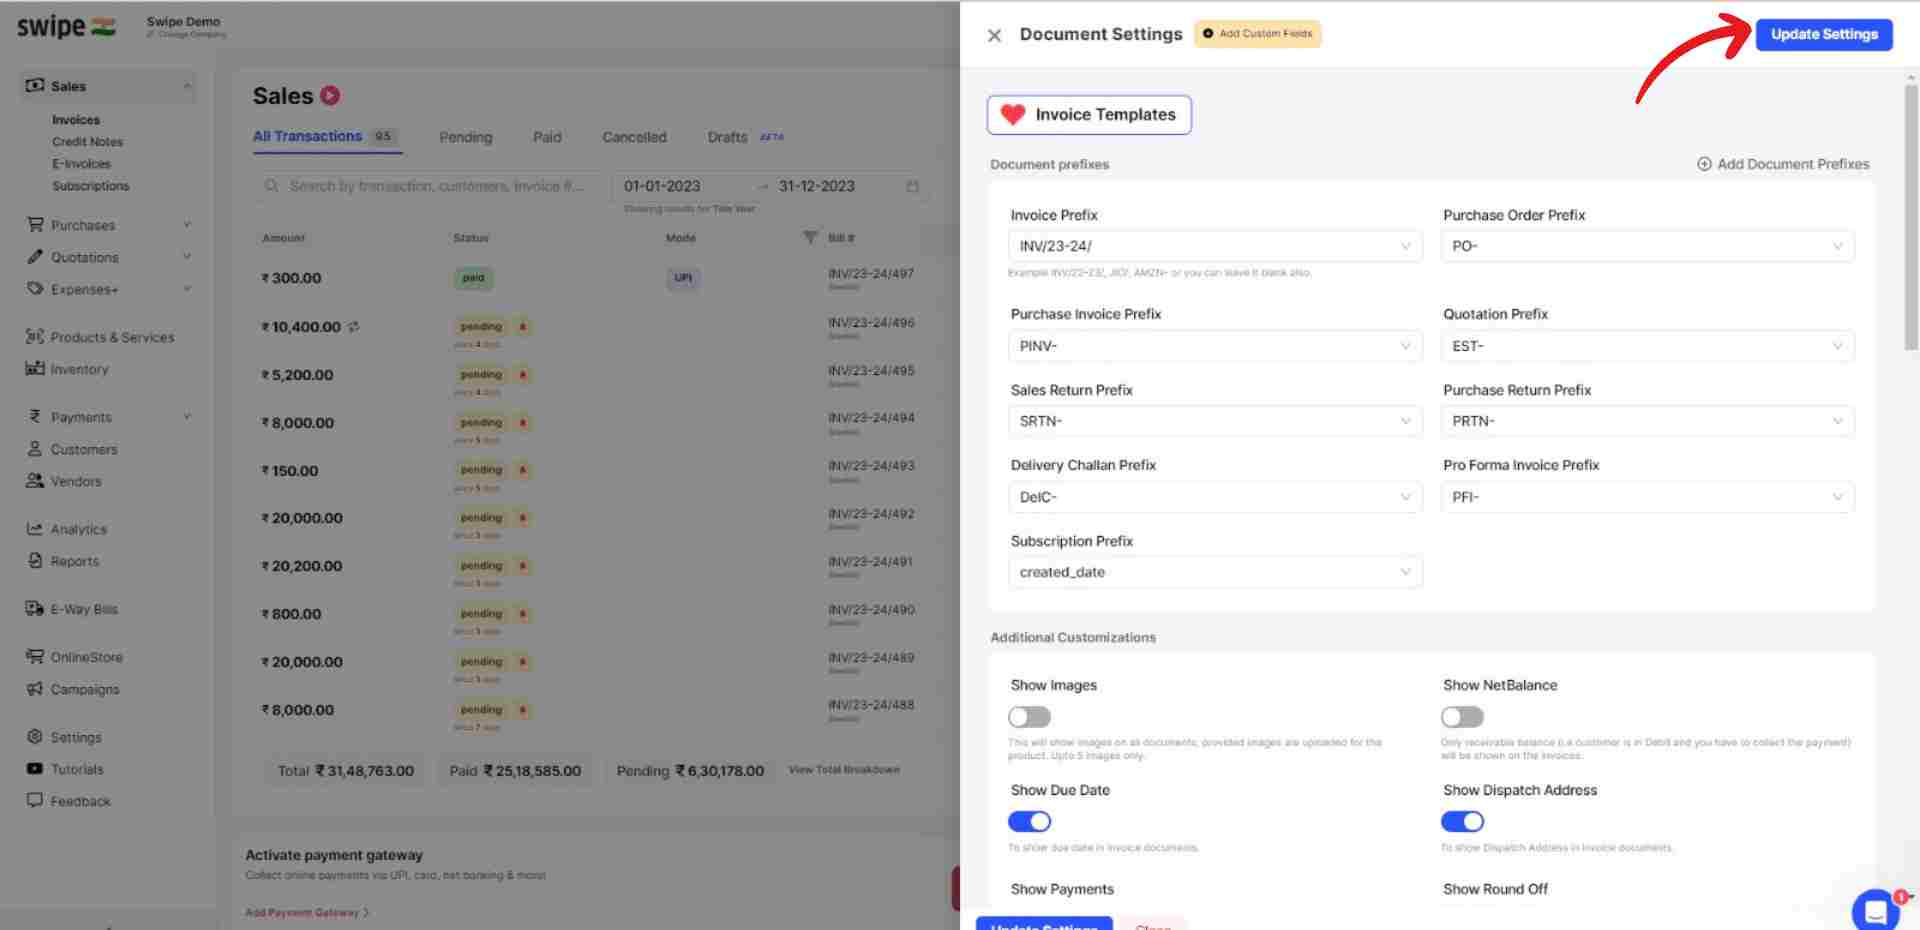
Now, click on the “Document Settings” Option at the top right corner of the screen.
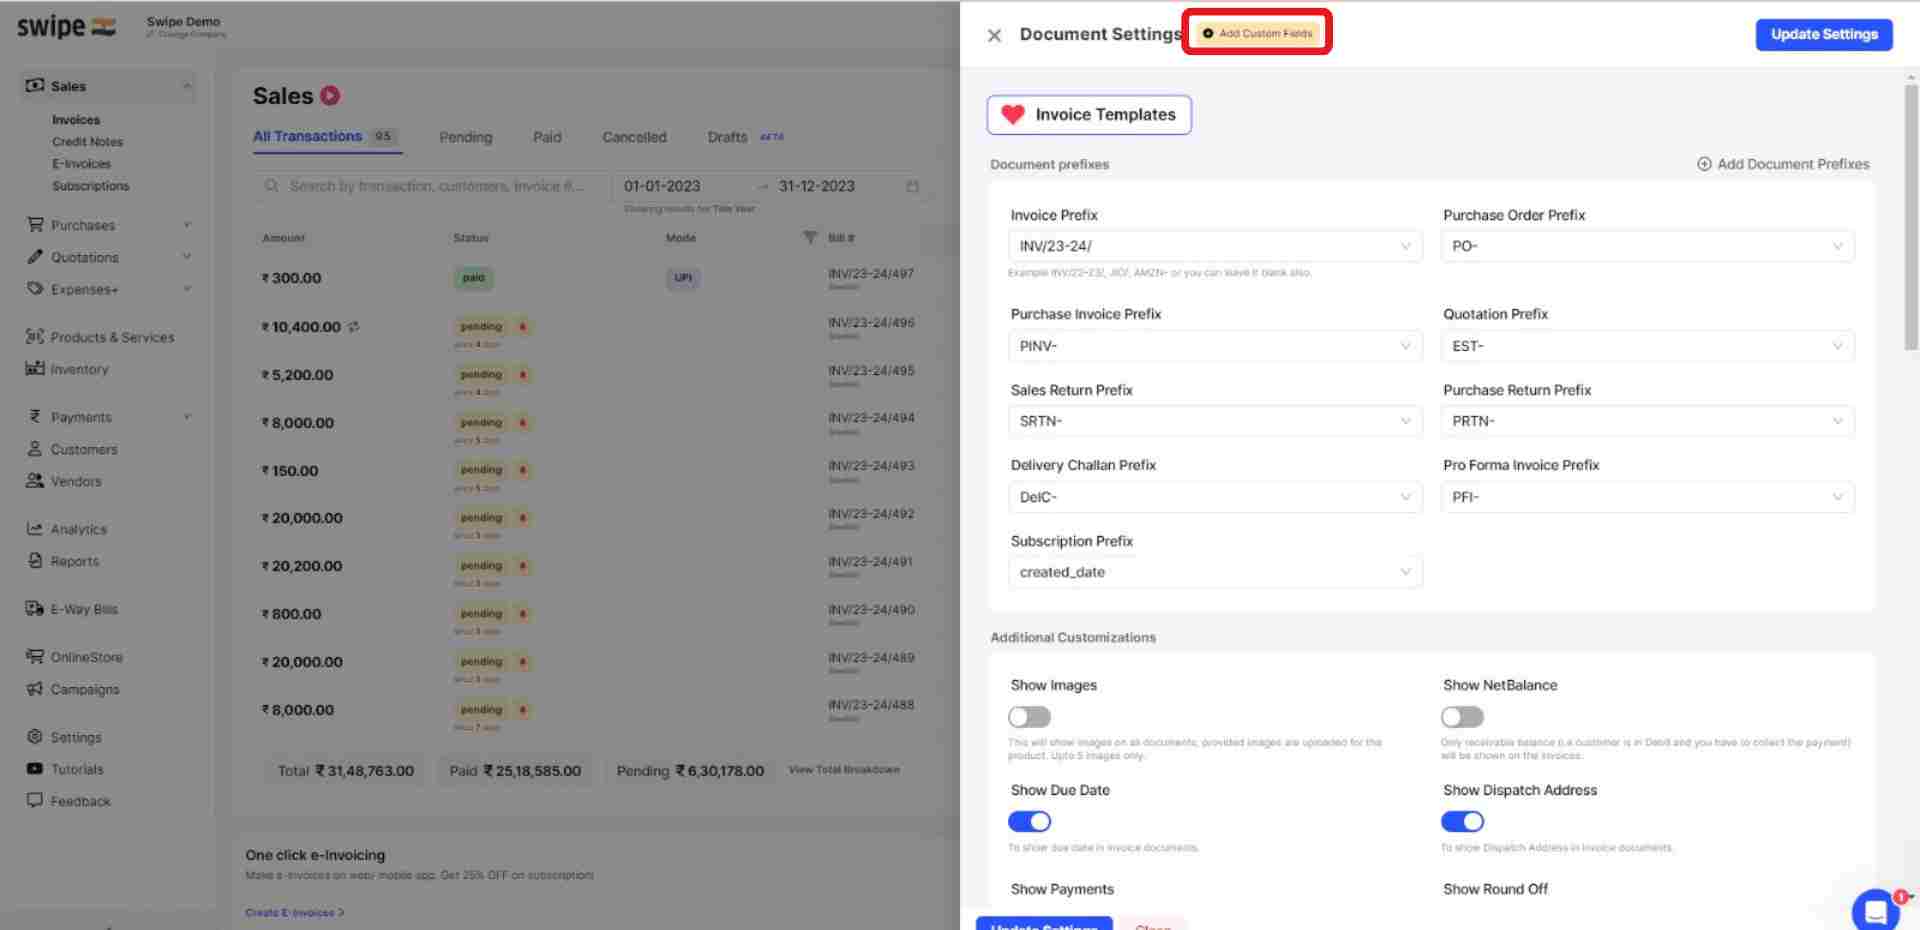
Step 2: Select “Add Custom Fields”.
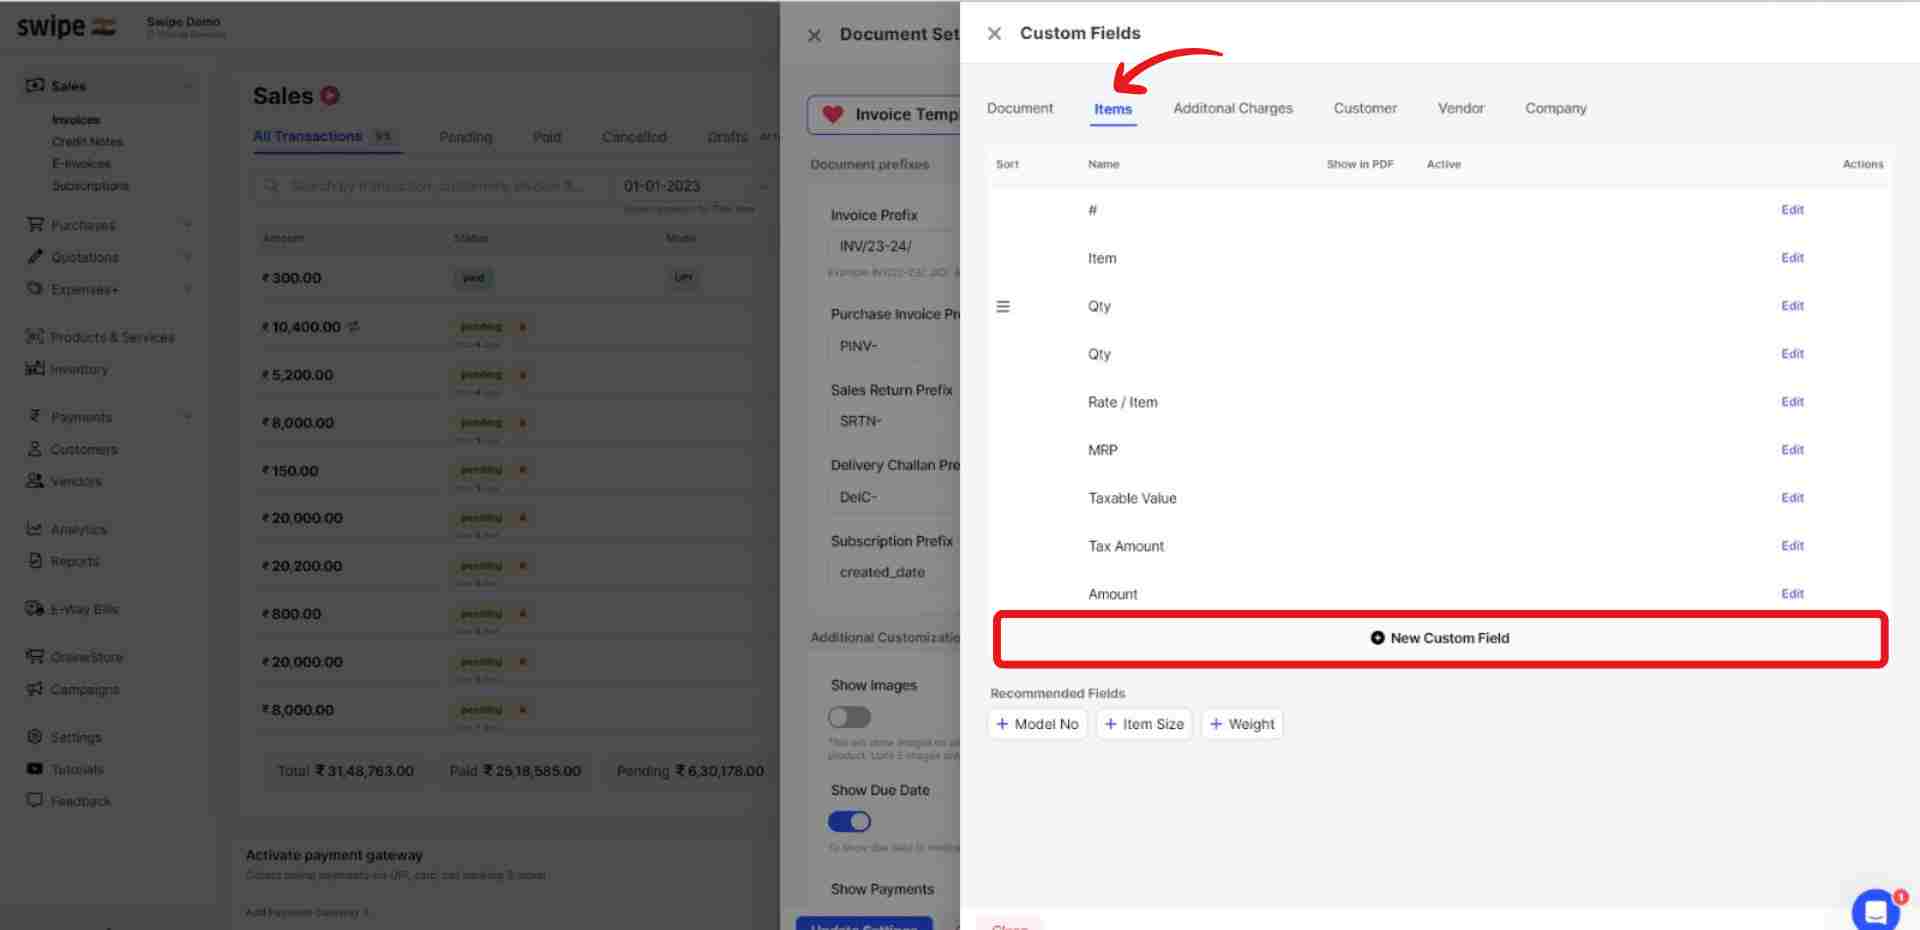
A new form appears. Here, select “Item” from the navigation bar and click on "+ New Custom Field”.
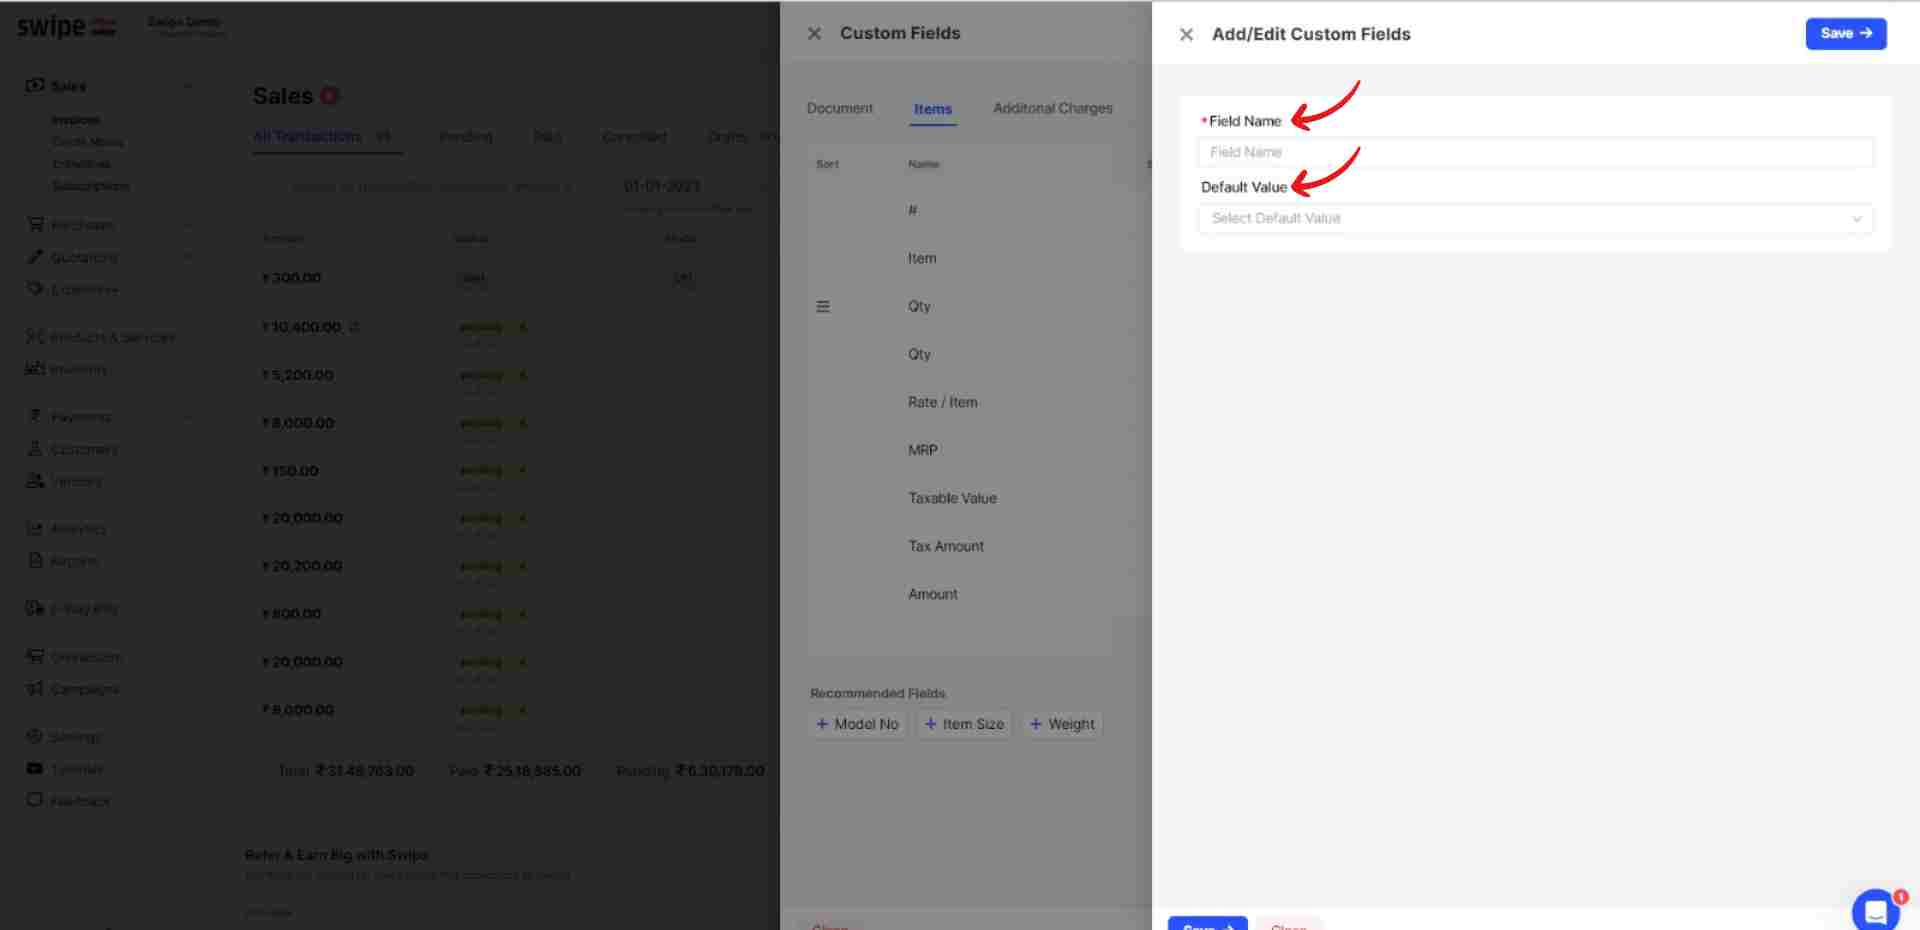
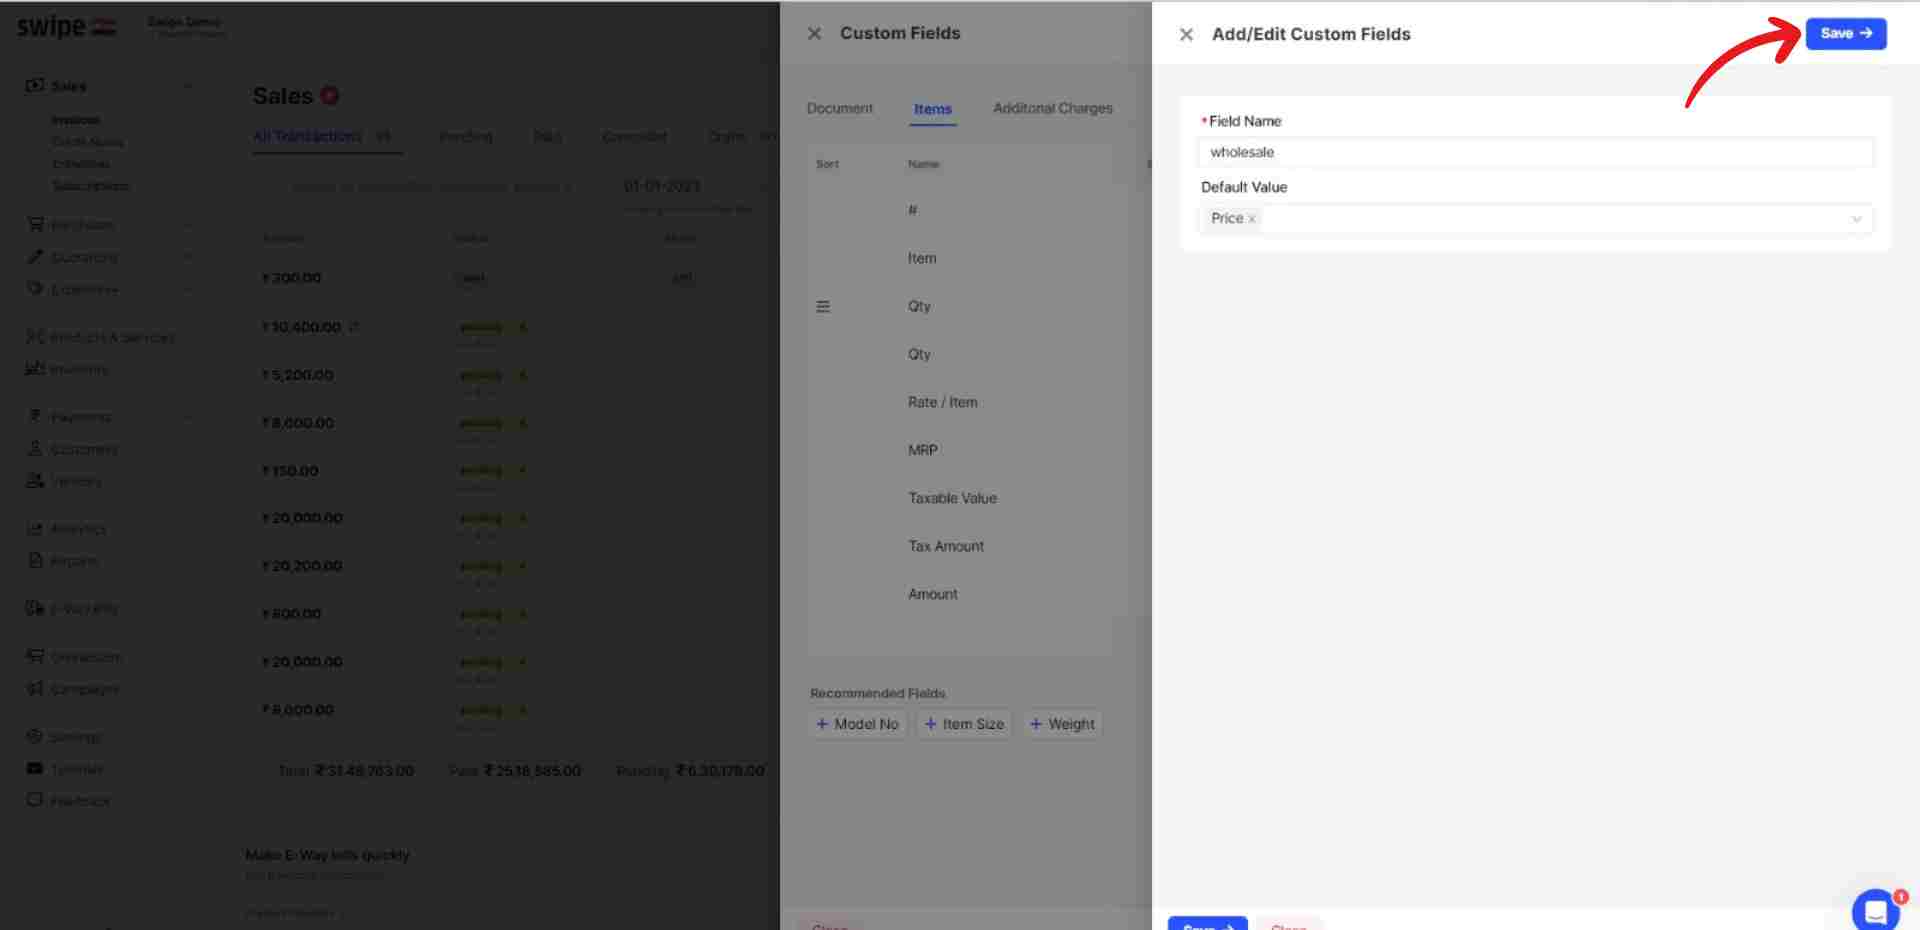
Step 3: Add a custom field
Enter the field name and default value.
Note: You can always add or edit the details later.
Step 4: Click on “Save”.
Now, click on the “Save” button at the top right corner of the screen to add an item custom field column.
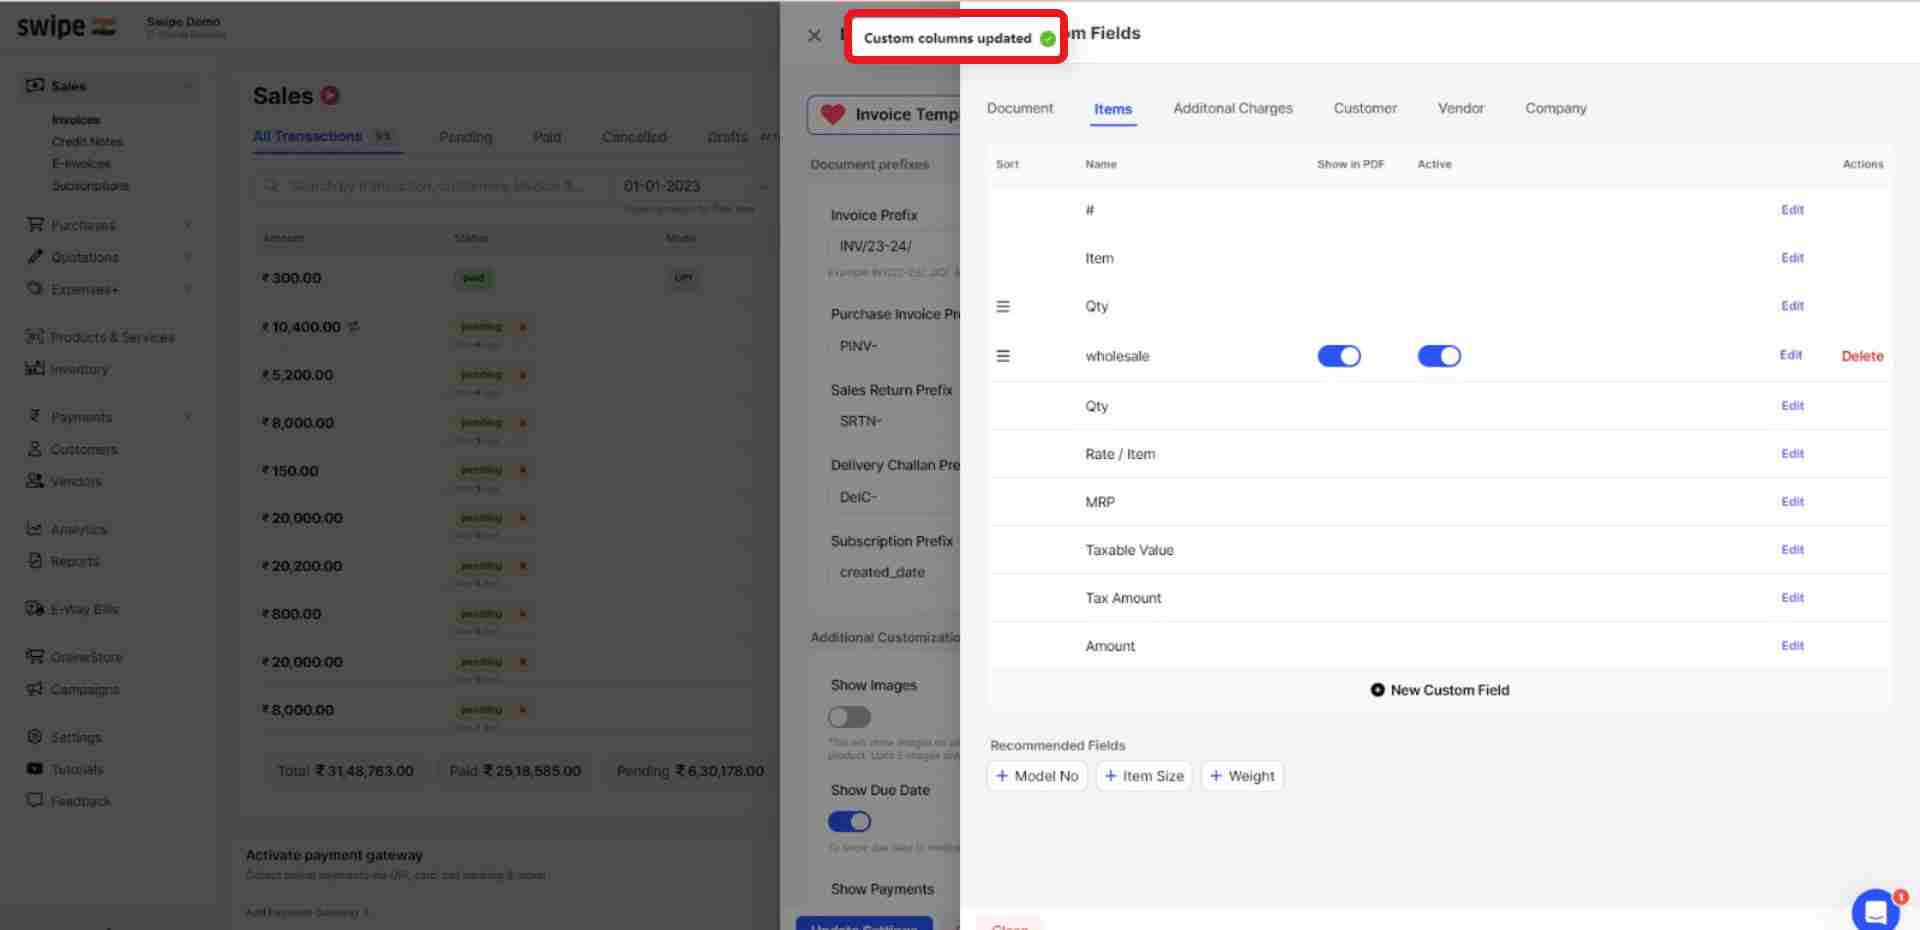
Note: You have successfully added an item custom field and a pop-up appears at the top of the screen informing the same. From now on, you can add this custom field to an Invoice whenever you create a new transaction.
Step 5: Click on “Update Settings”.
Close the custom field form and Click on “Update settings” from the first form present at the top right corner of the screen.
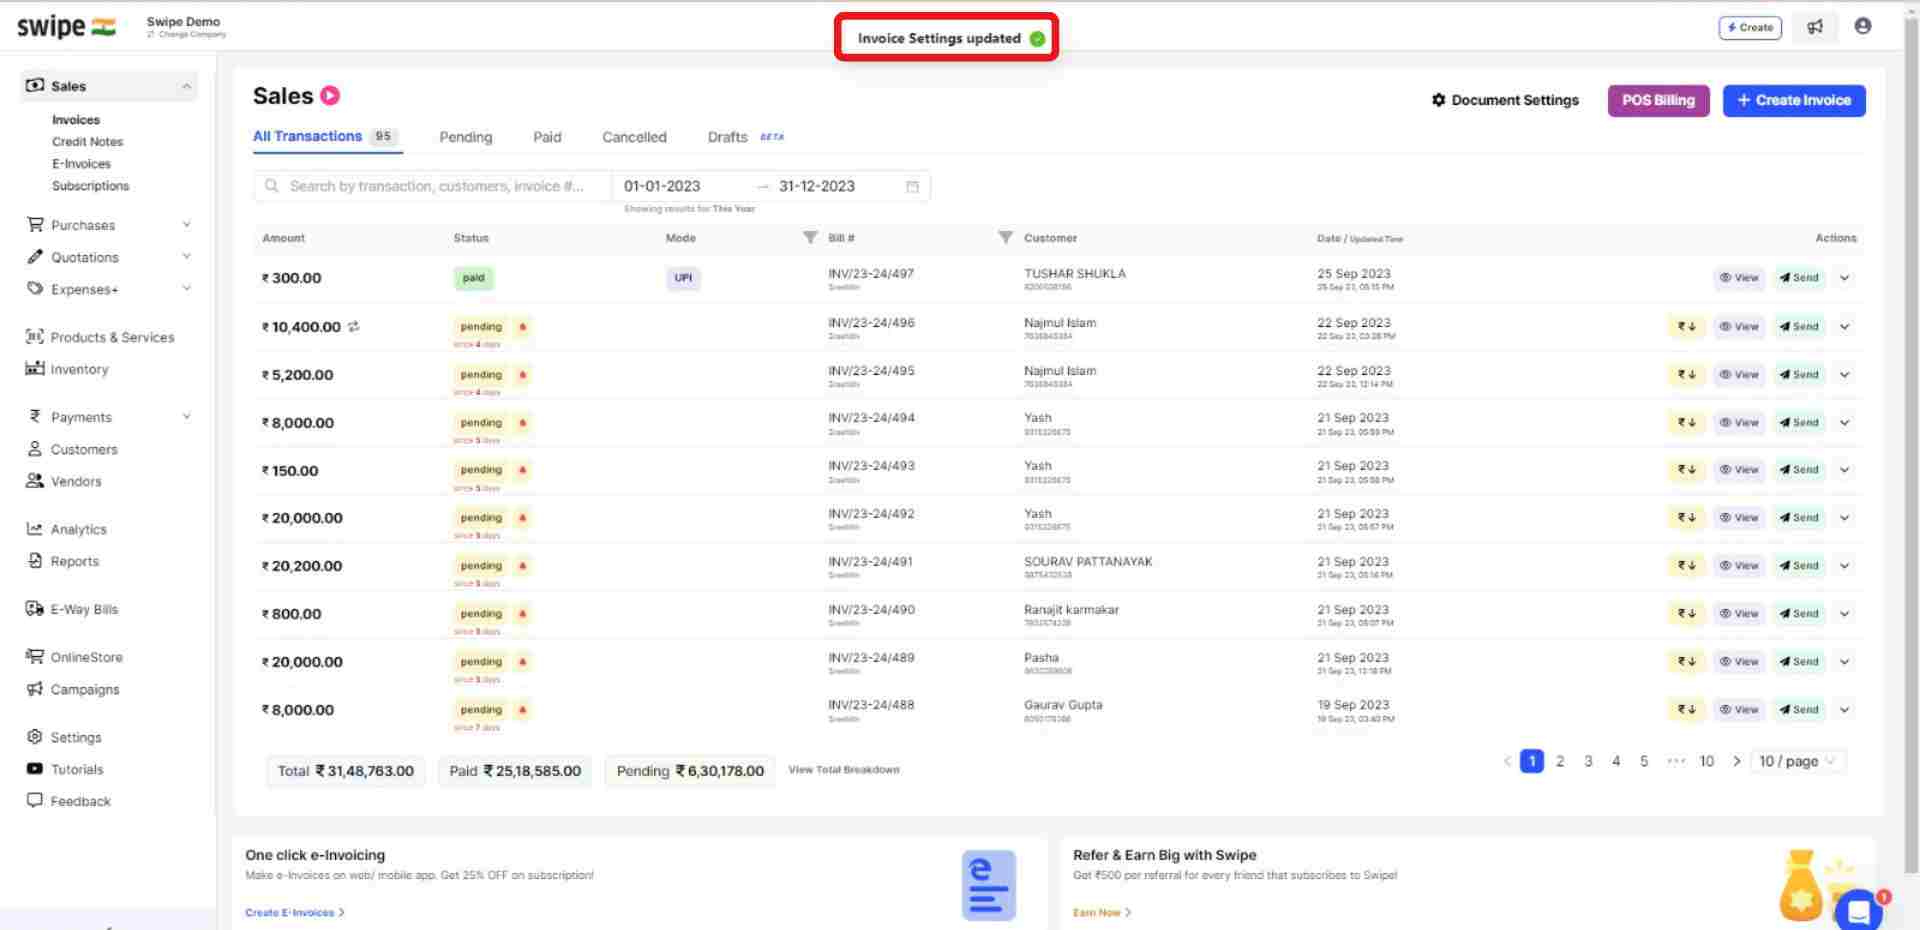
Congratulations! You have successfully added an item custom field, and a pop-up appears at the top of the screen informing the same.
How to add a custom column for an item on Android
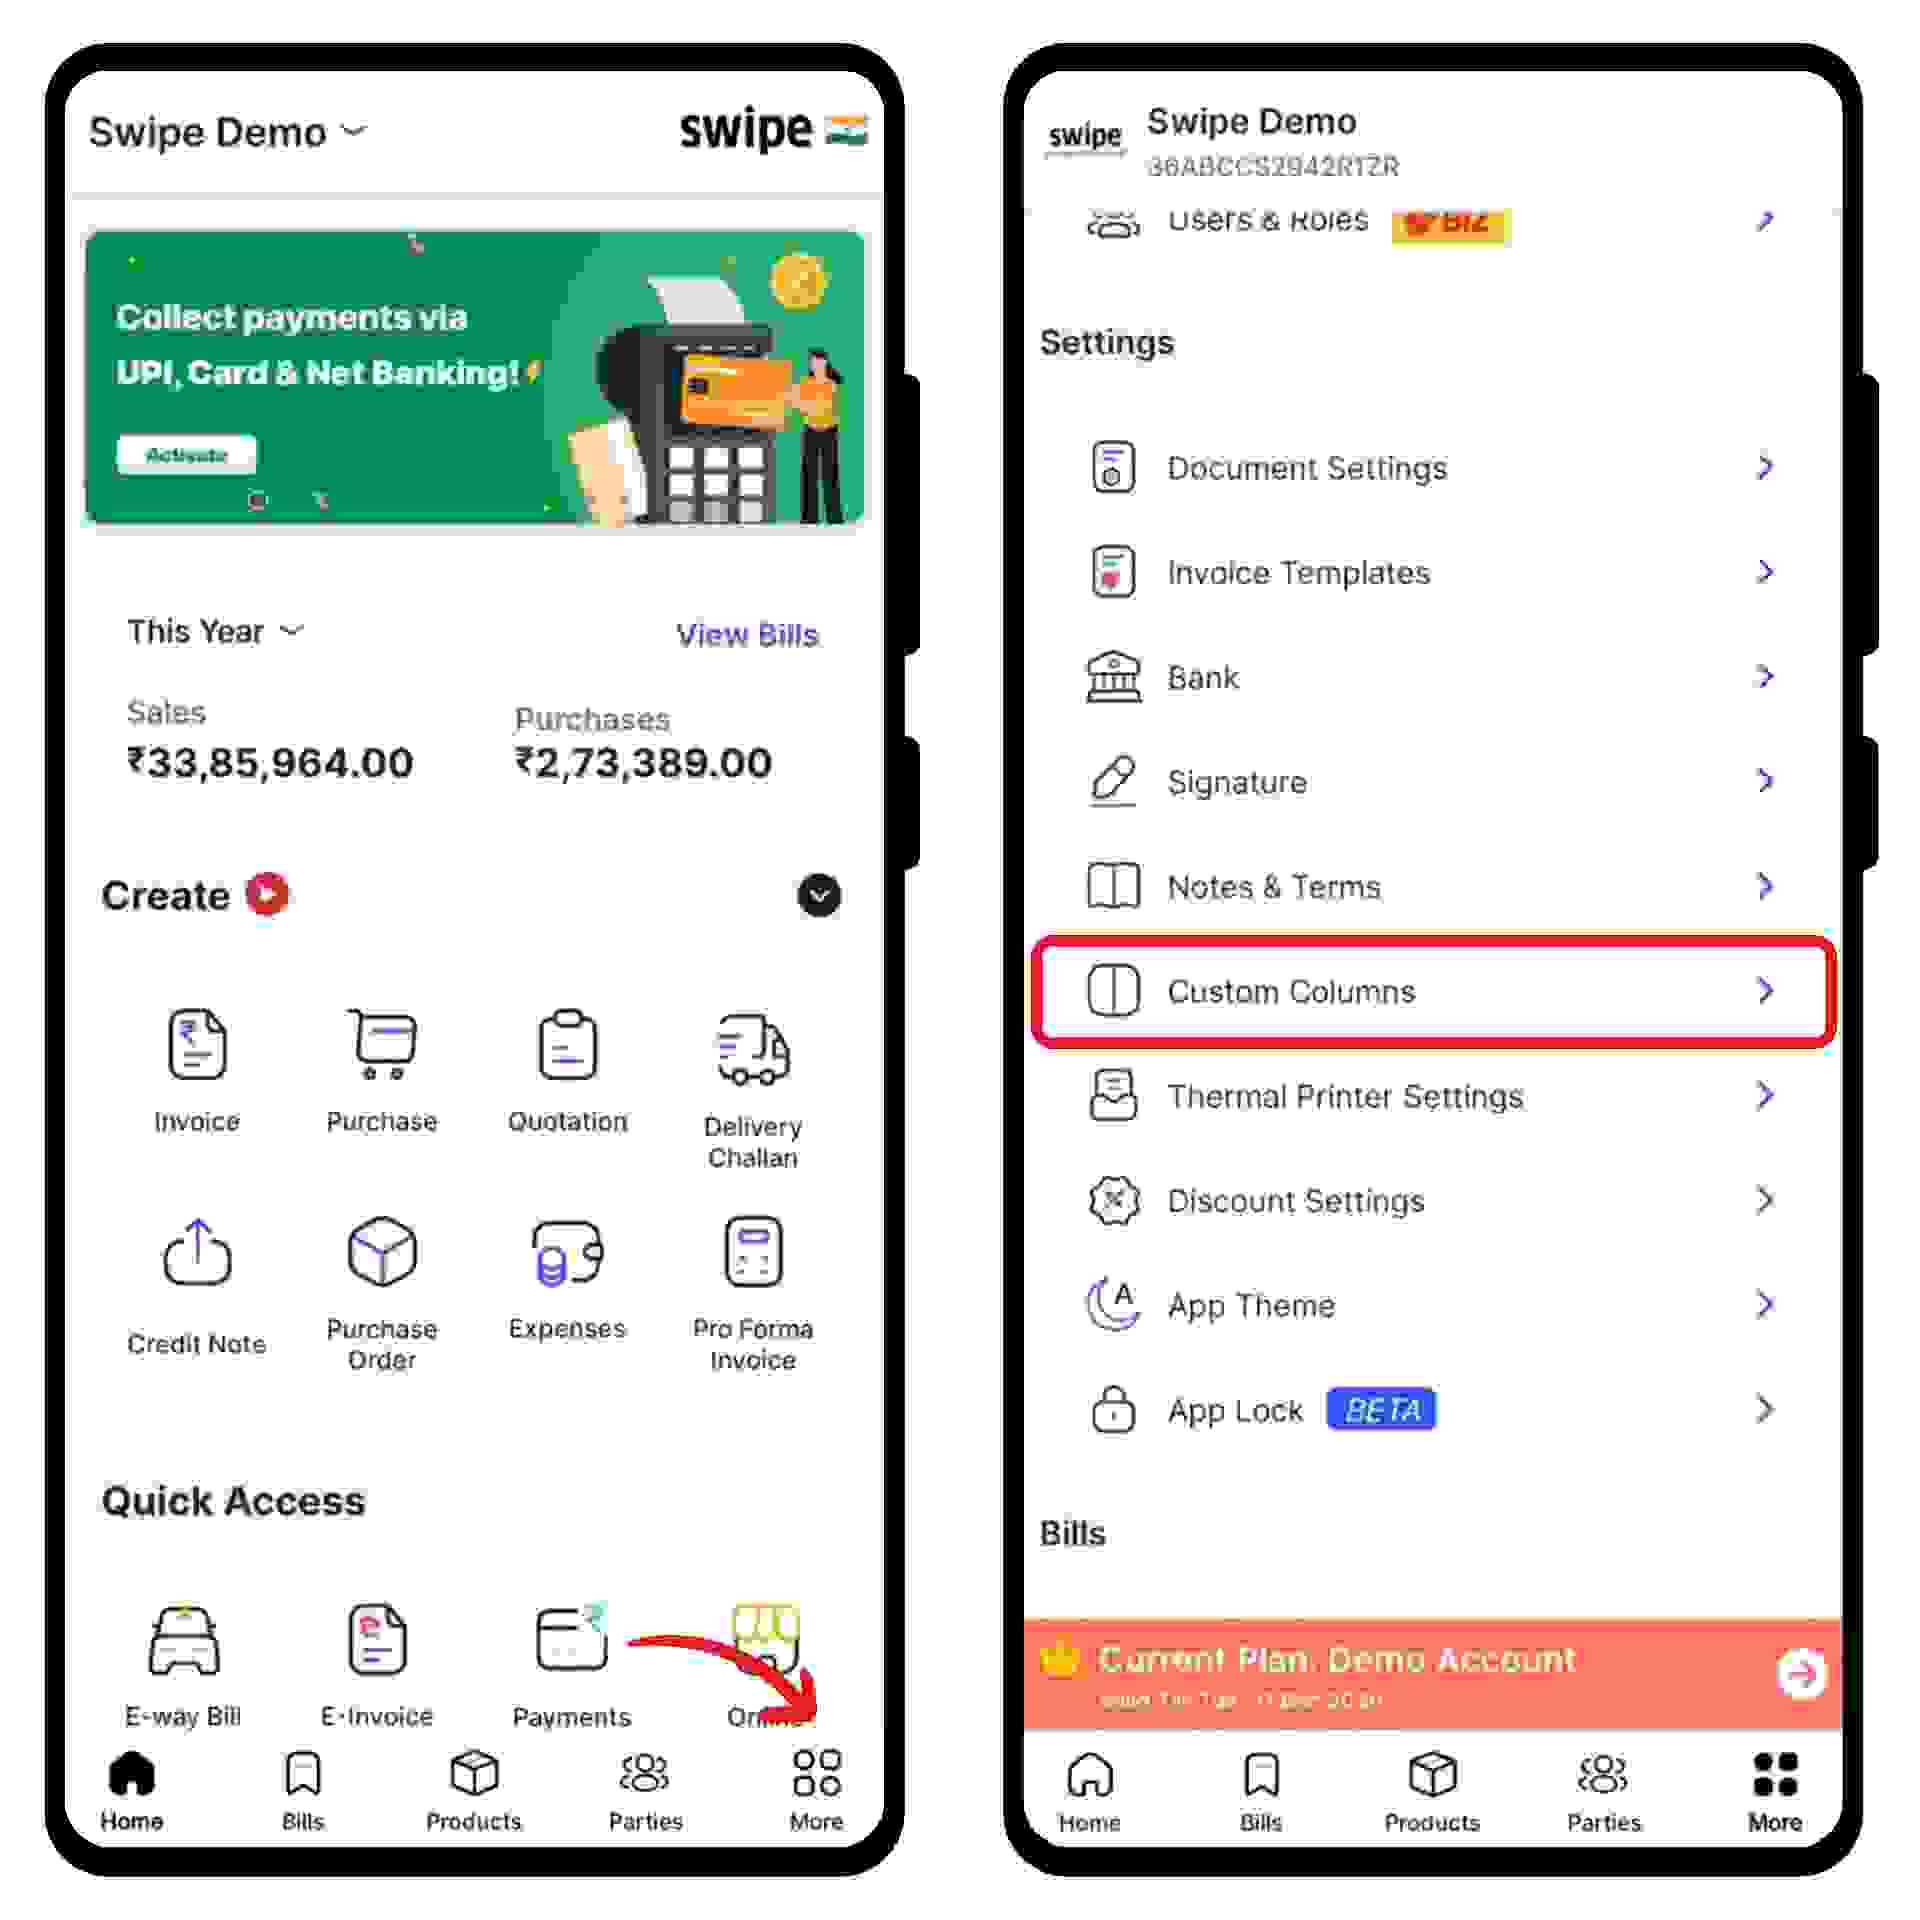
Step 1: Go to "More".
Choose the “Custom Columns” option from the menu.
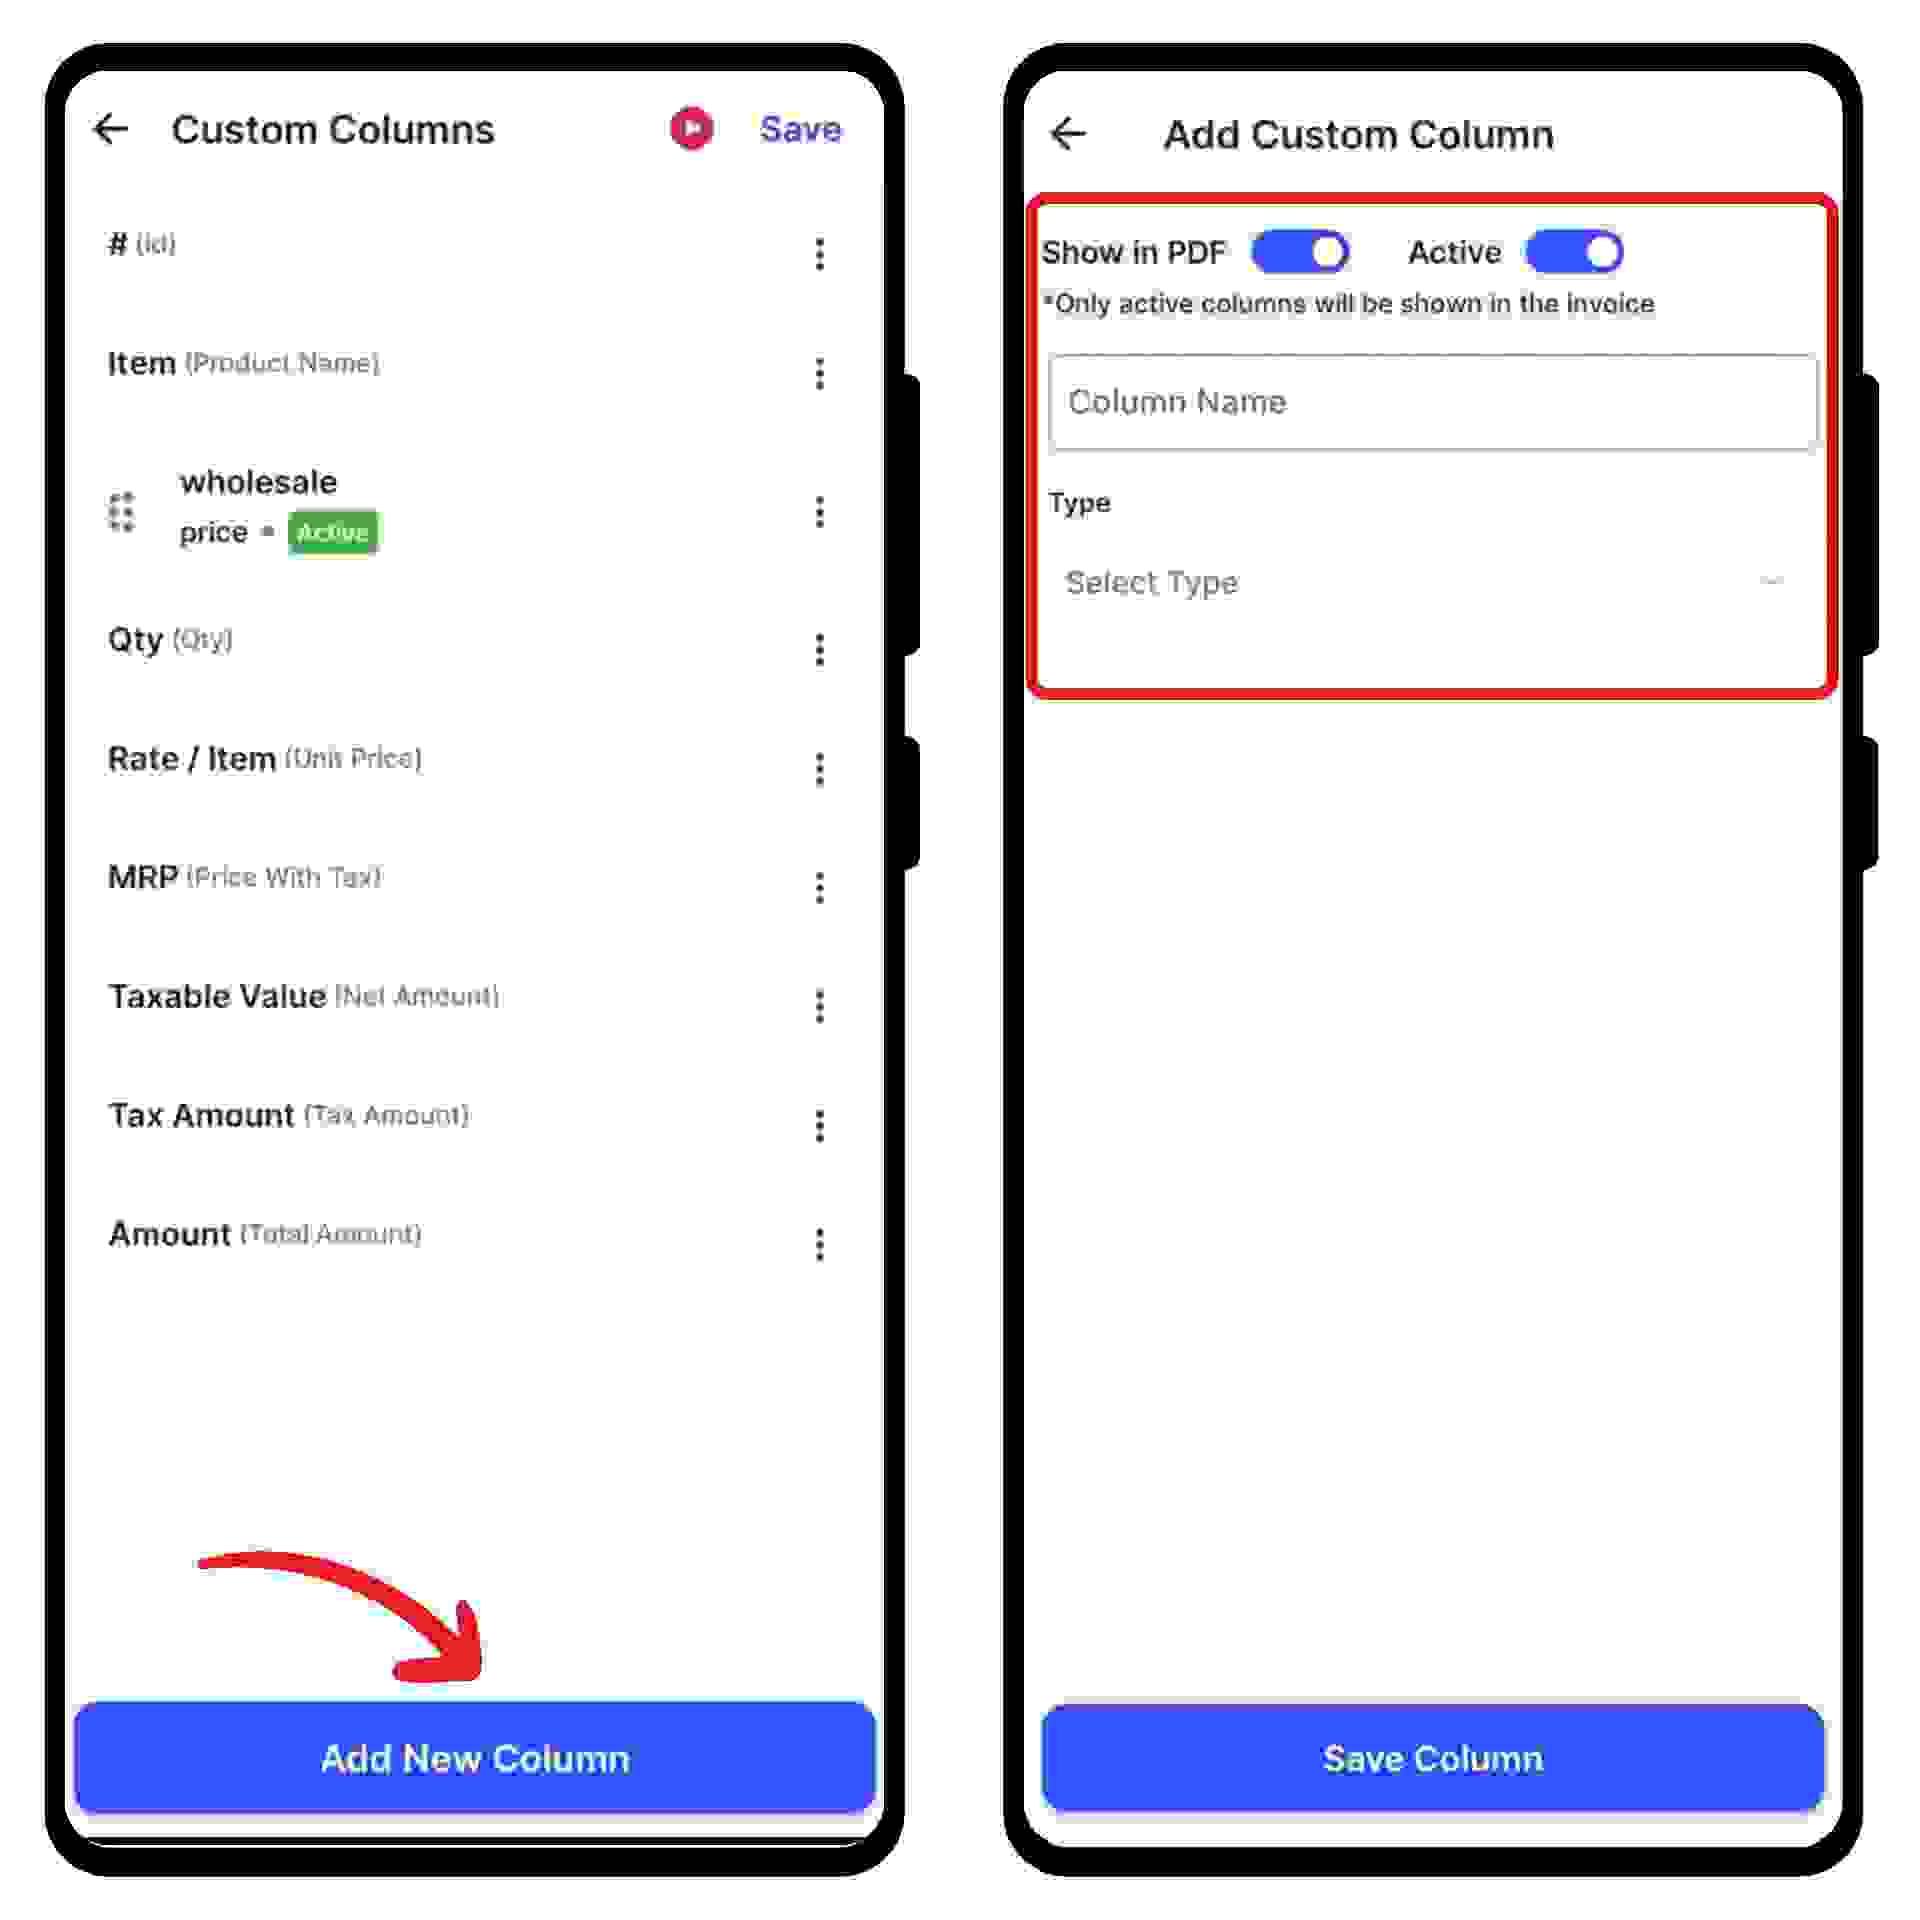
Step 2: Add a Custom Column
Click on “Add New Column" at the bottom of the screen.
A new form appears. Here, enter the column name and select type.
Note: You can also switch on the toggle bar to activate the custom column and to show it in PDF.
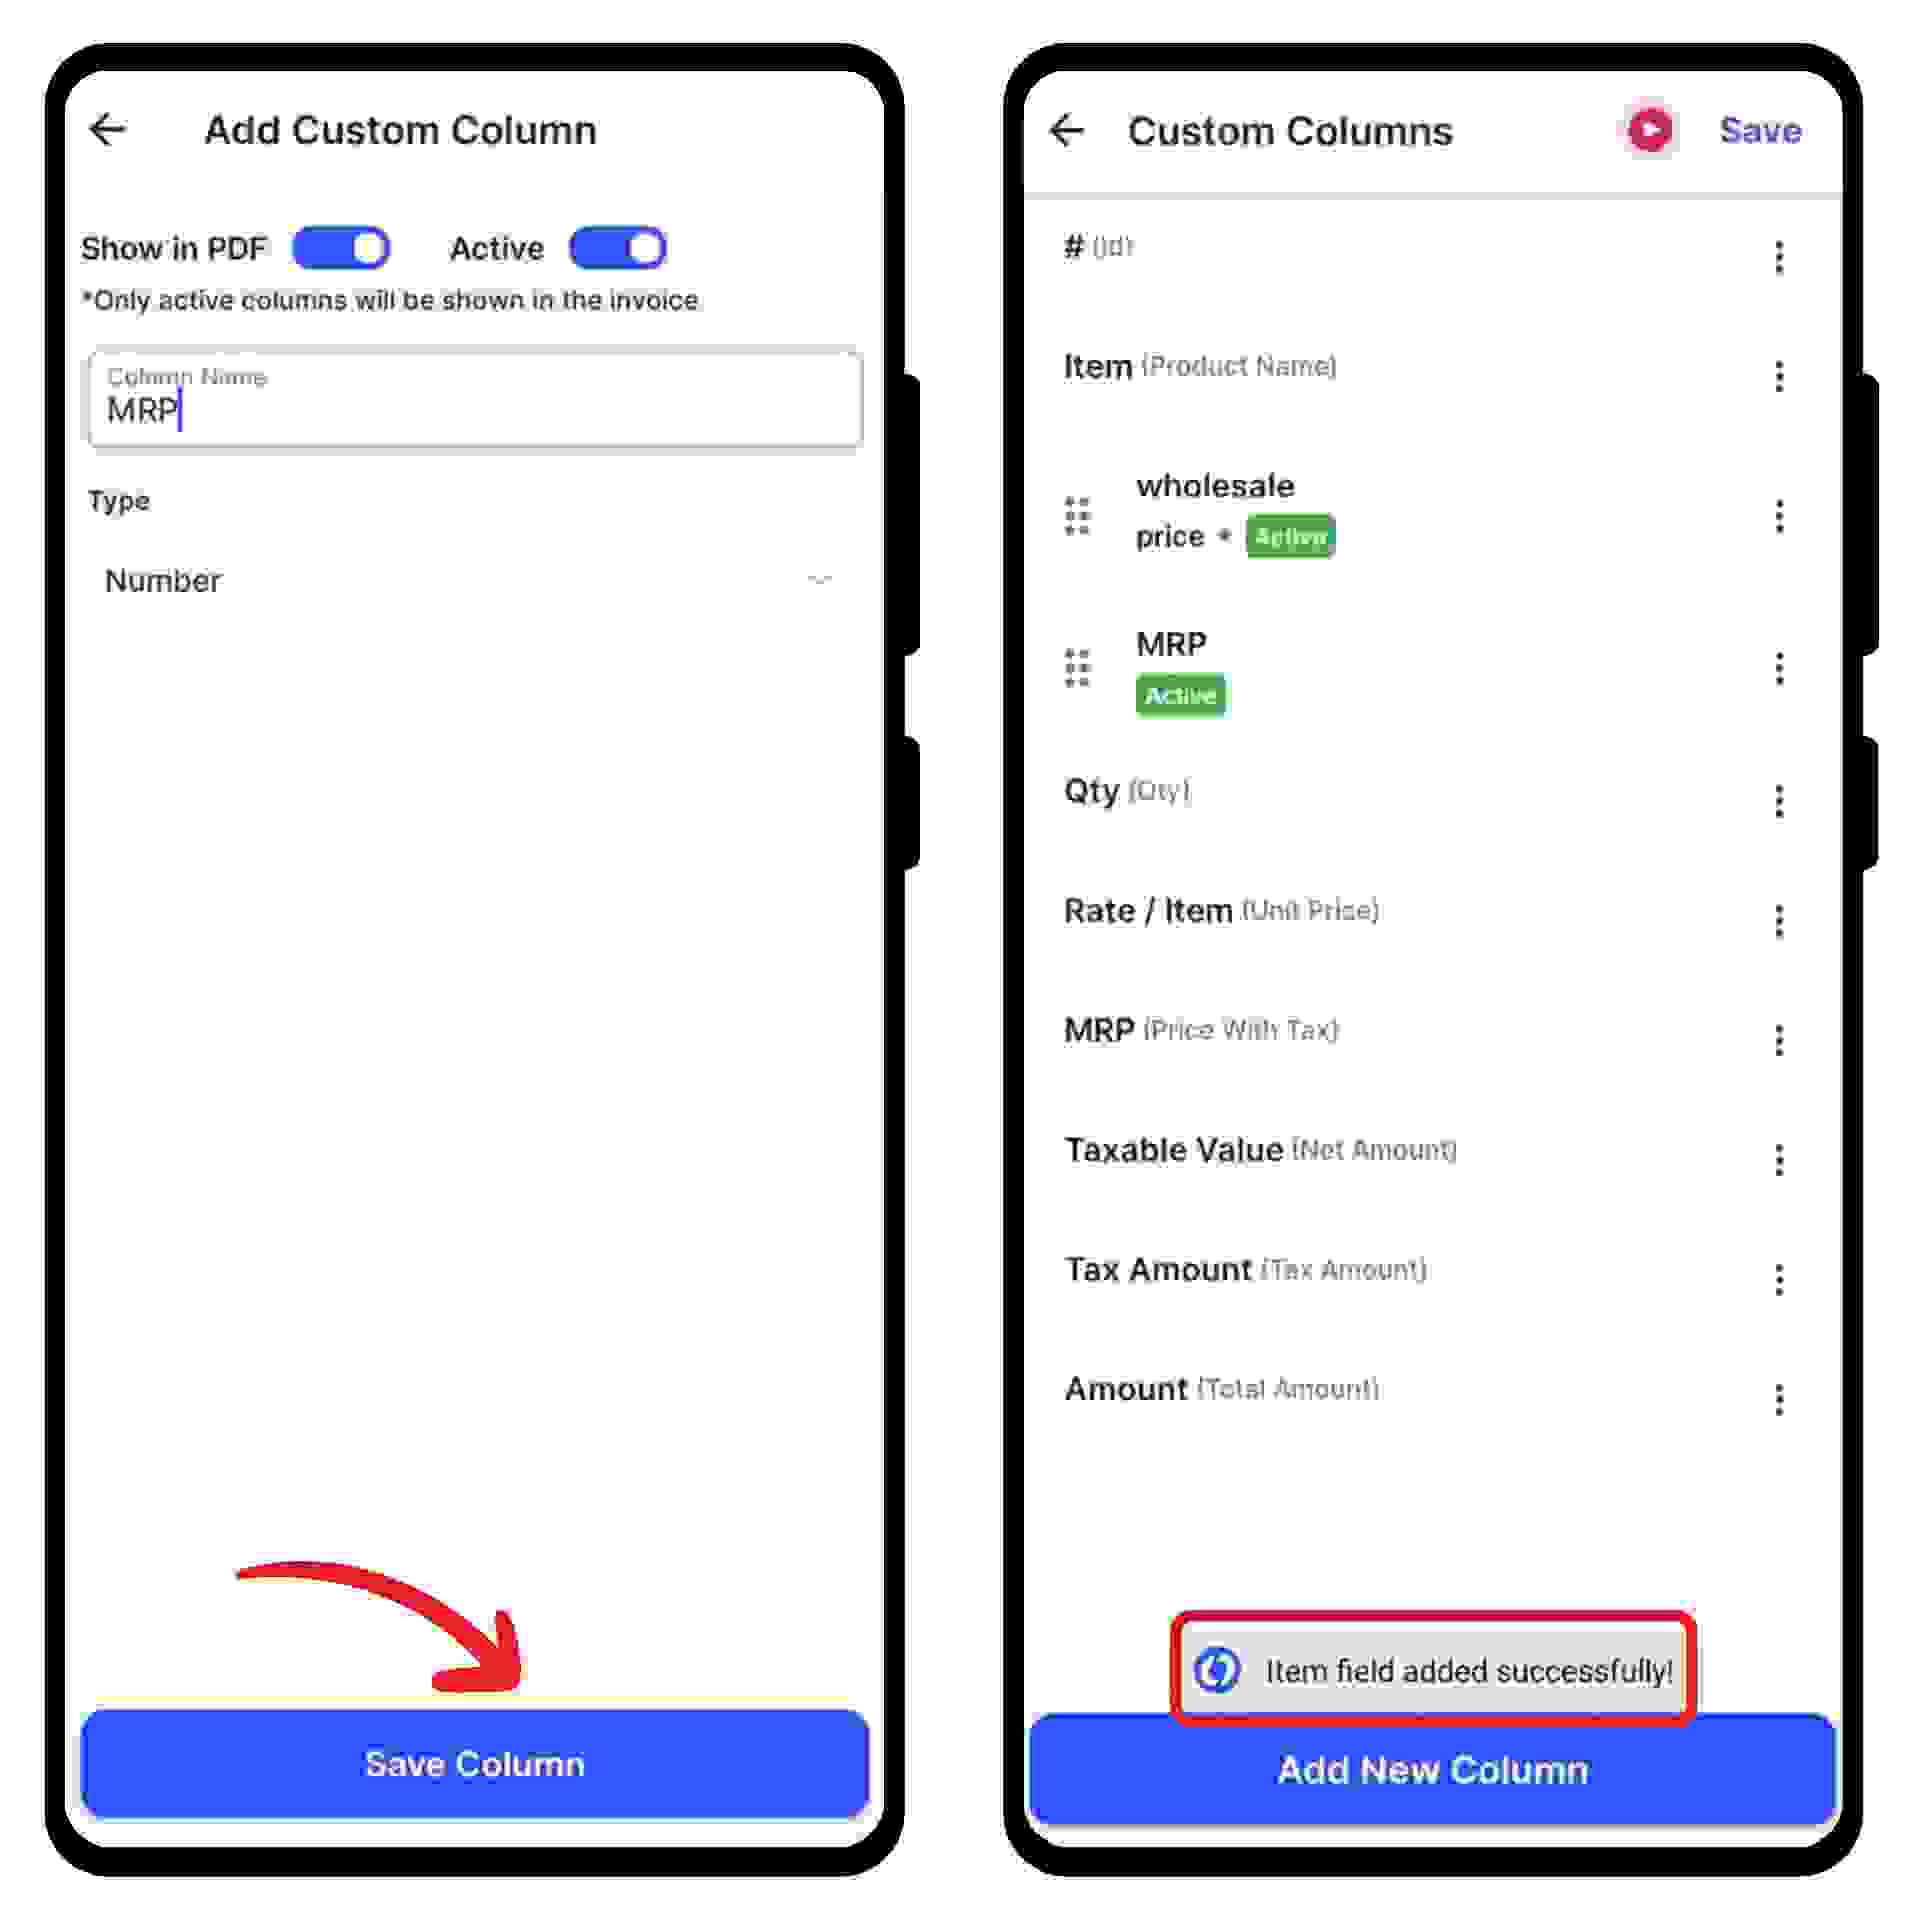
Step 3: Save the column
Click on the “Save Column” option present at the bottom of the screen.
Congratulations! You have successfully added a new custom column and a pop-up appears at the bottom of the screen informing the same.


%20(1).png)
%20(1).png)