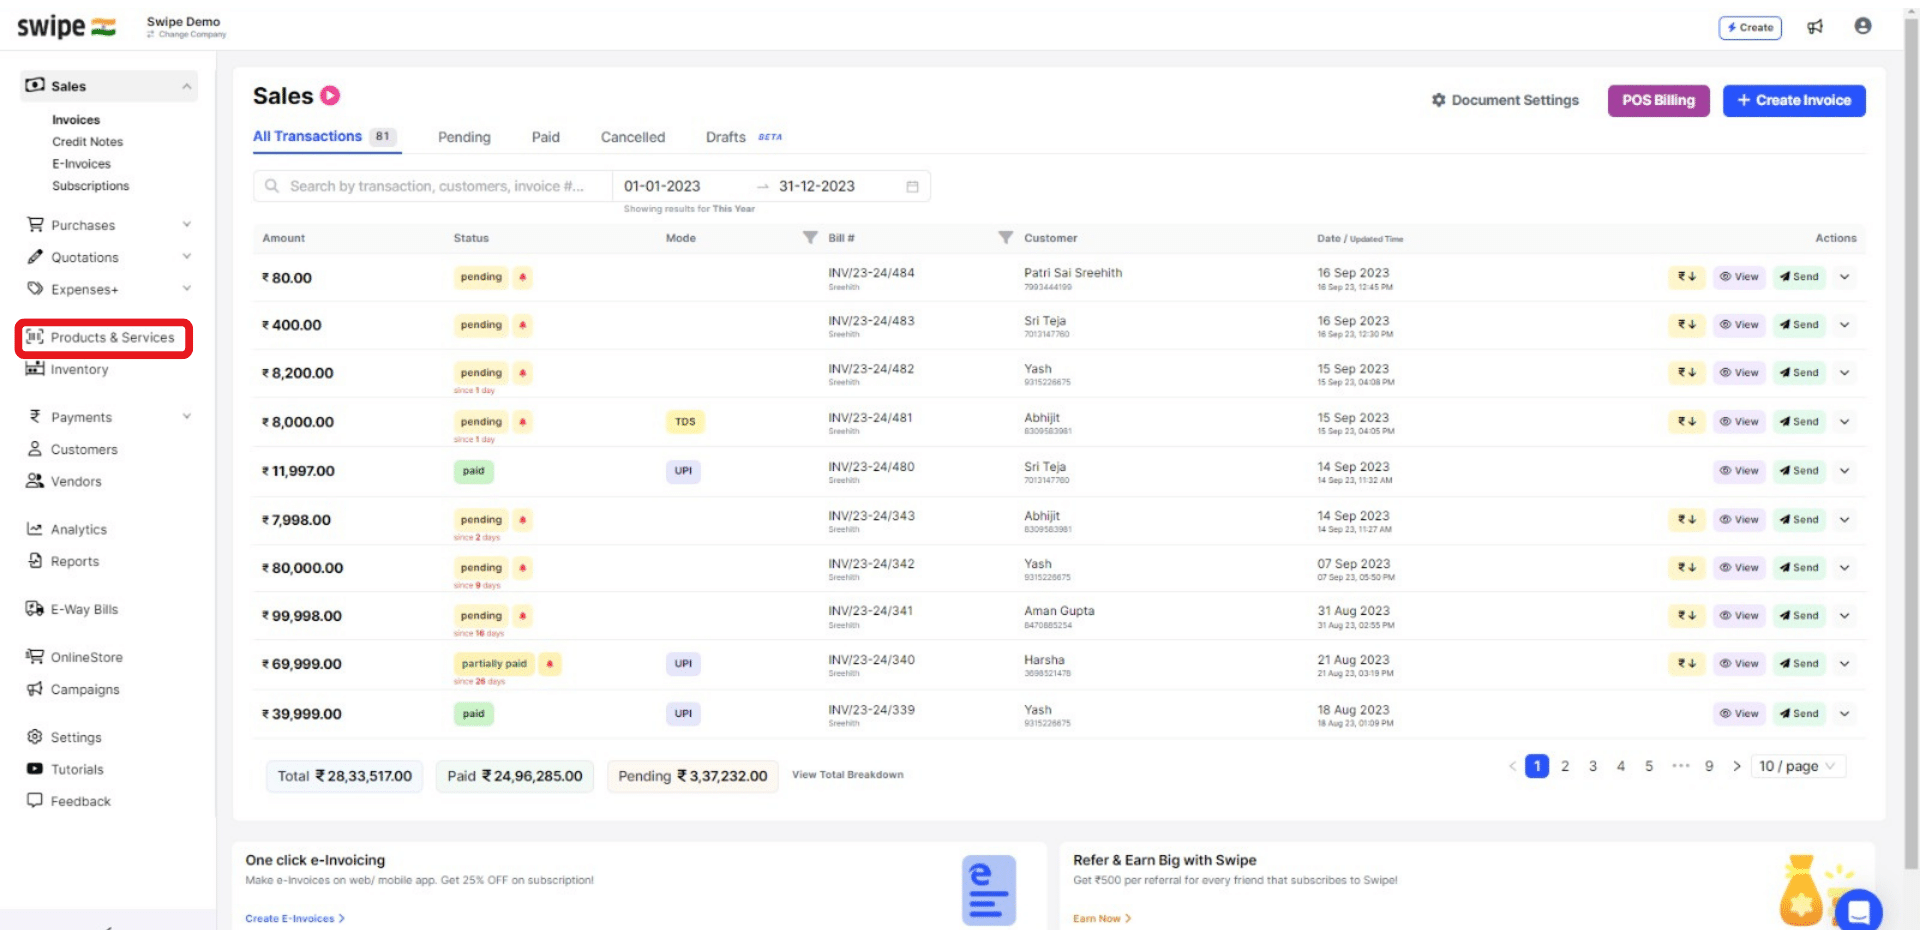
Select the Products / Services option from the dashboard on the left.
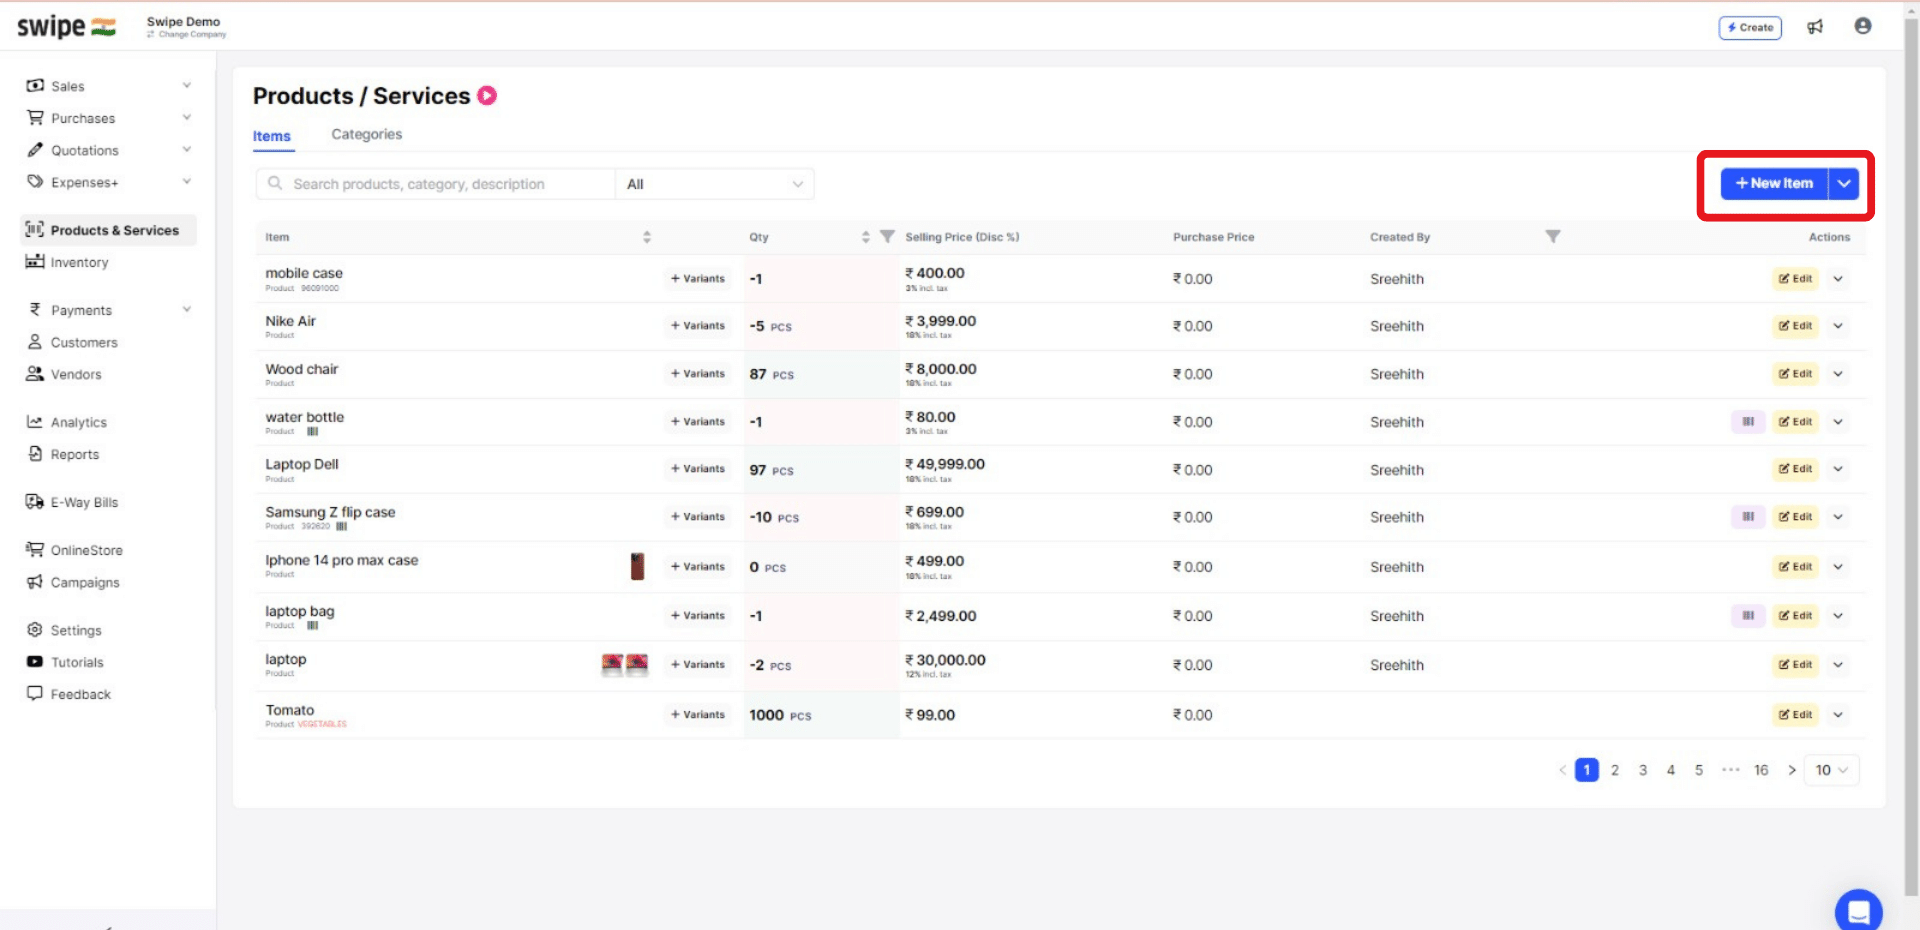
Now click on “+Add New Item,” present at the top right corner of the screen.
A new form appears. Here, Select the Type as either product or service and fill in the basic details like Name, selling price, and tax percentage.
(You can also add units of measurement and custom fields like serial numbers, department, etc.)
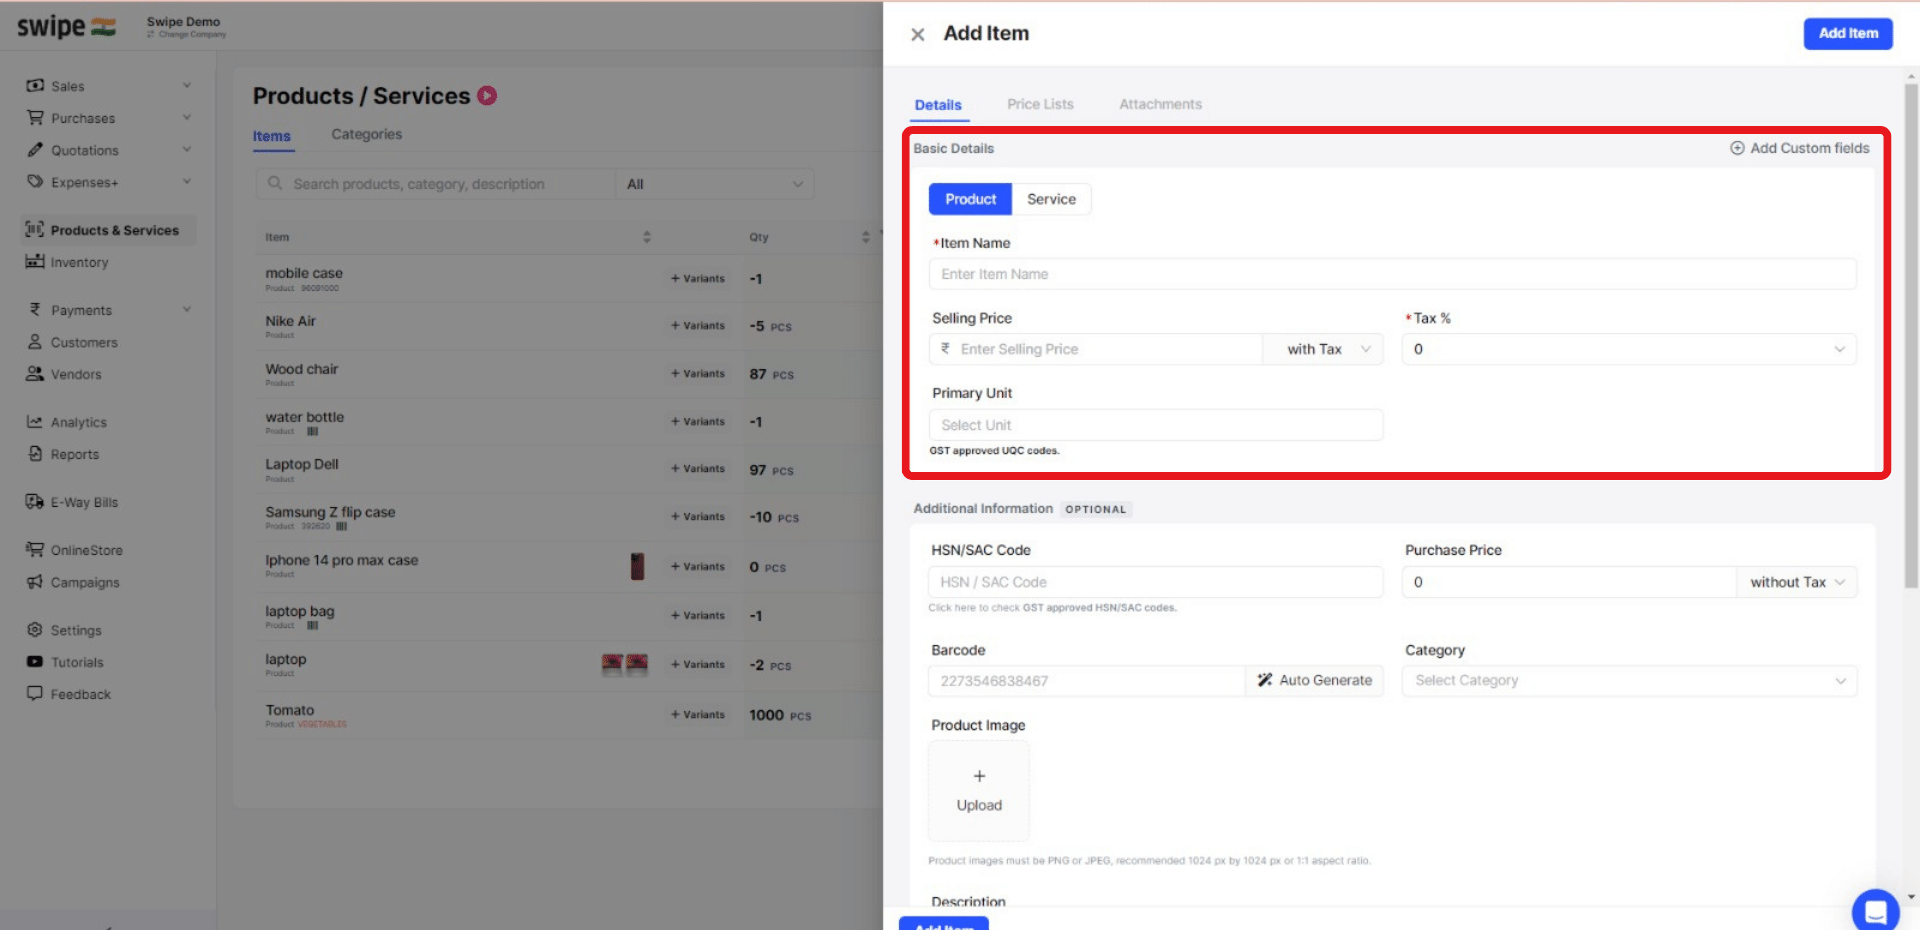
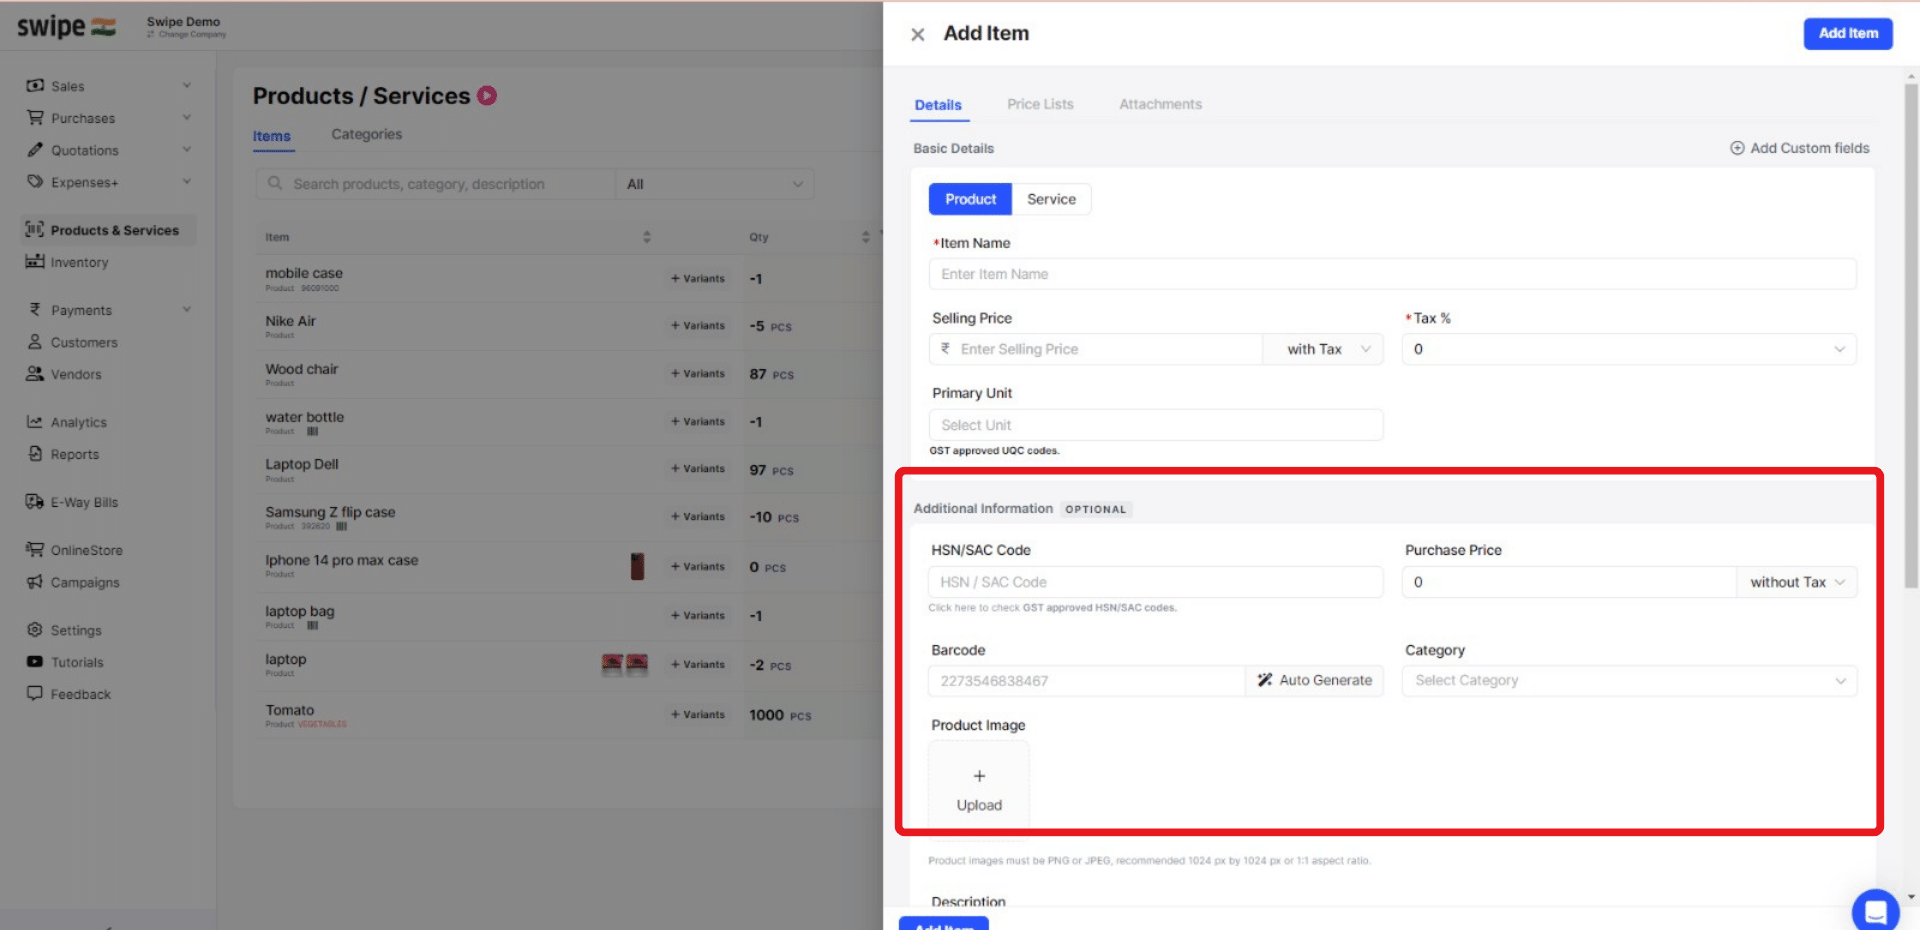
Fill in other required information about the product, such as HSN / SAC Code, purchase price, category, etc.
Note: You can also add an image and barcode to the product and add or edit the details later.
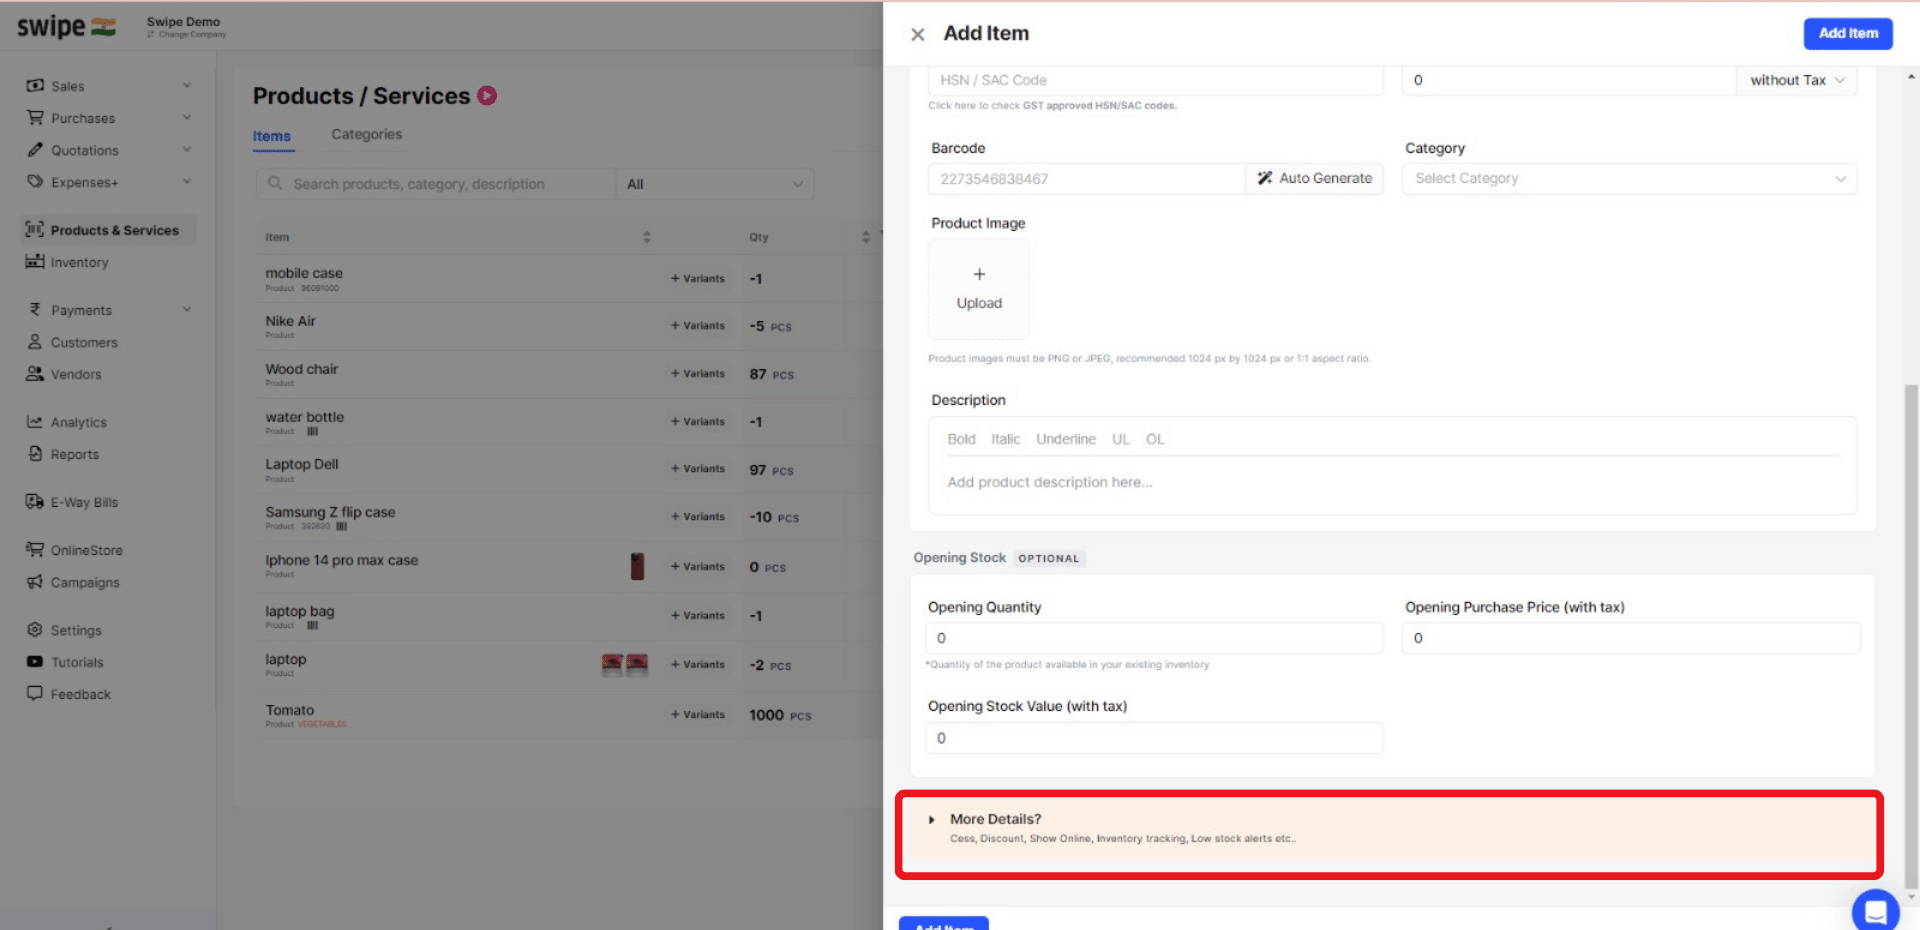
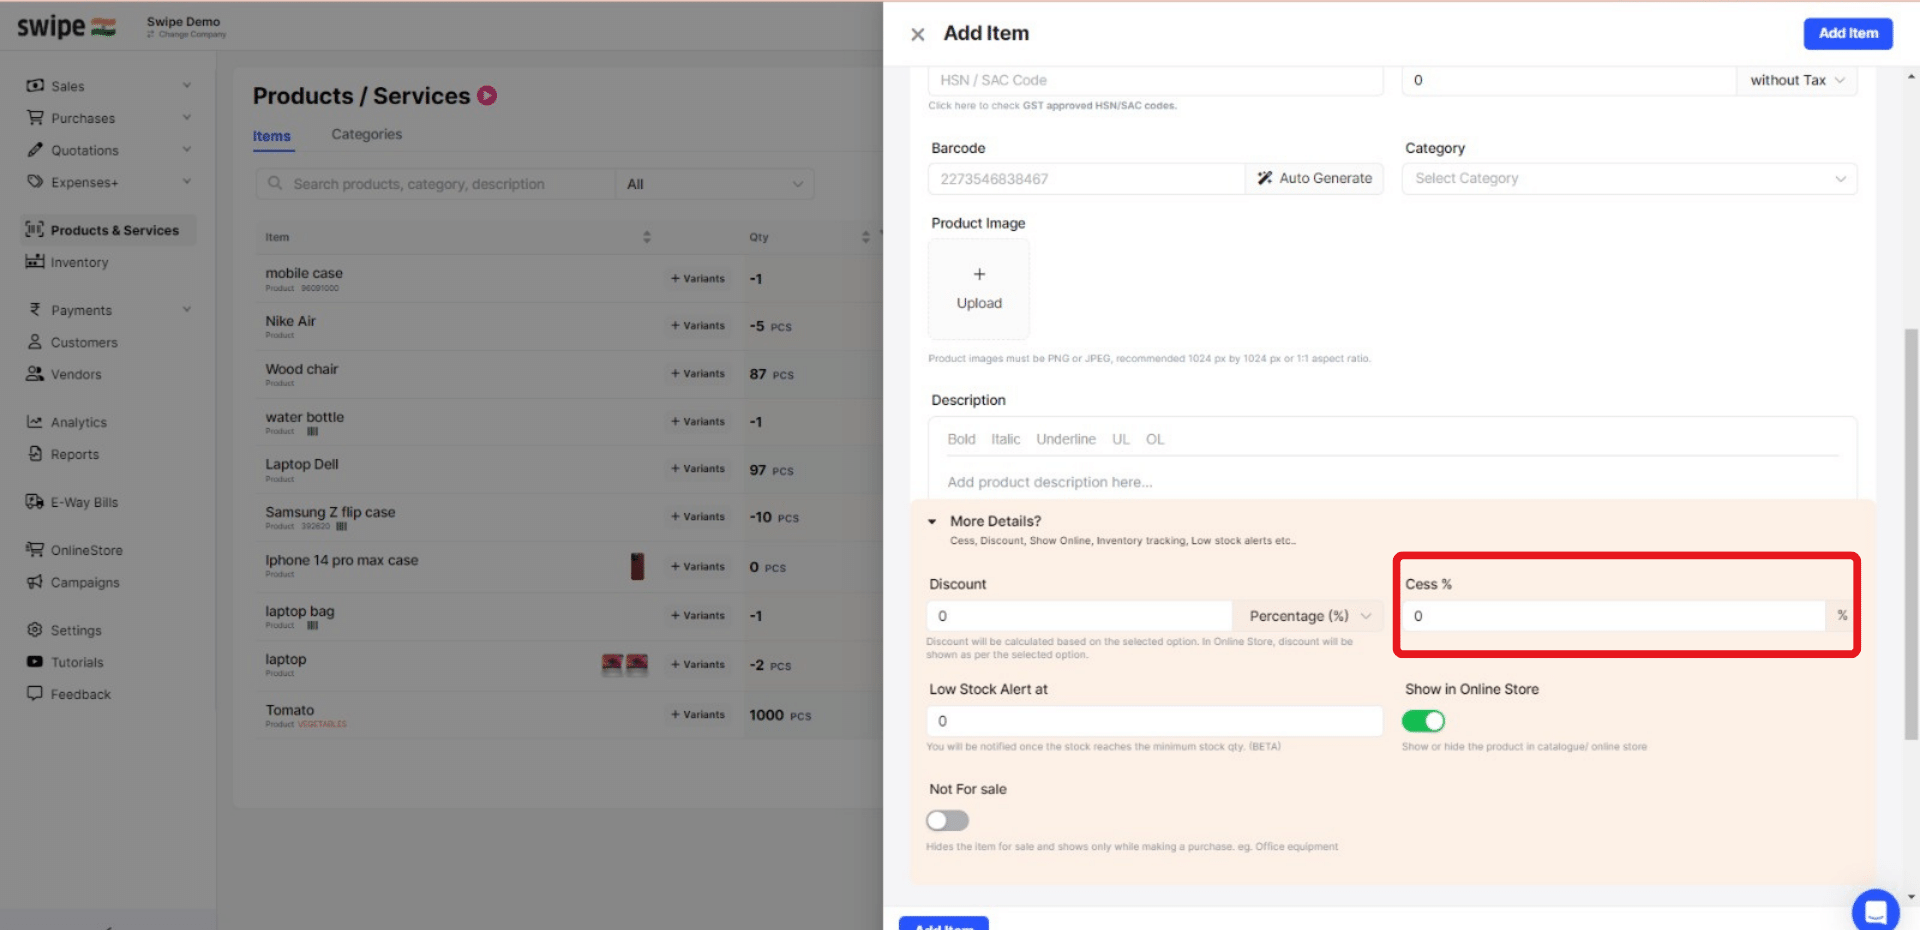
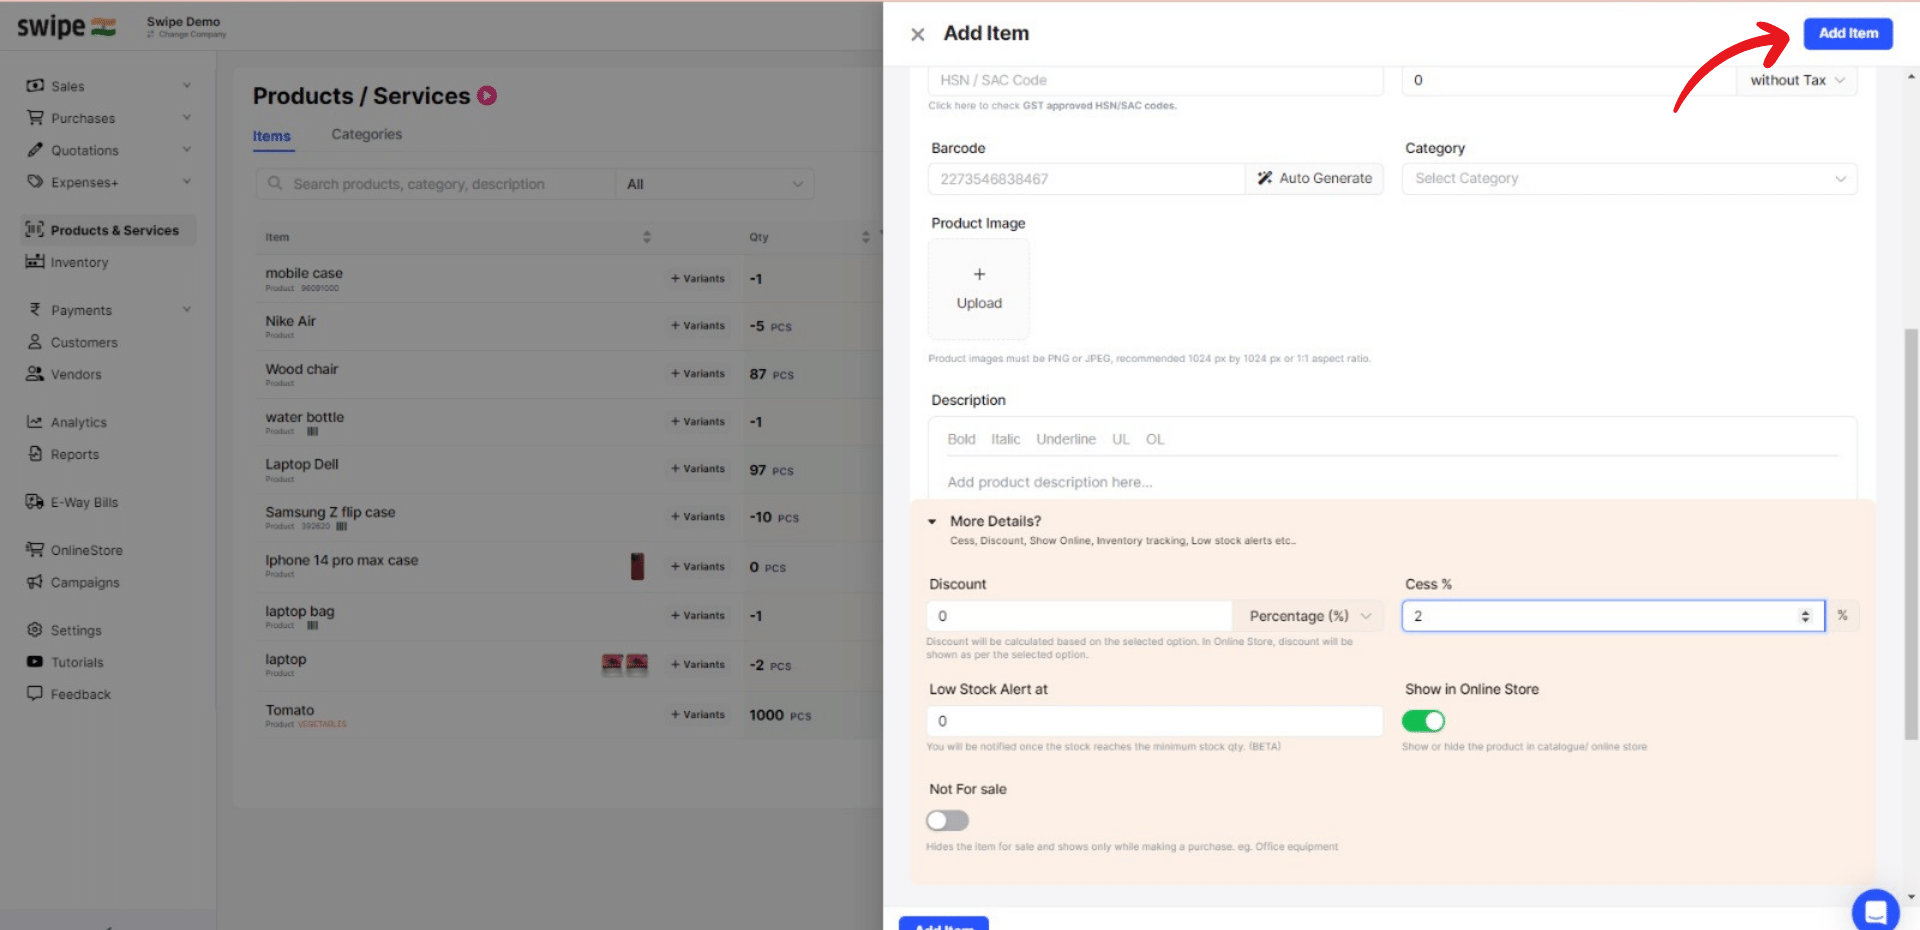
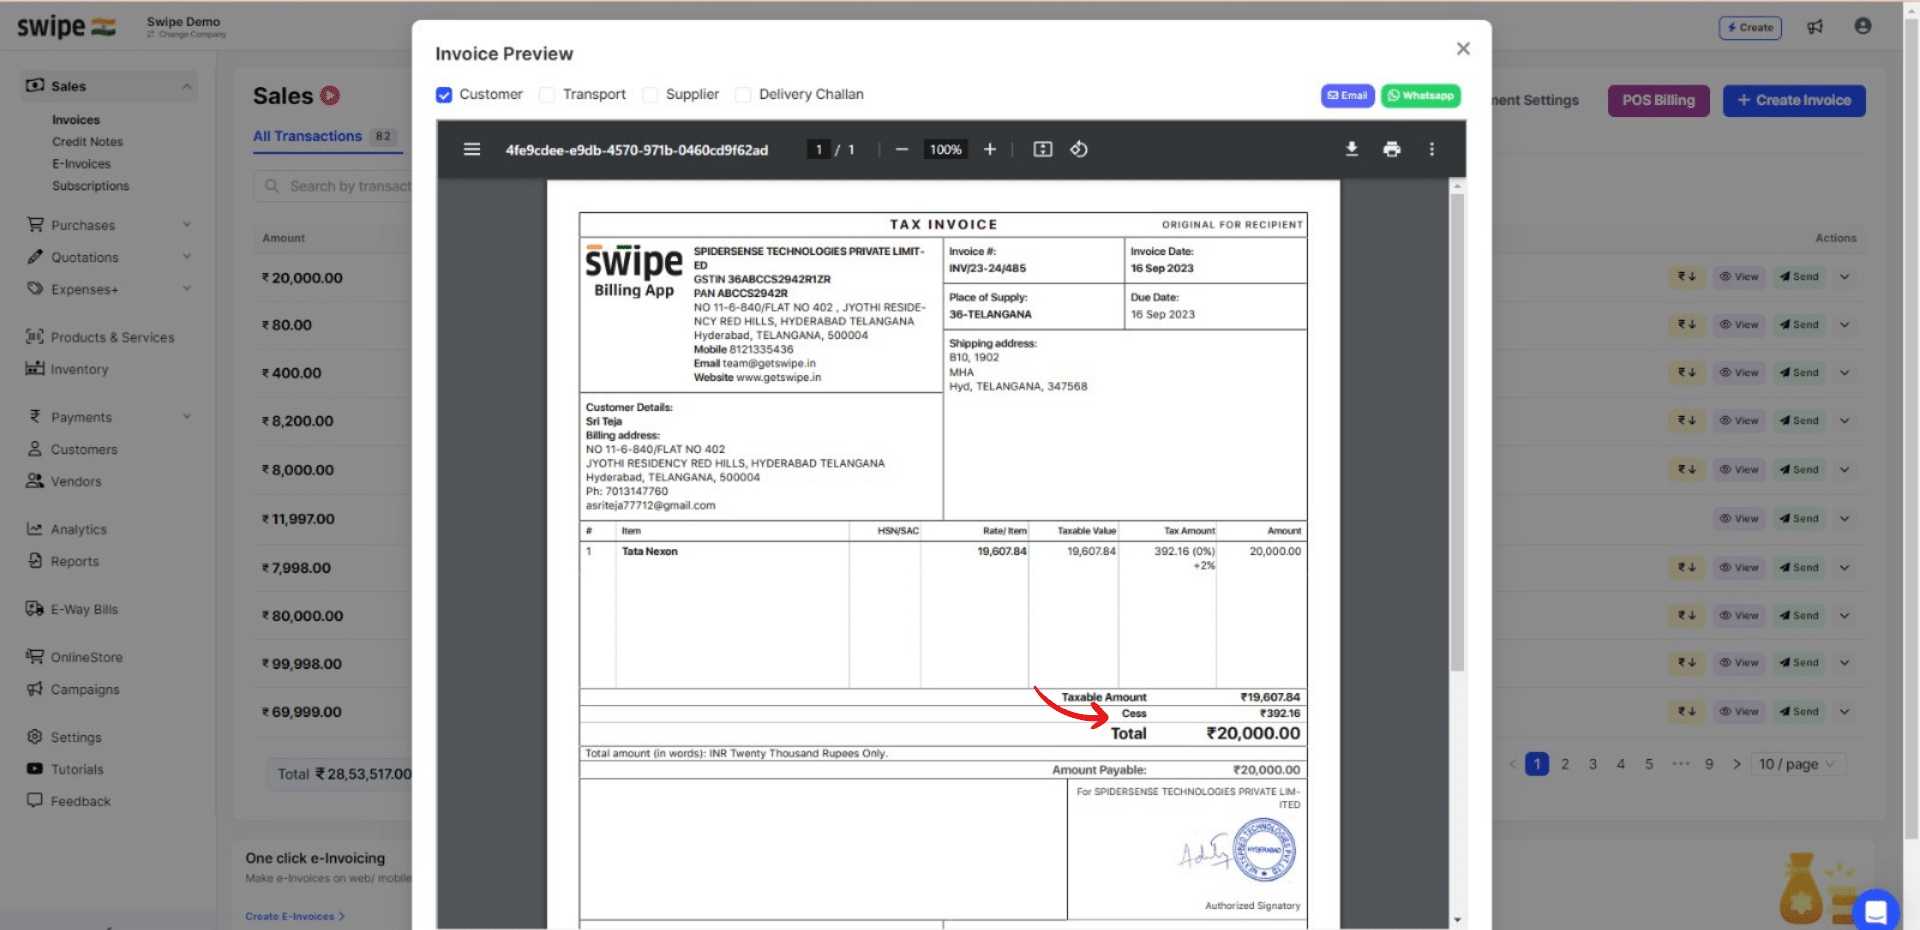
Click on the “More Details?” button at the bottom of the screen and add the cess percentage.
(If applicable, you can also add opening stock details, discount percentage, etc.)
Now, Click on the “Add Item.” button at the top right corner of the screen to add the product.
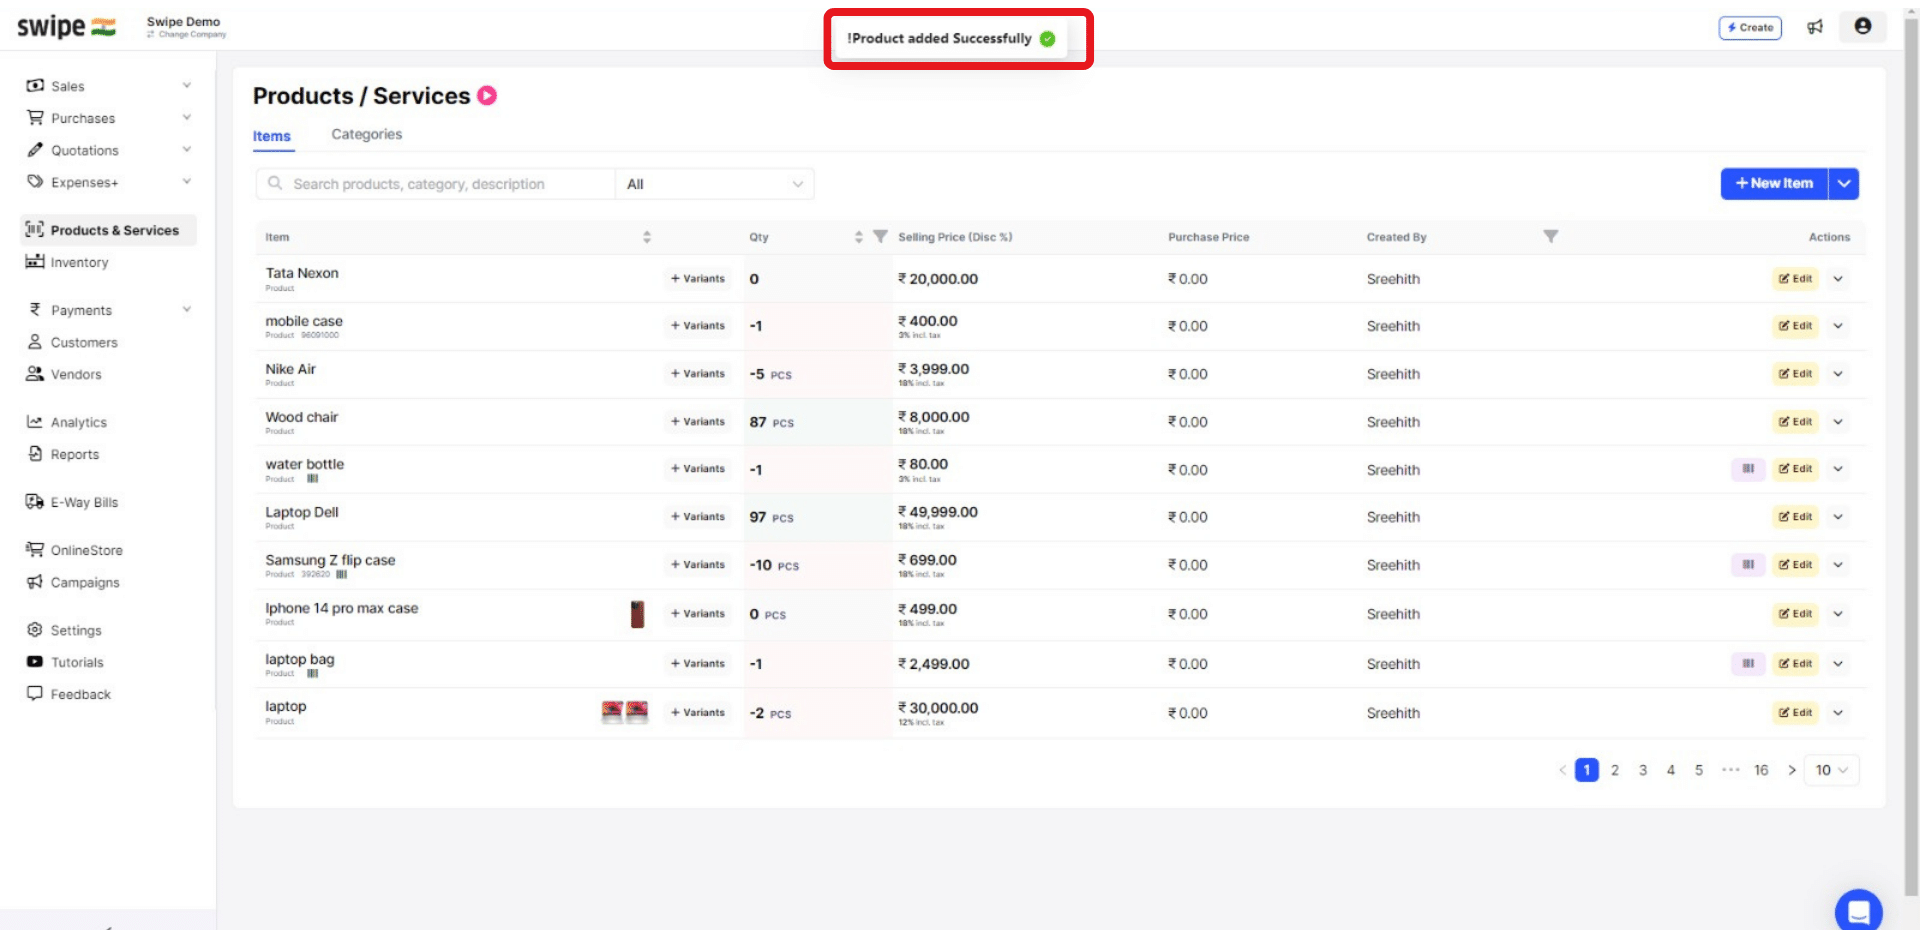
Congratulations! You have successfully added a product with cess to your product list. A pop-up will appear at the top of the screen informing the same.
From now on, you can use this product in the invoice whenever you create a new transaction.
Now, click on "Create Invoice” from the top right-hand corner of the screen.
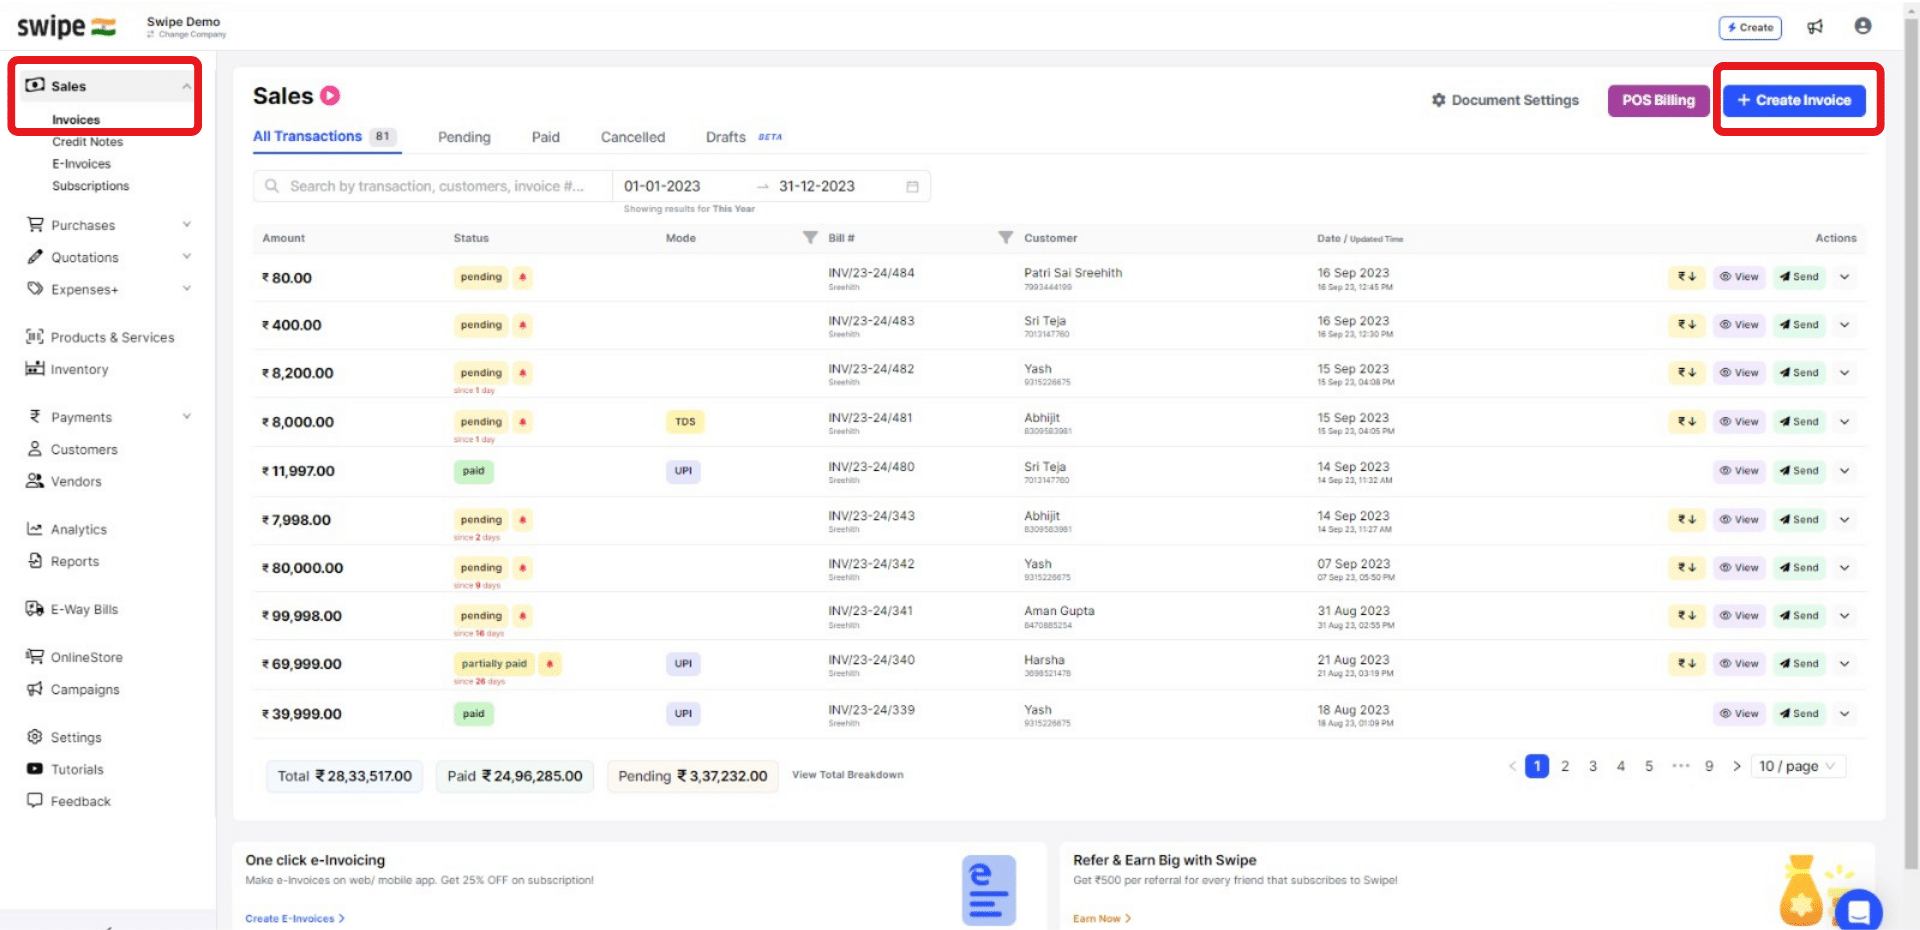
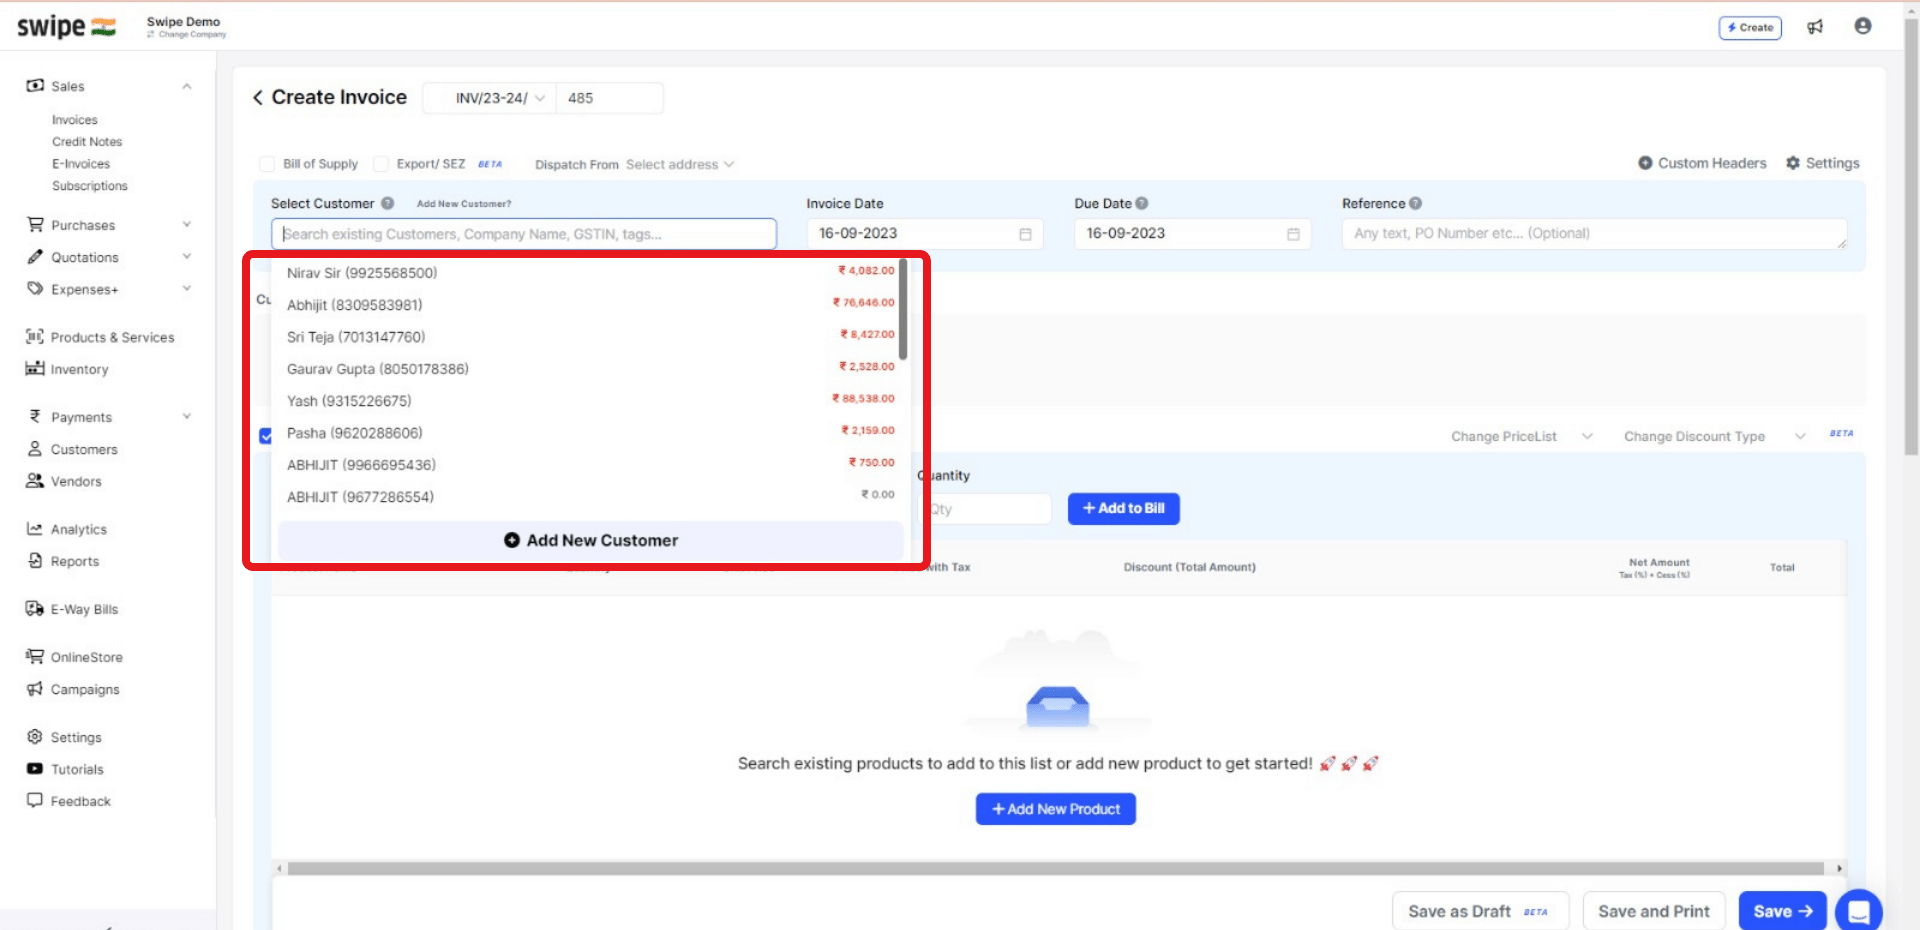
You can select existing customers from the drop drop-down list or add new customers by typing in their details manually.
(And fill in the necessary details like due date, reference number, etc.)
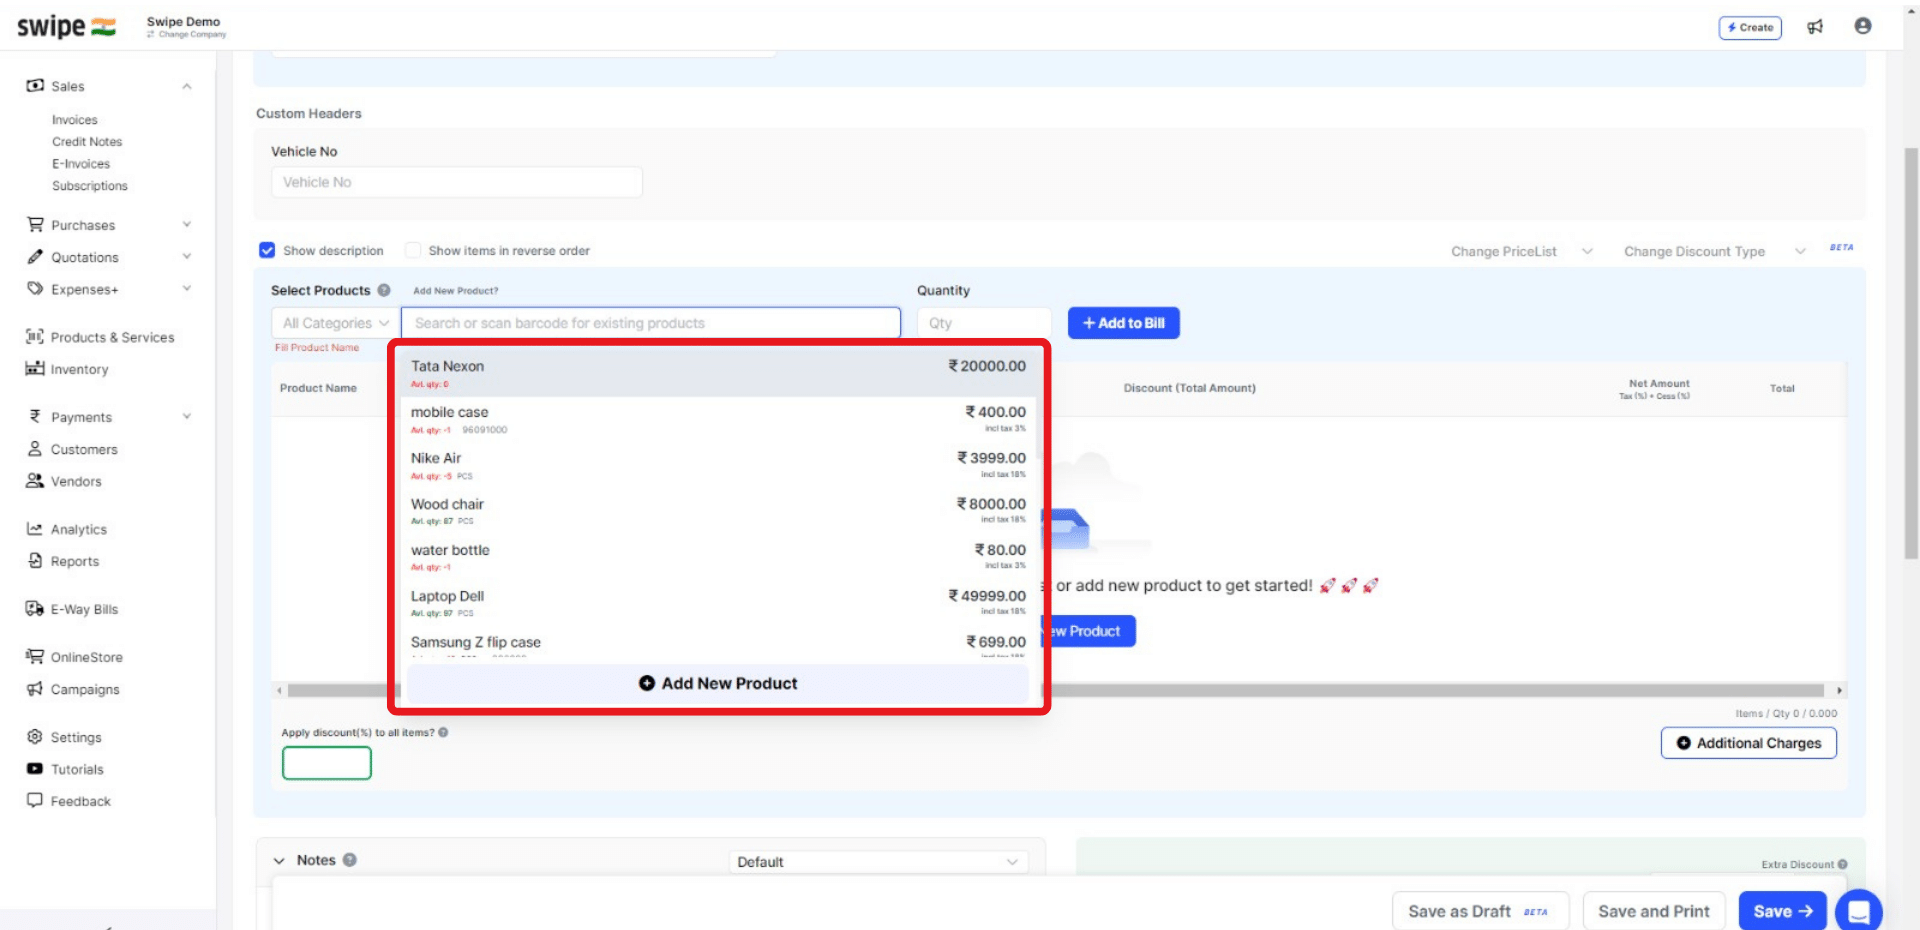
Select or search for the product to which you have added an additional cess and add it to the invoice.
To add more products, click on ‘+ Add New Product’, which will add new item rows.
Also, Click on ‘+ Add to bill’ and add the rest of the product details like quantity, category, discount, etc.
Add additional charges (if applicable) and create or edit notes as well as terms and conditions.

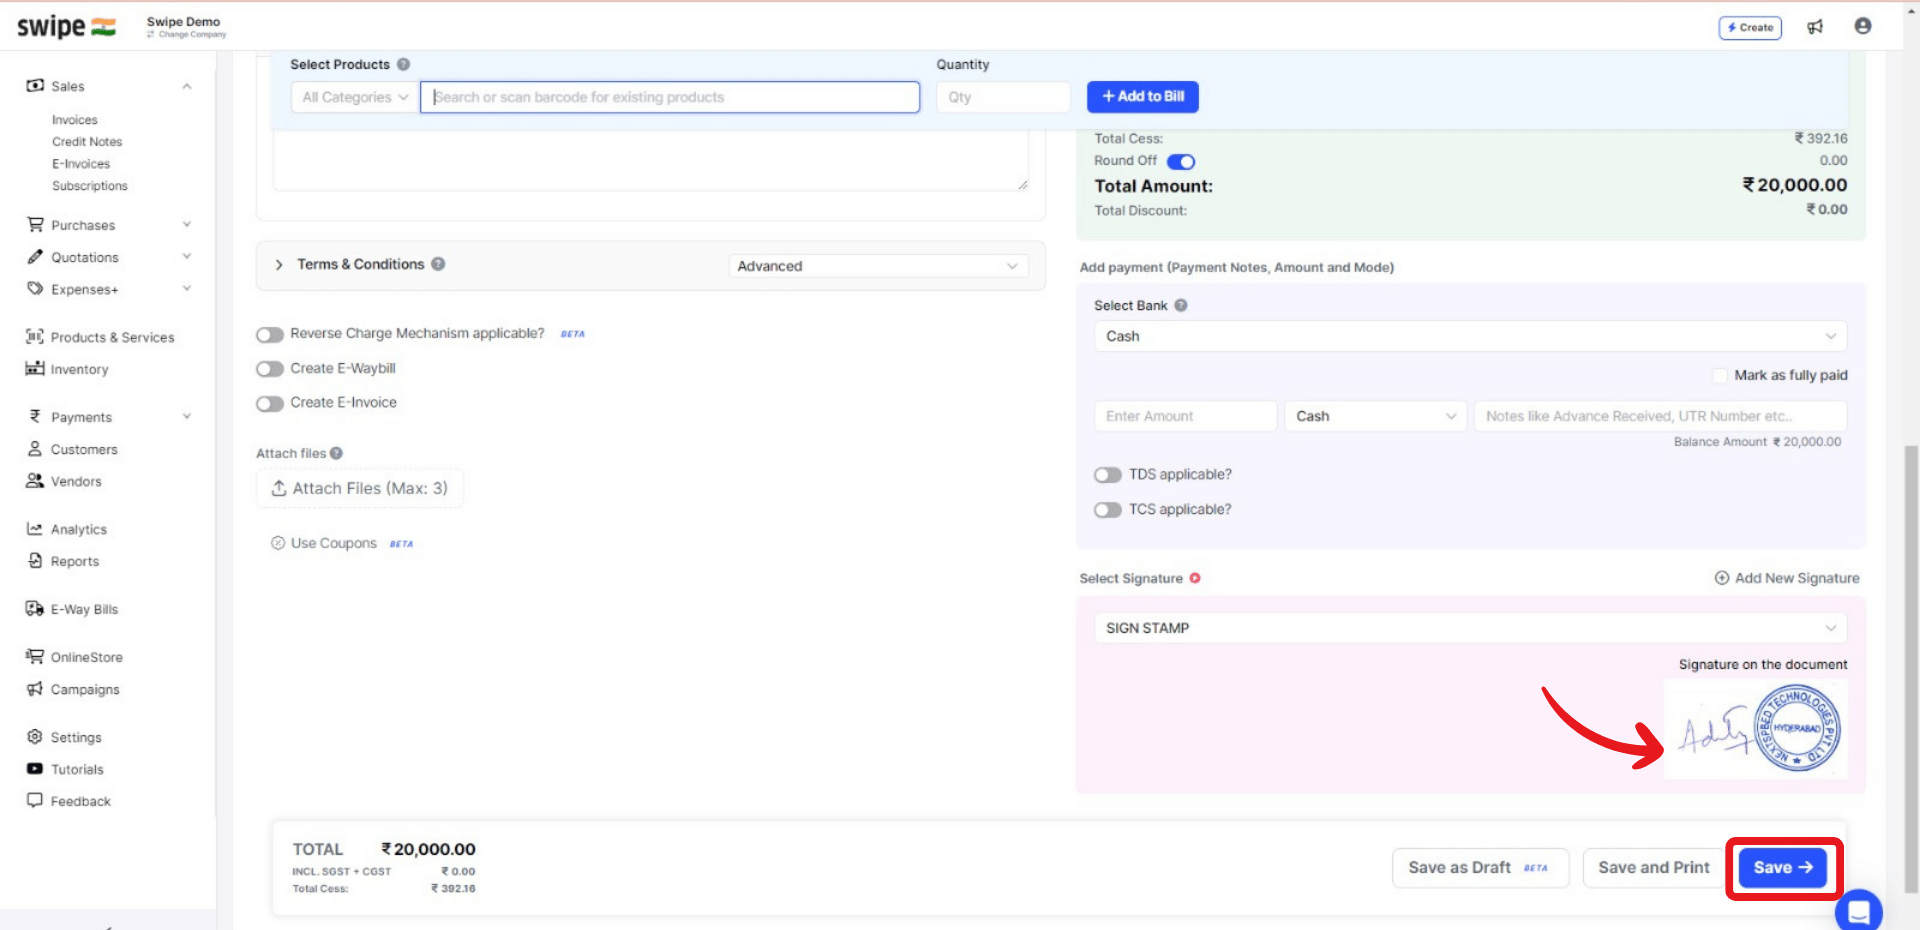
Your Invoice is ready.
You can now share it via WhatsApp, SMS, or Email with your customers.


.jpg)